Help

How to use Timeline Scan

Find your spot, then follow the pictures.

Have a question first? Read the FAQ or contact us.

The path

From a box of scans to photos in order

Nine steps. Most people do them once, in this order.

Step 1 of 9

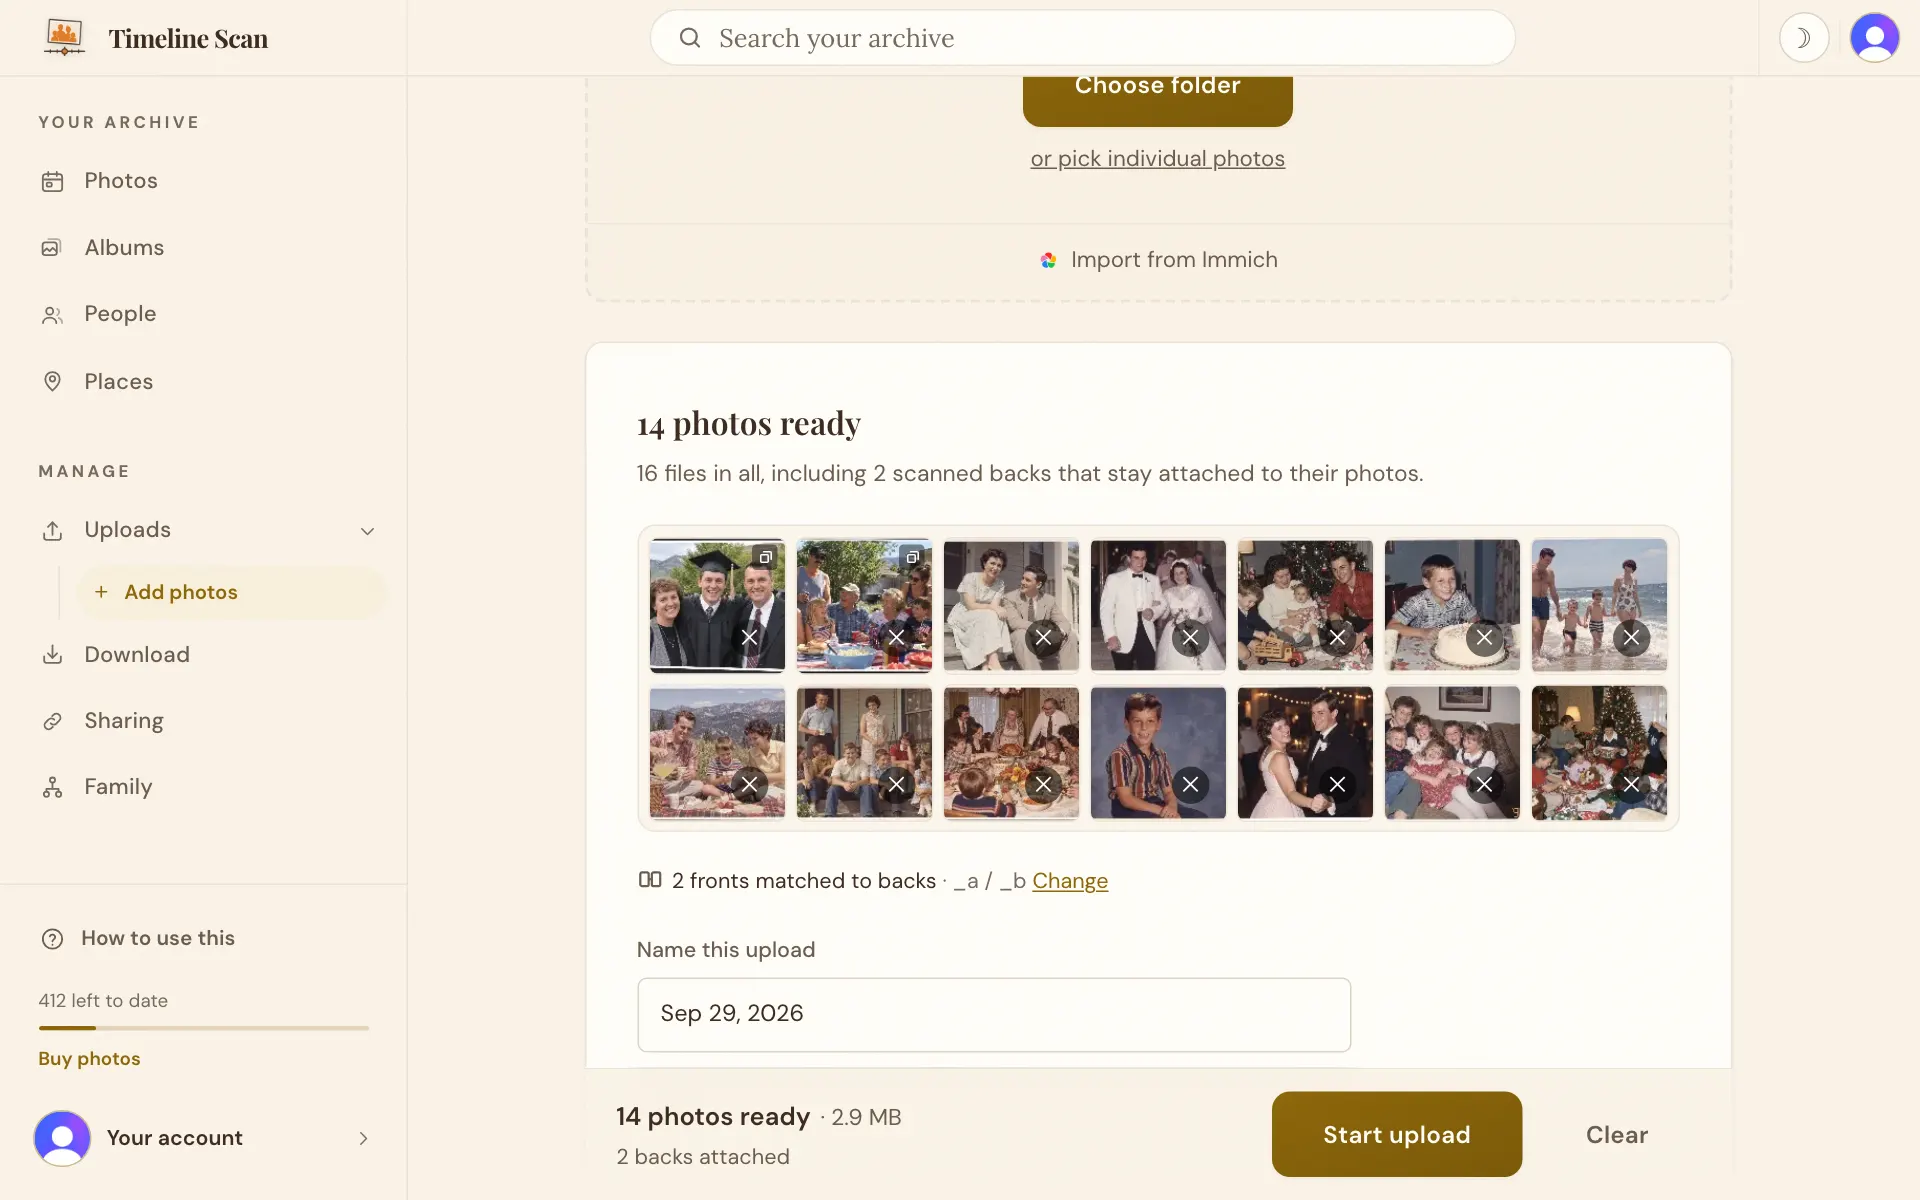
Add your photos

A folder, a few files, or a whole box.
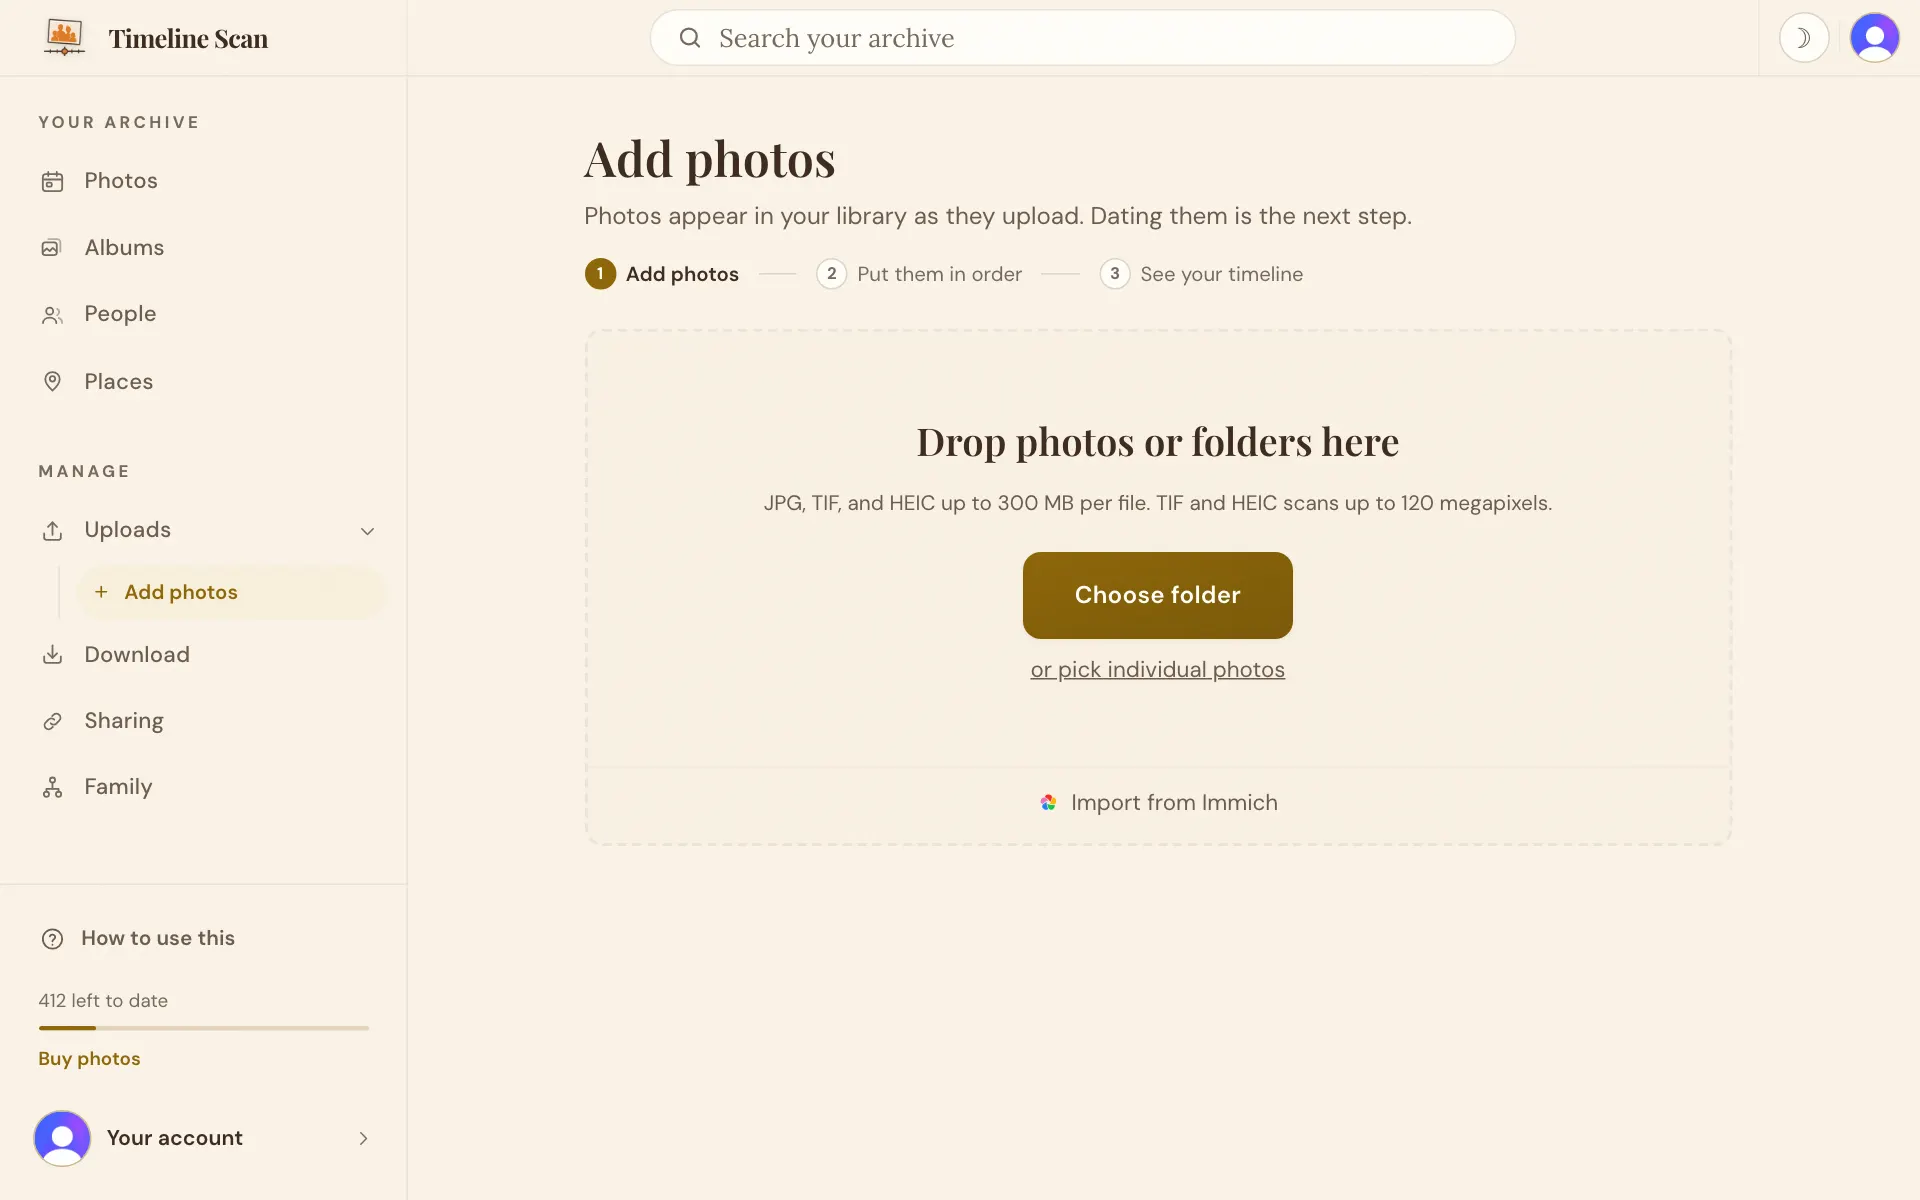
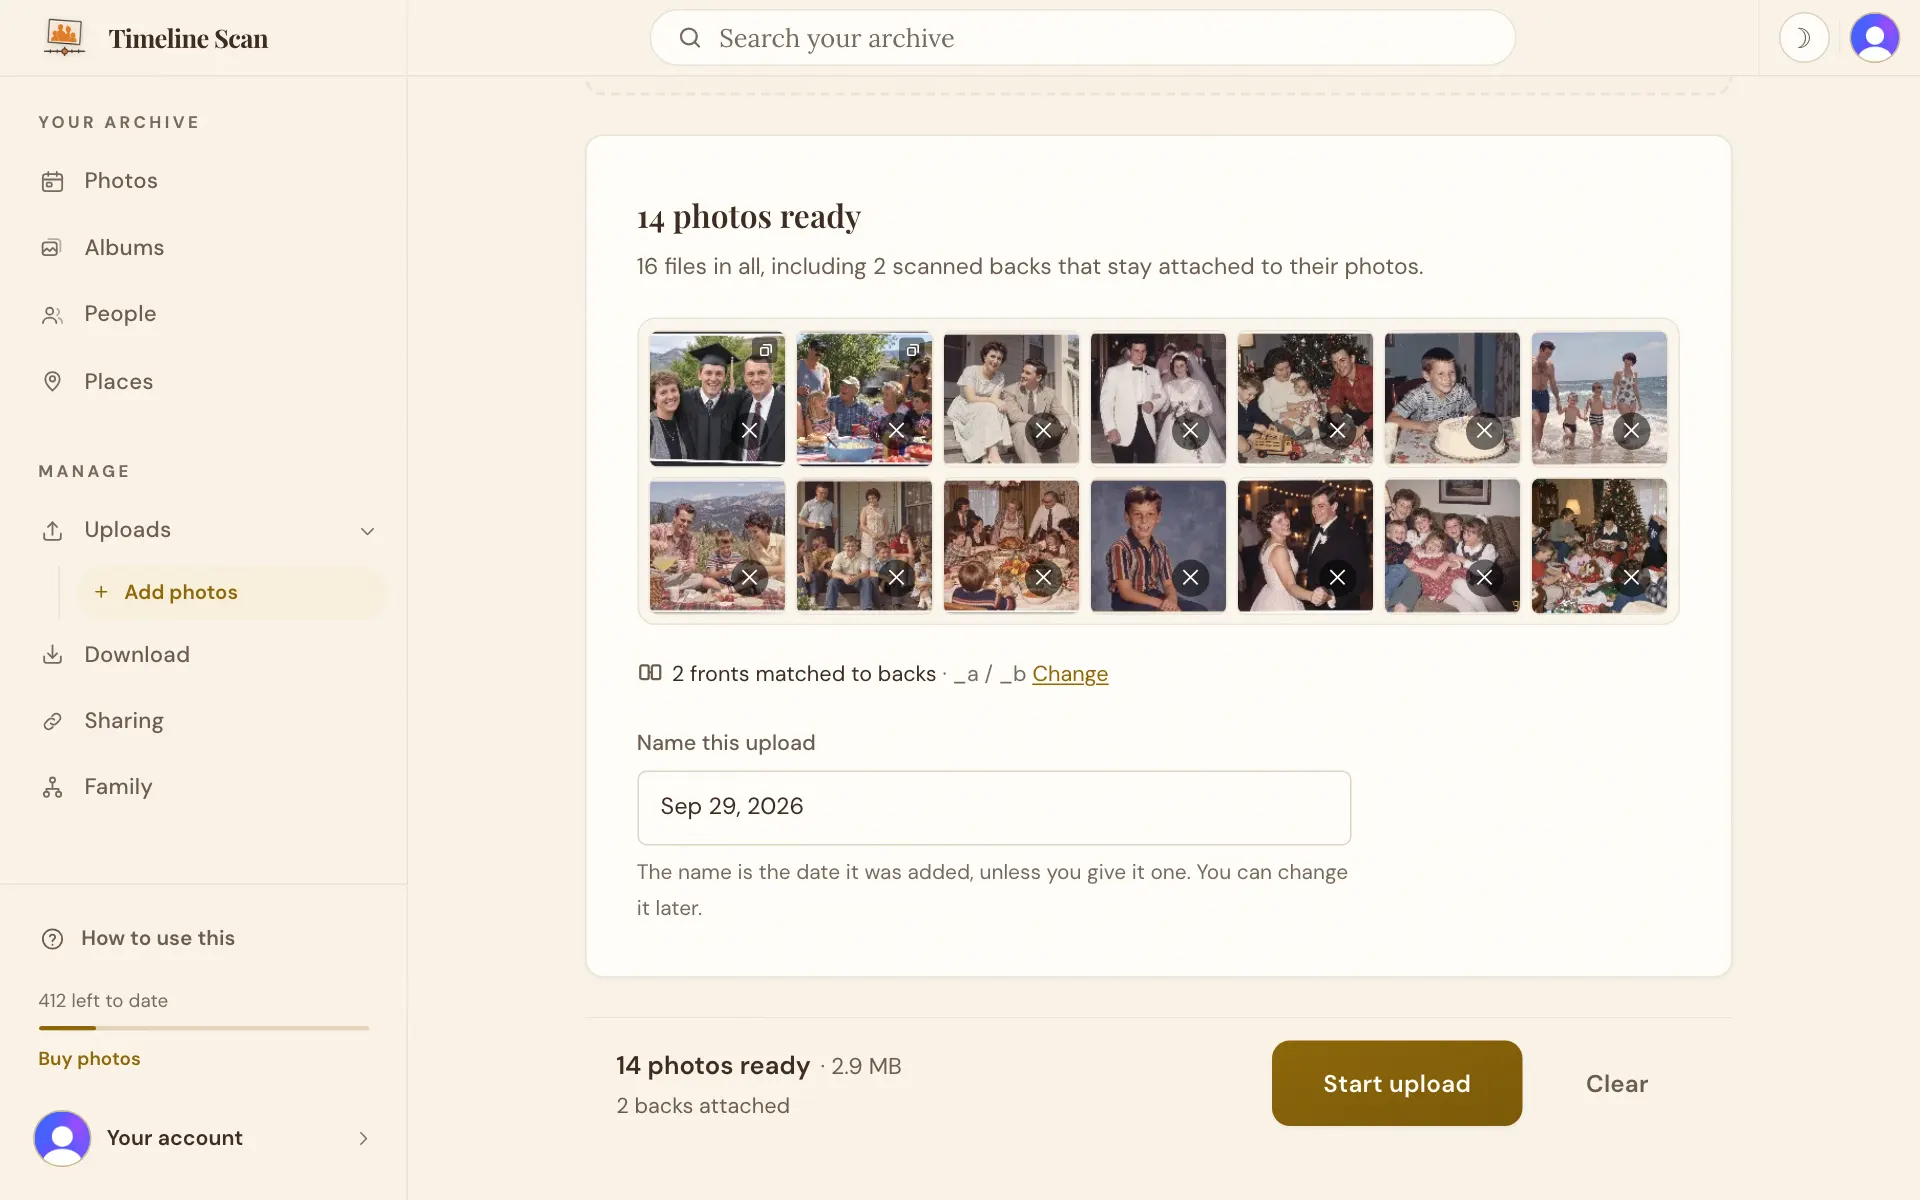
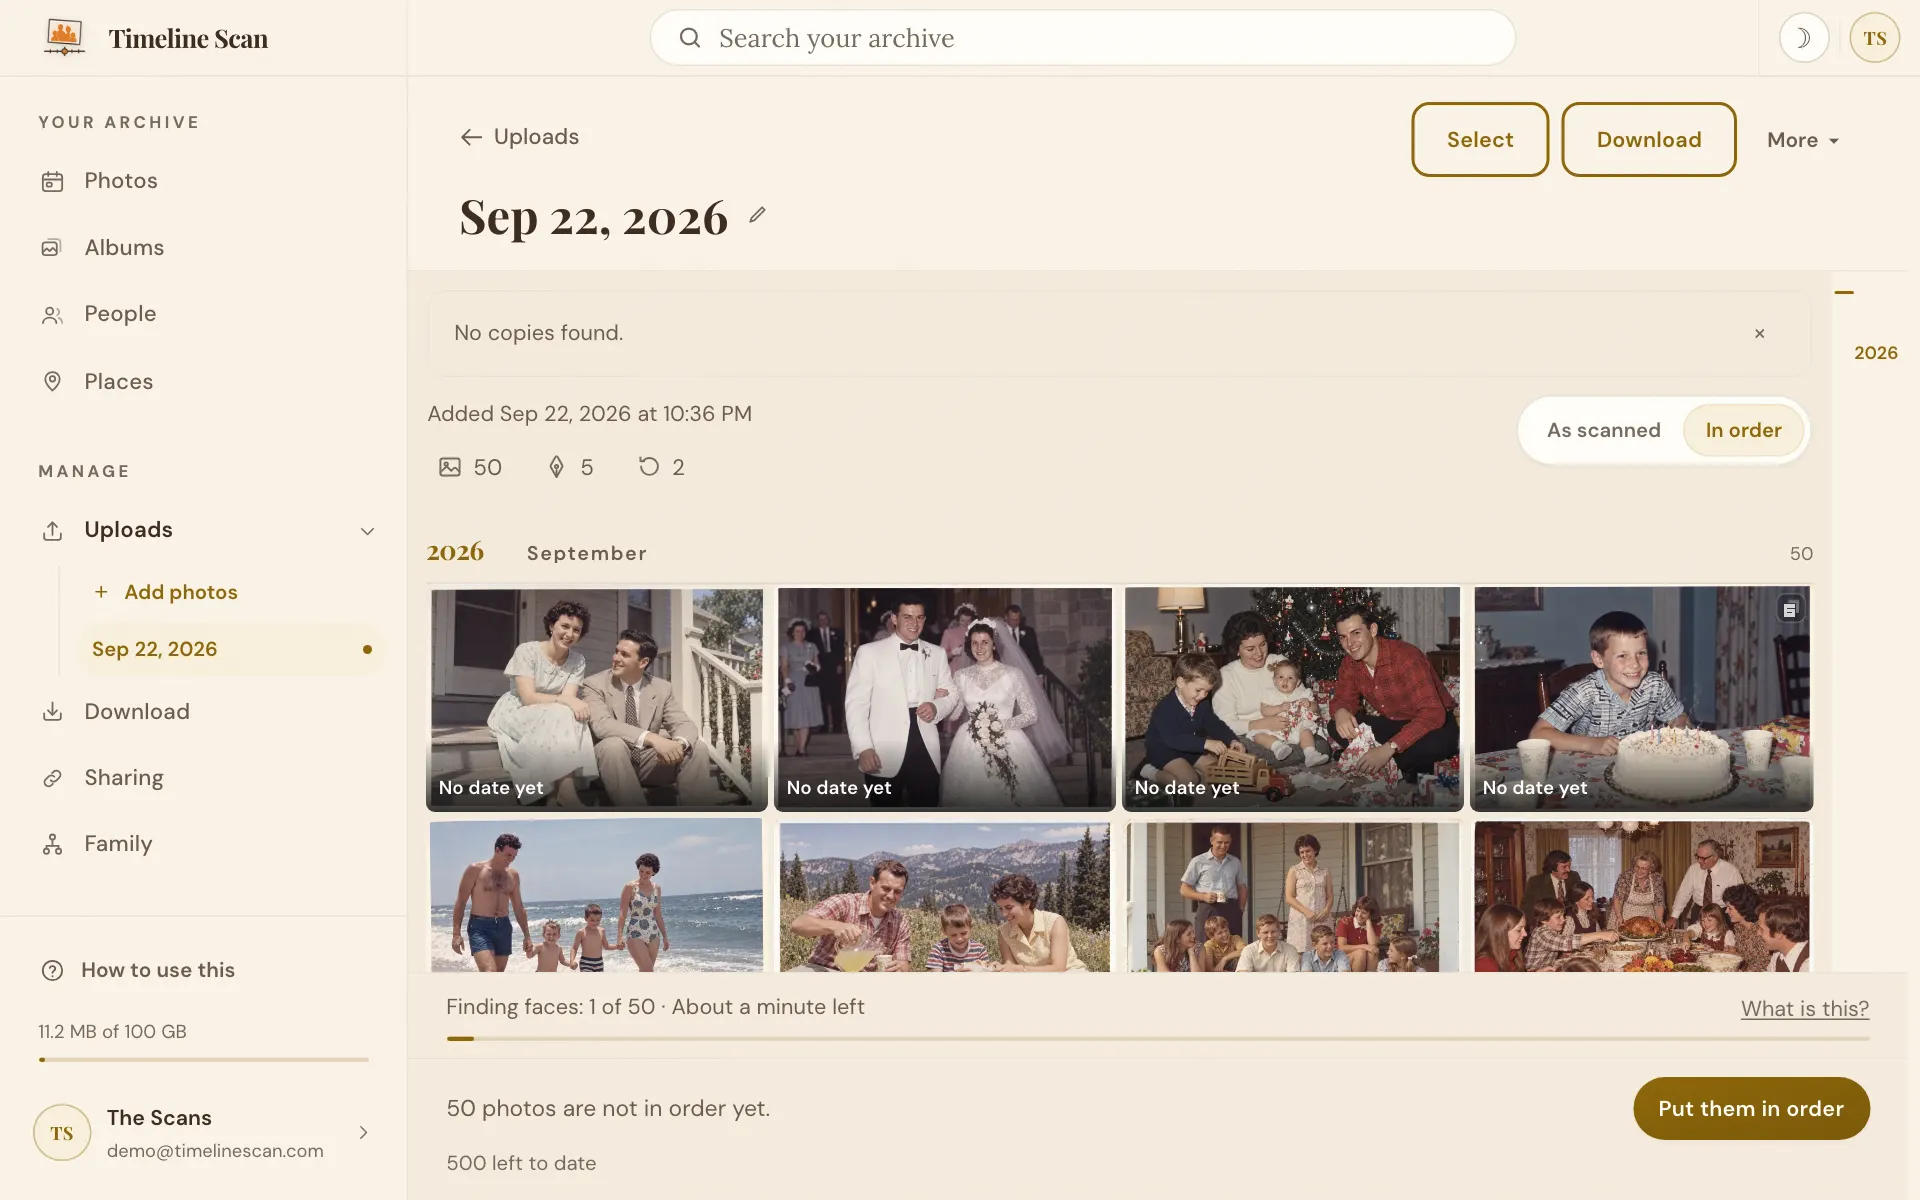
A Family Library with Add photos marked in the menu on the left The upload page with a large drop area and a Choose folder button in it Sixteen scanned photos waiting in a grid, with their count and a Start button above them
Step 2 of 9

Wait a little

Keep Timeline Scan open while they go up.
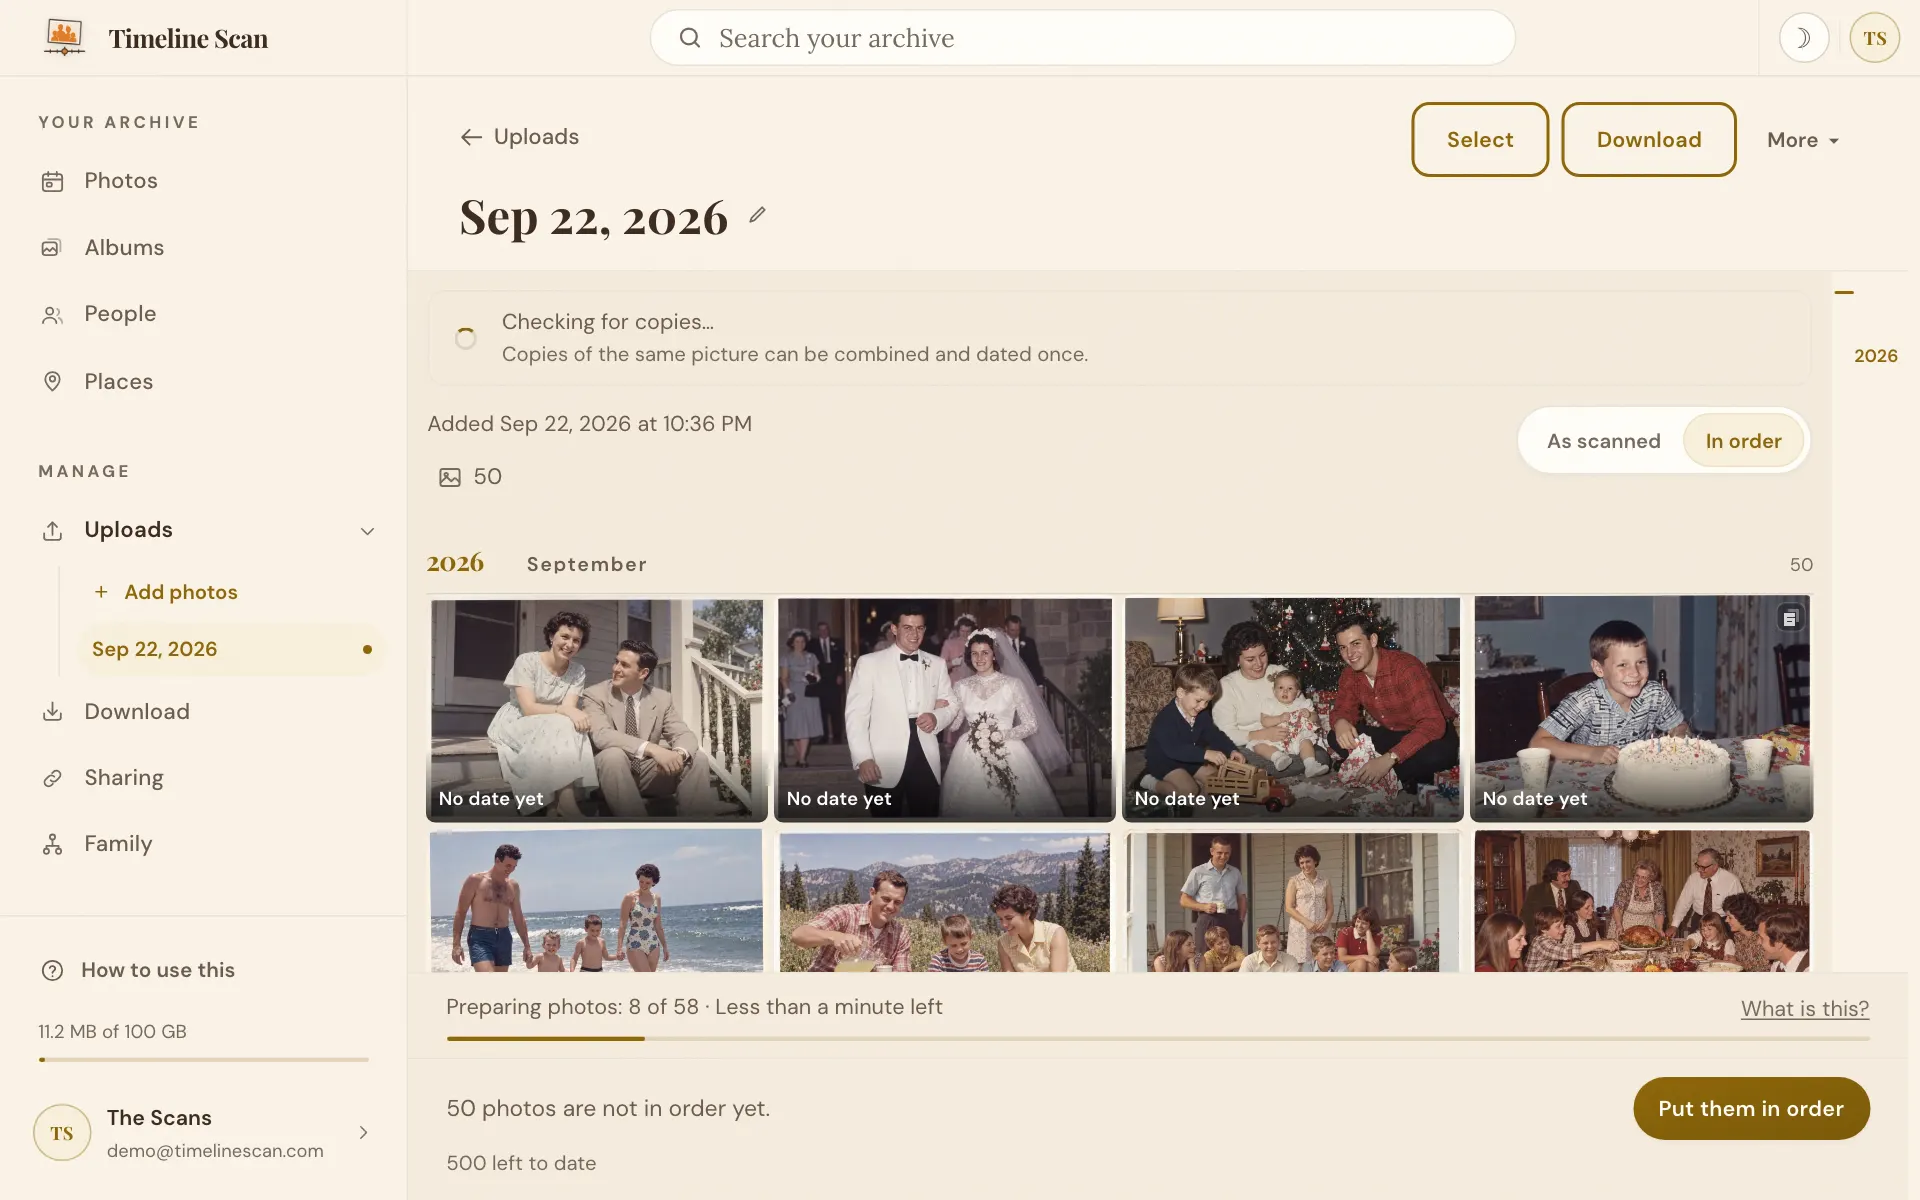
The upload page with a progress bar reading that the photos are being prepared The same upload page, now counting the faces it has found in the photos
Step 3 of 9

Name the people

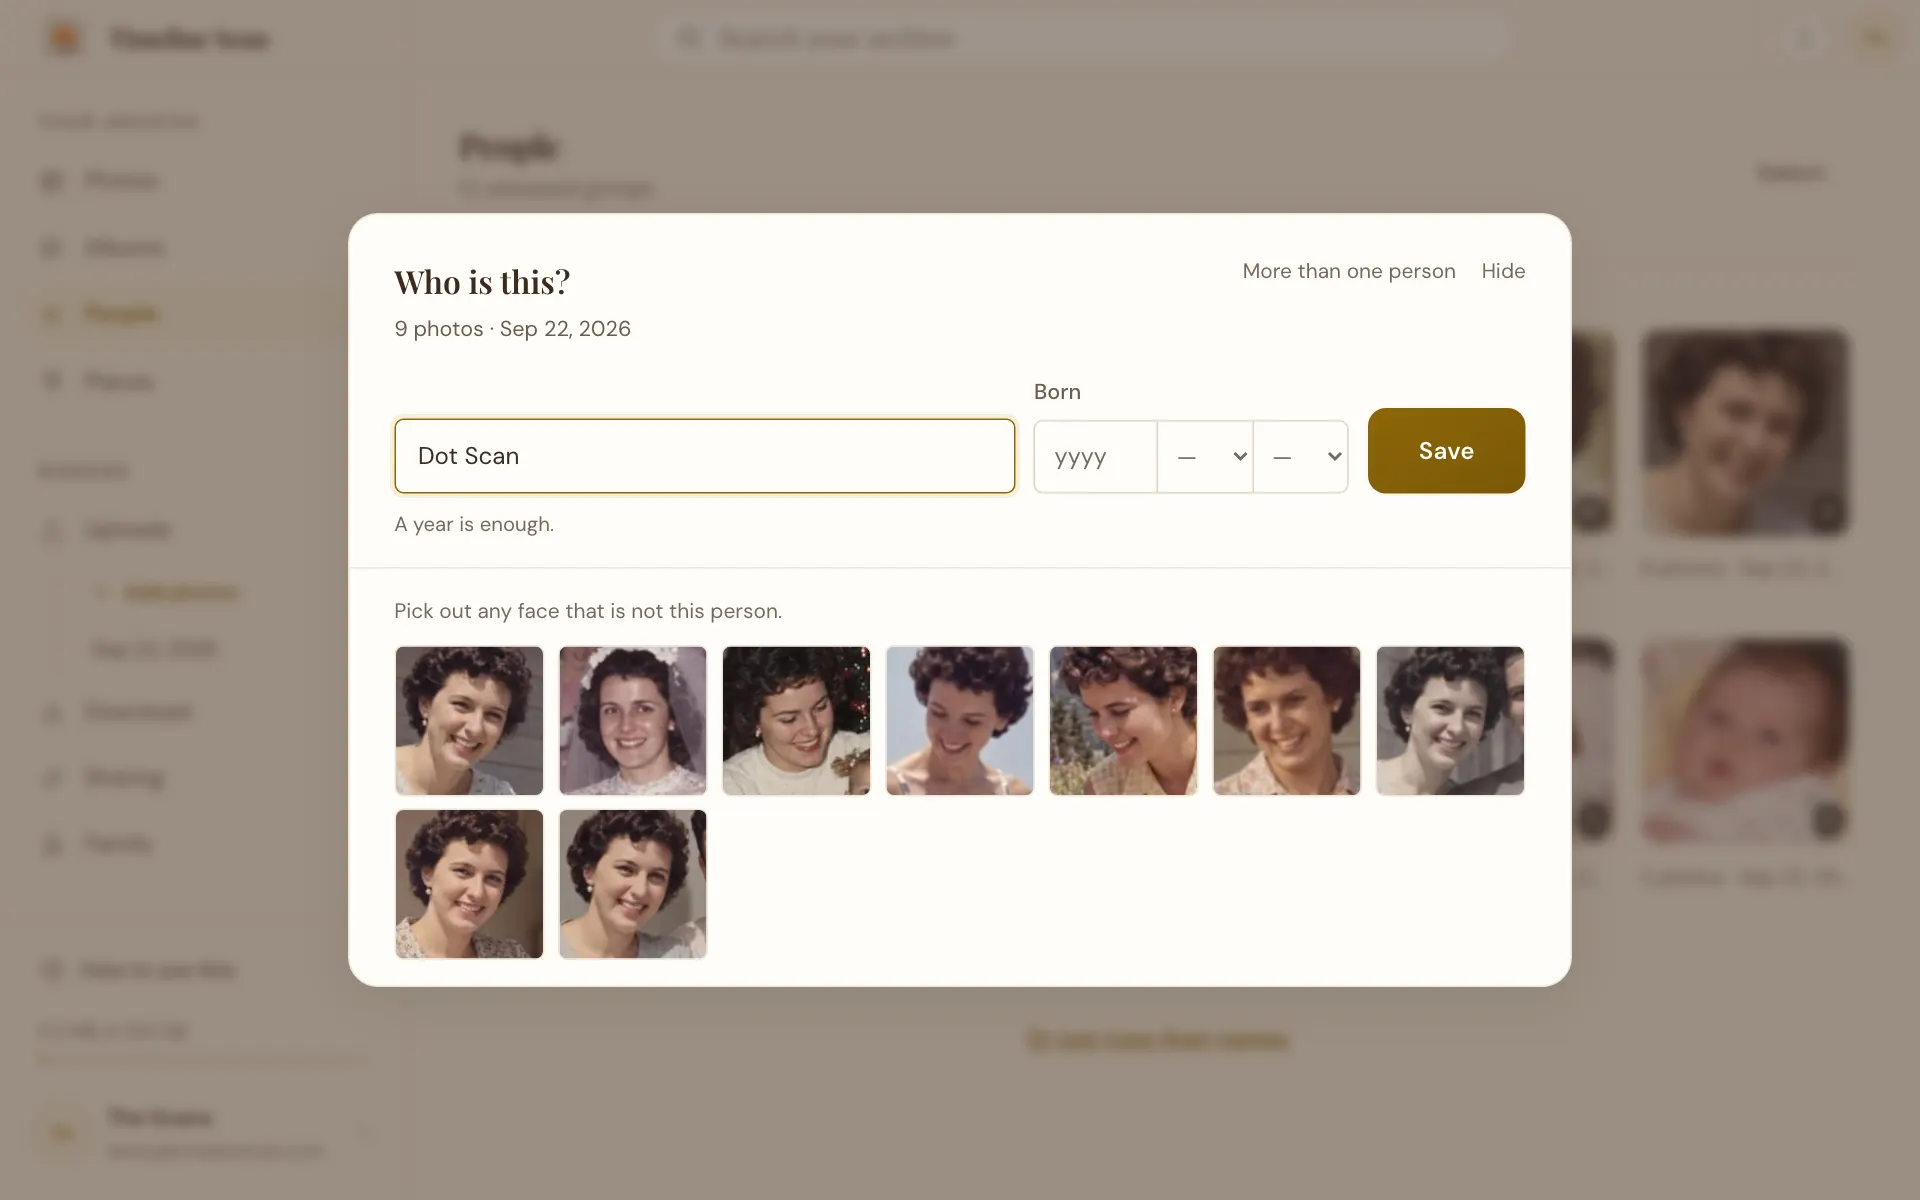
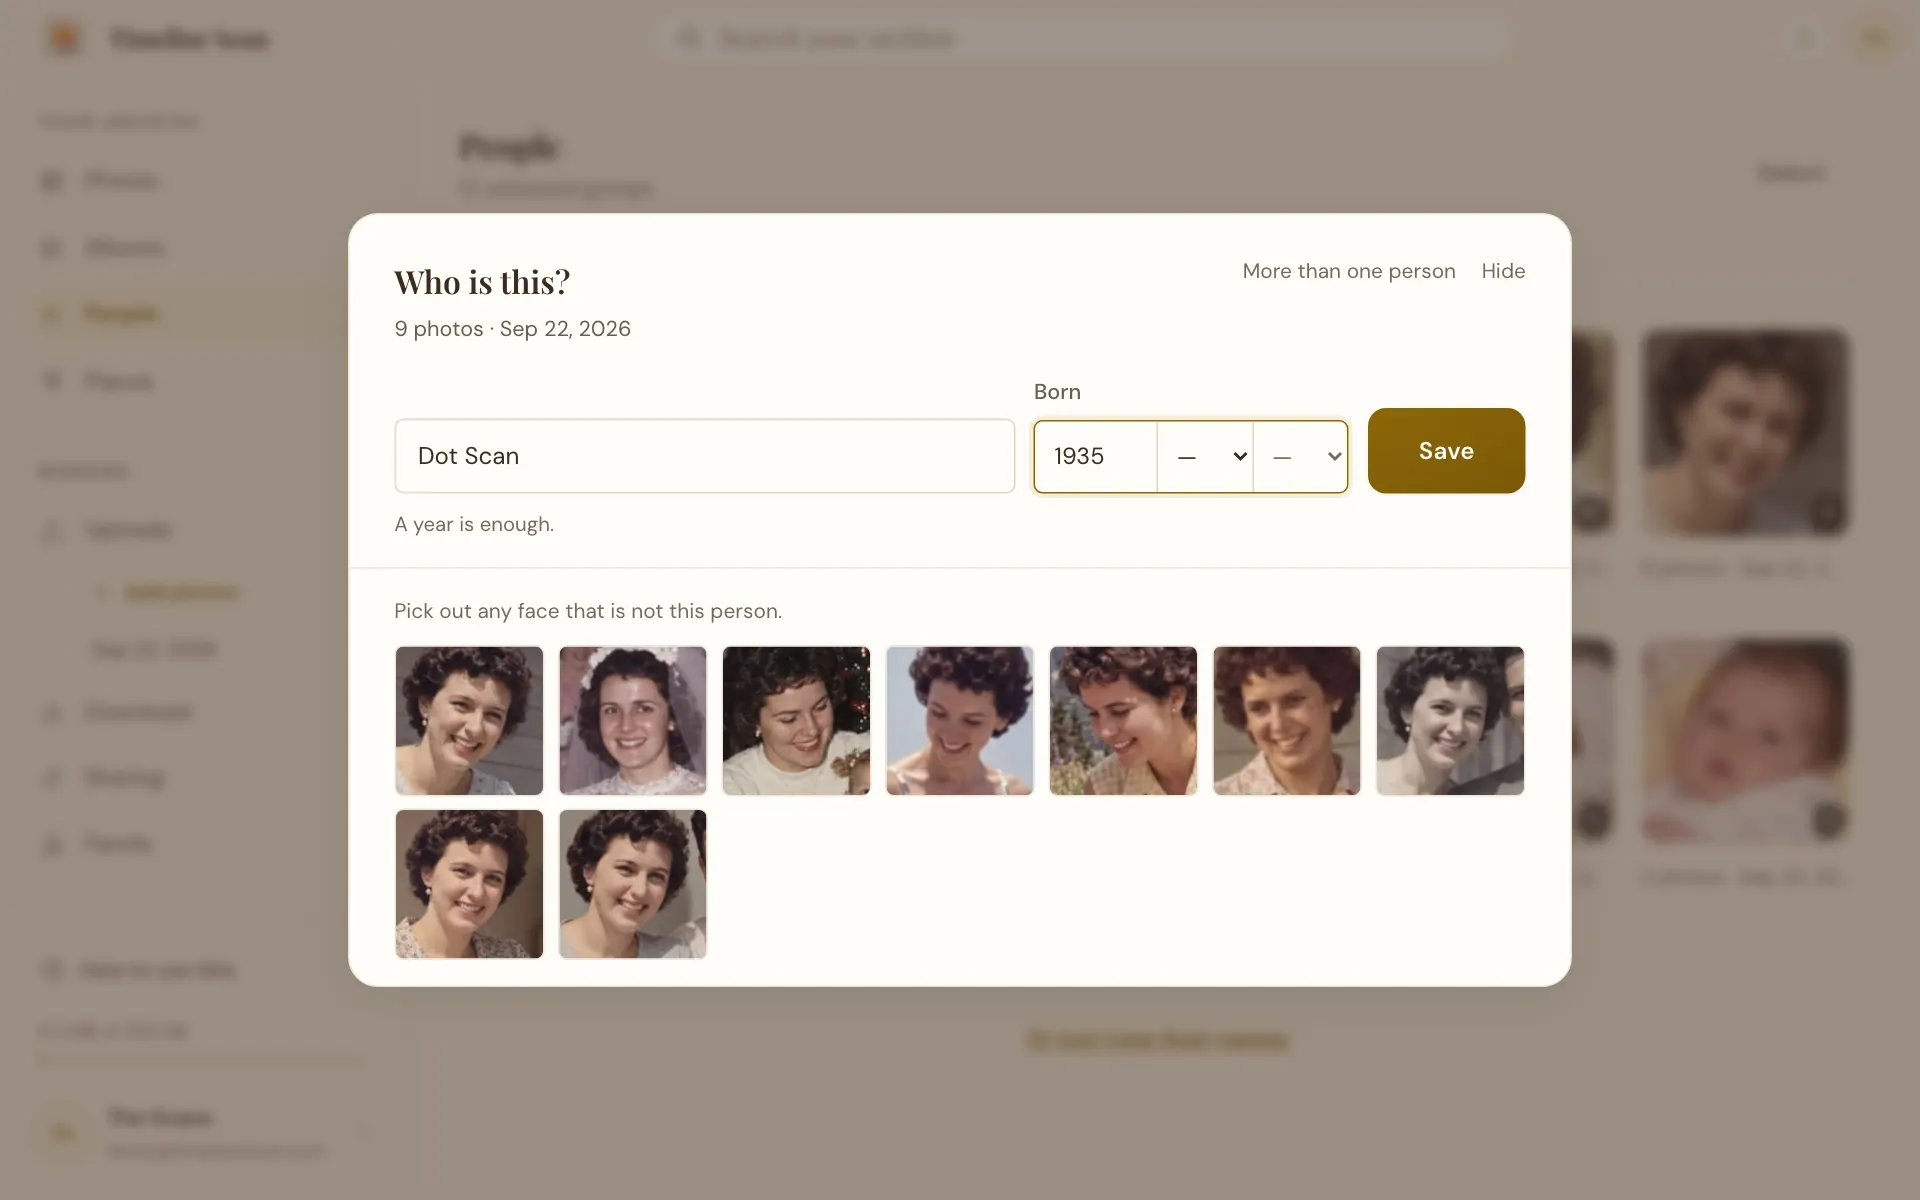
Name one. We find the rest.

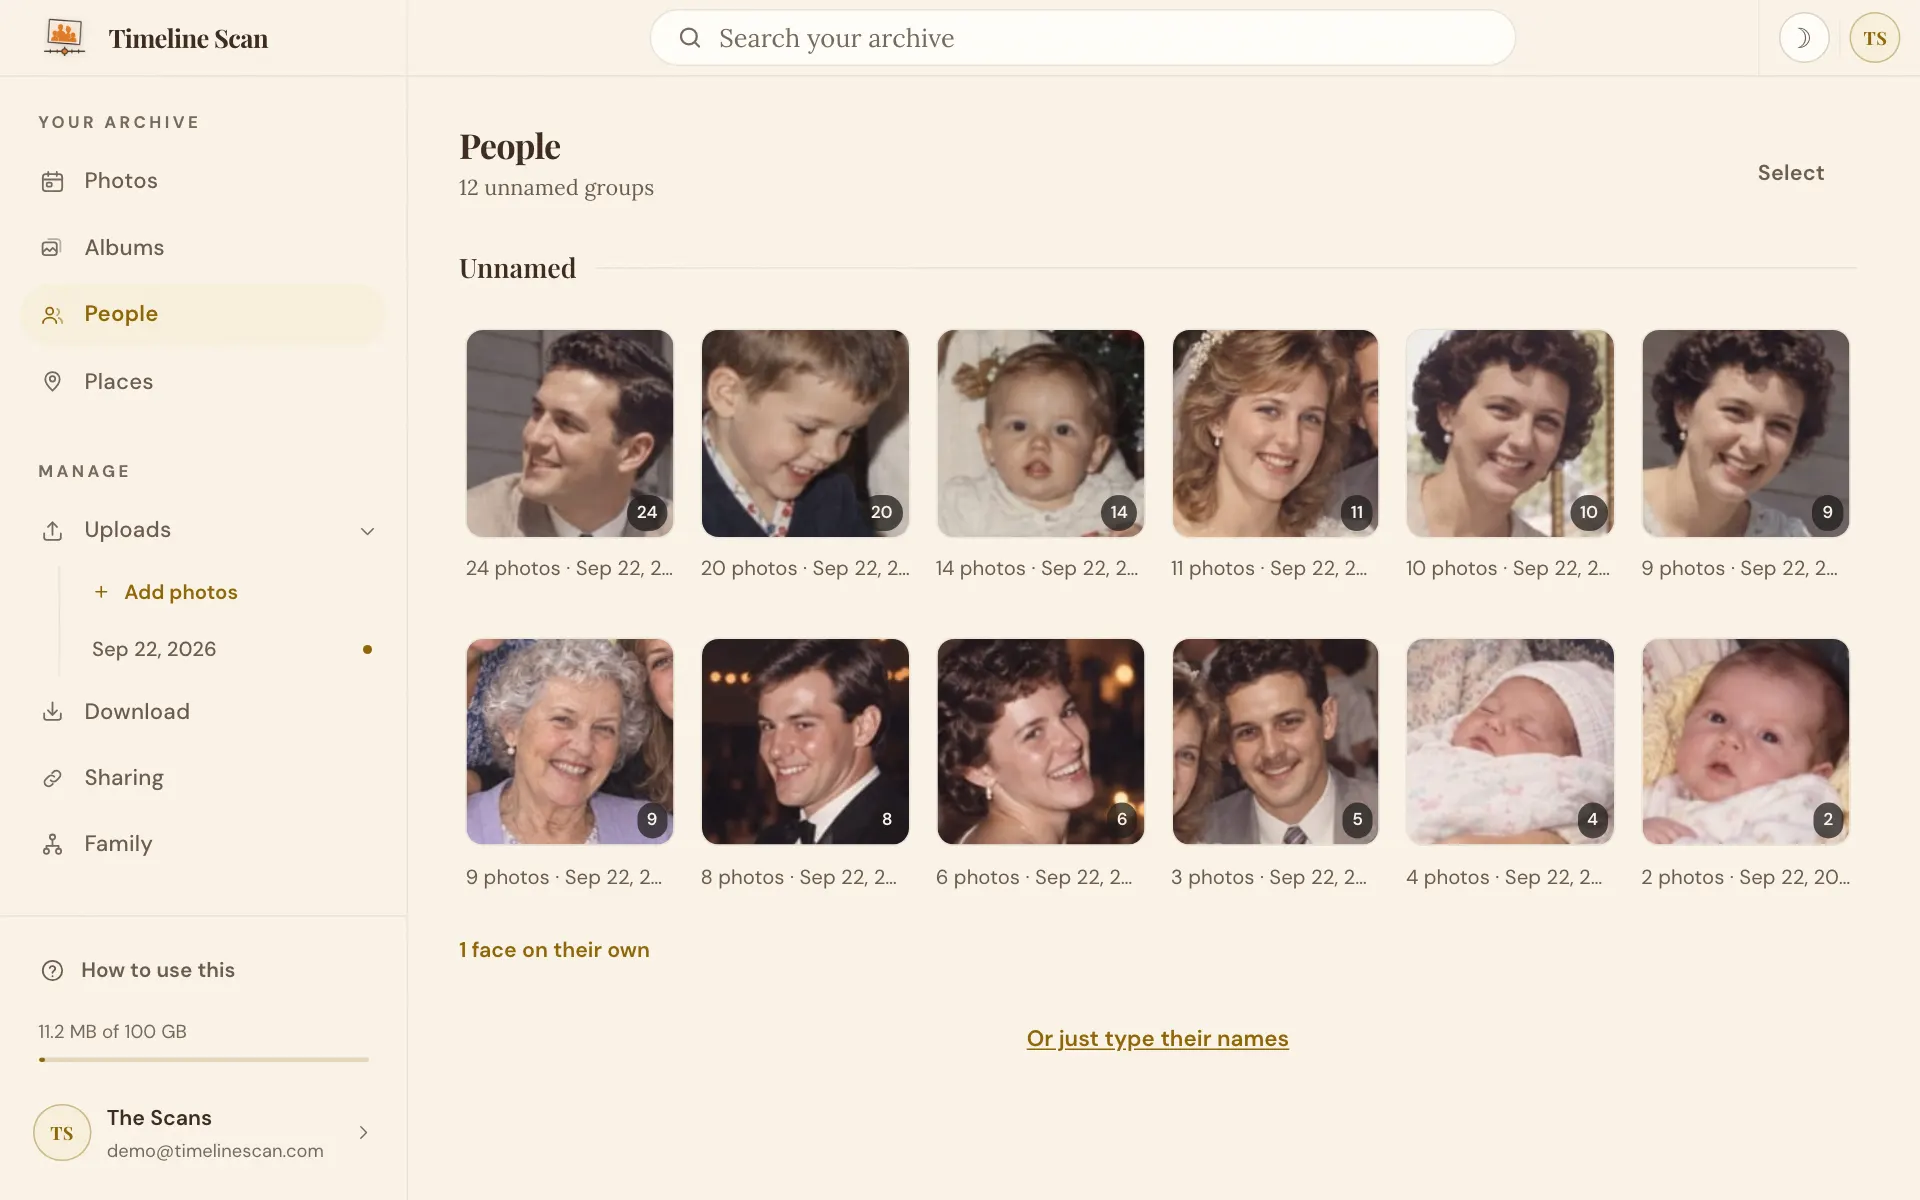
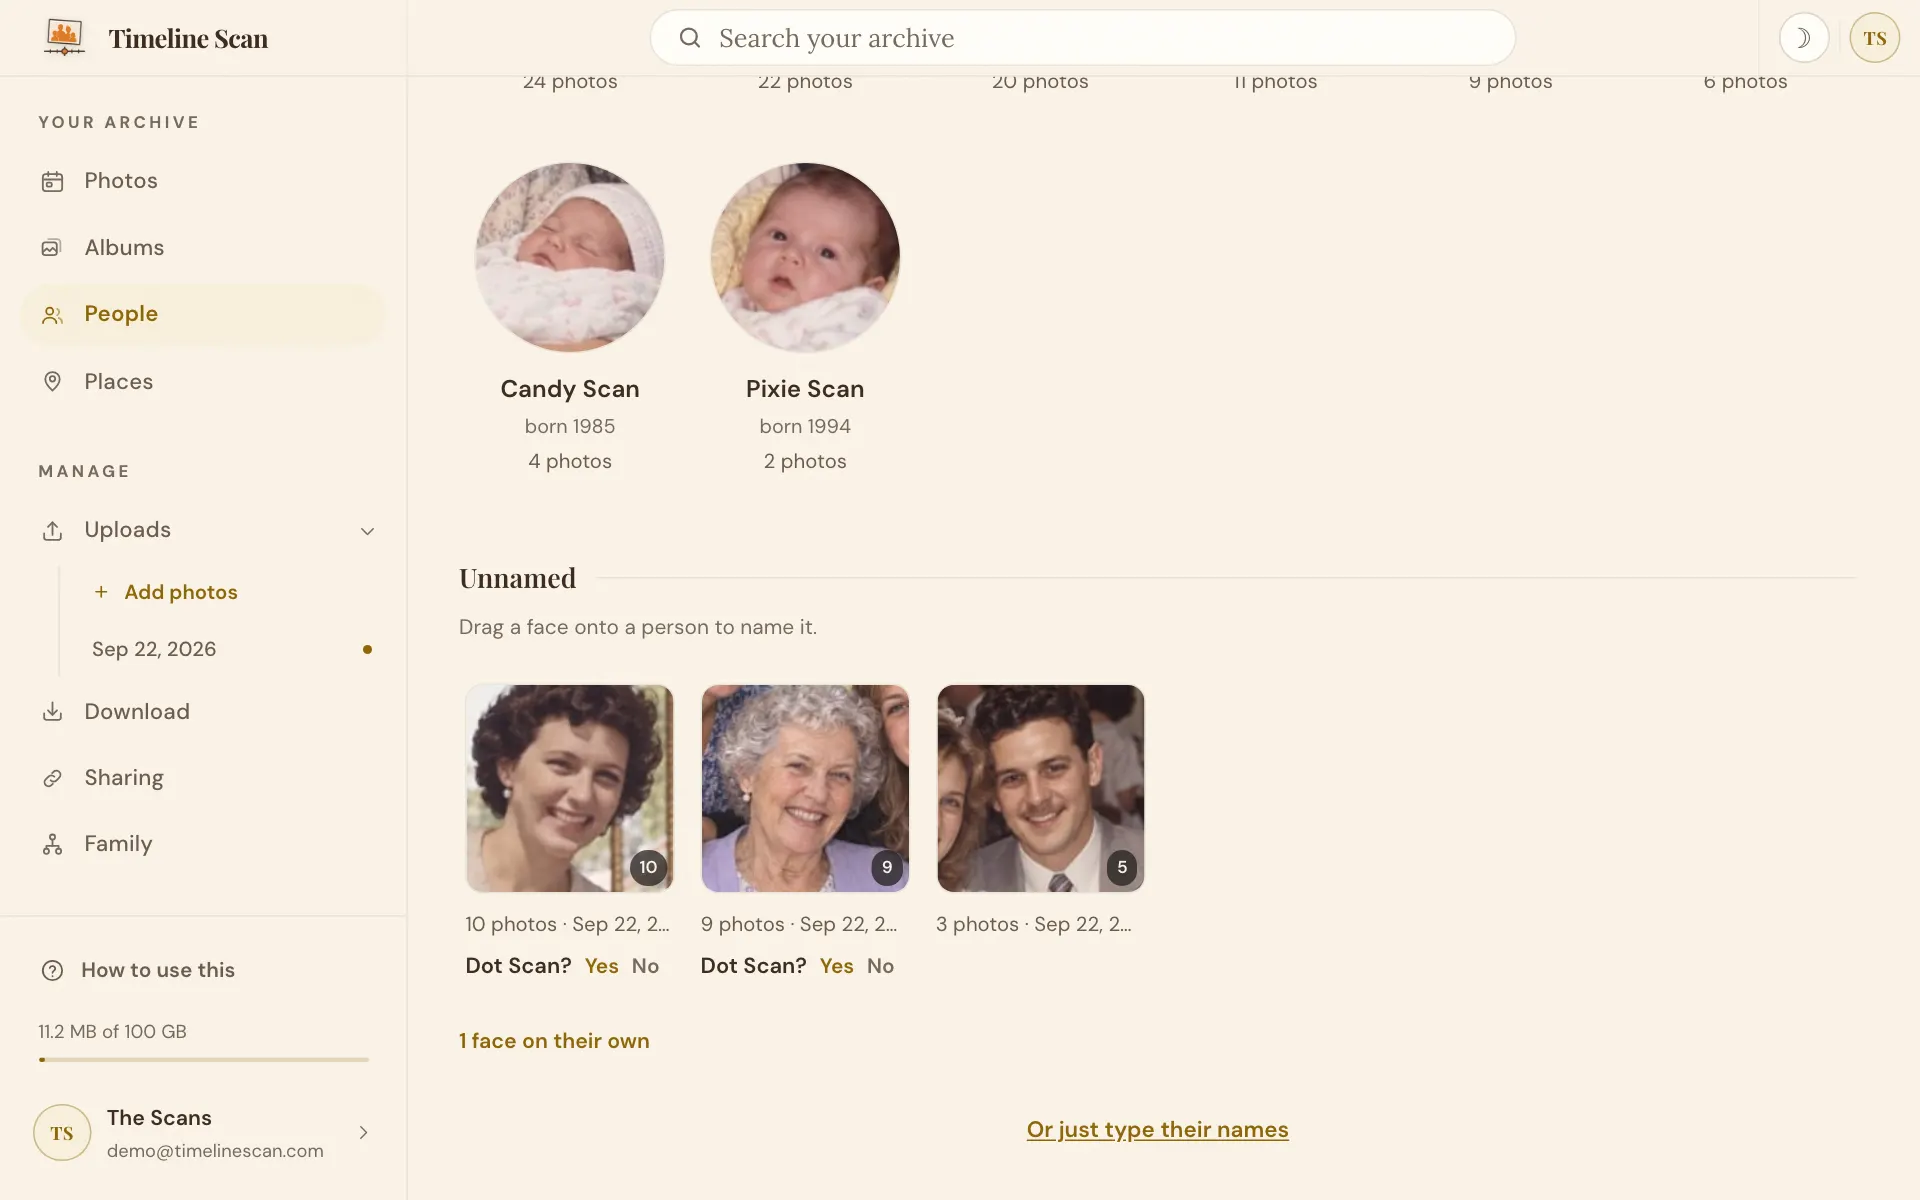
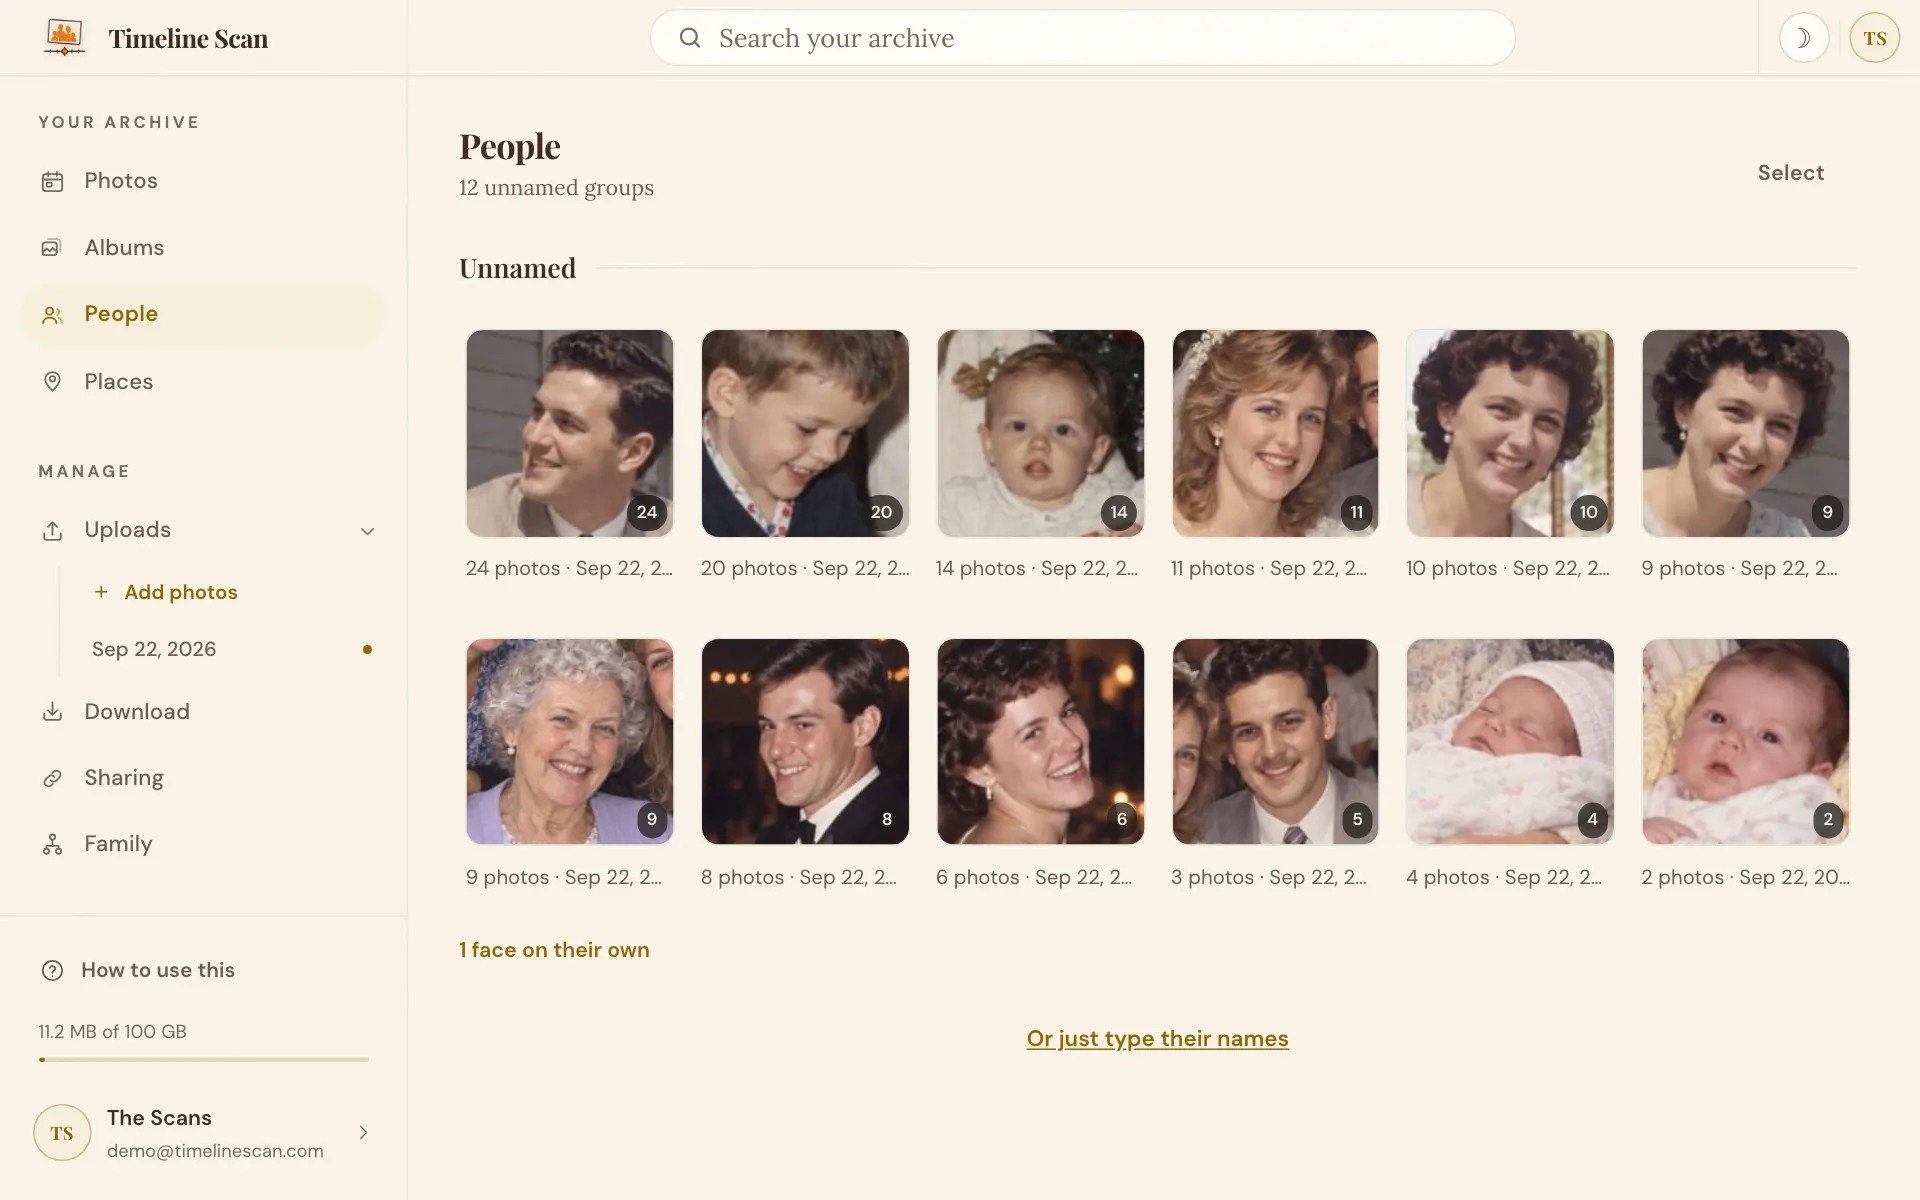
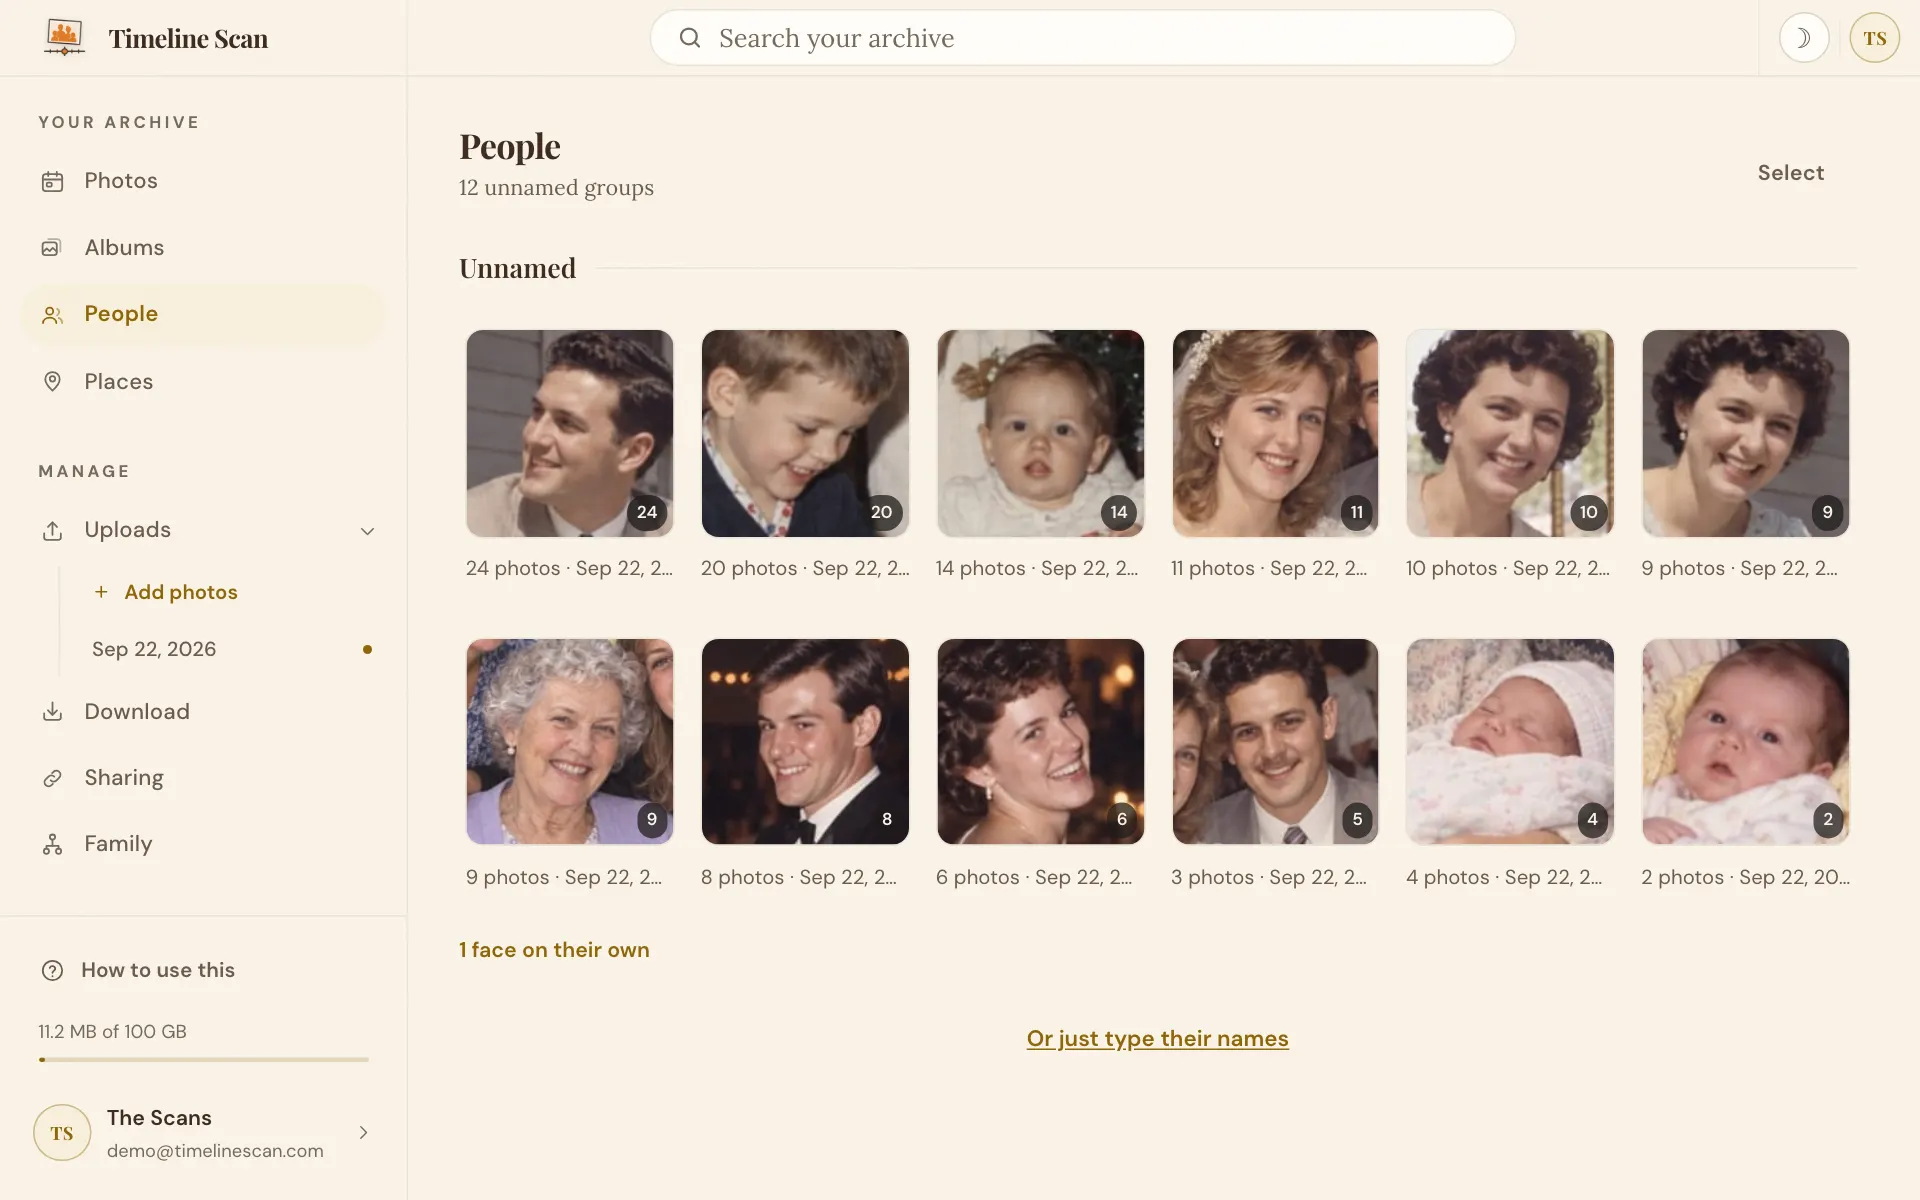
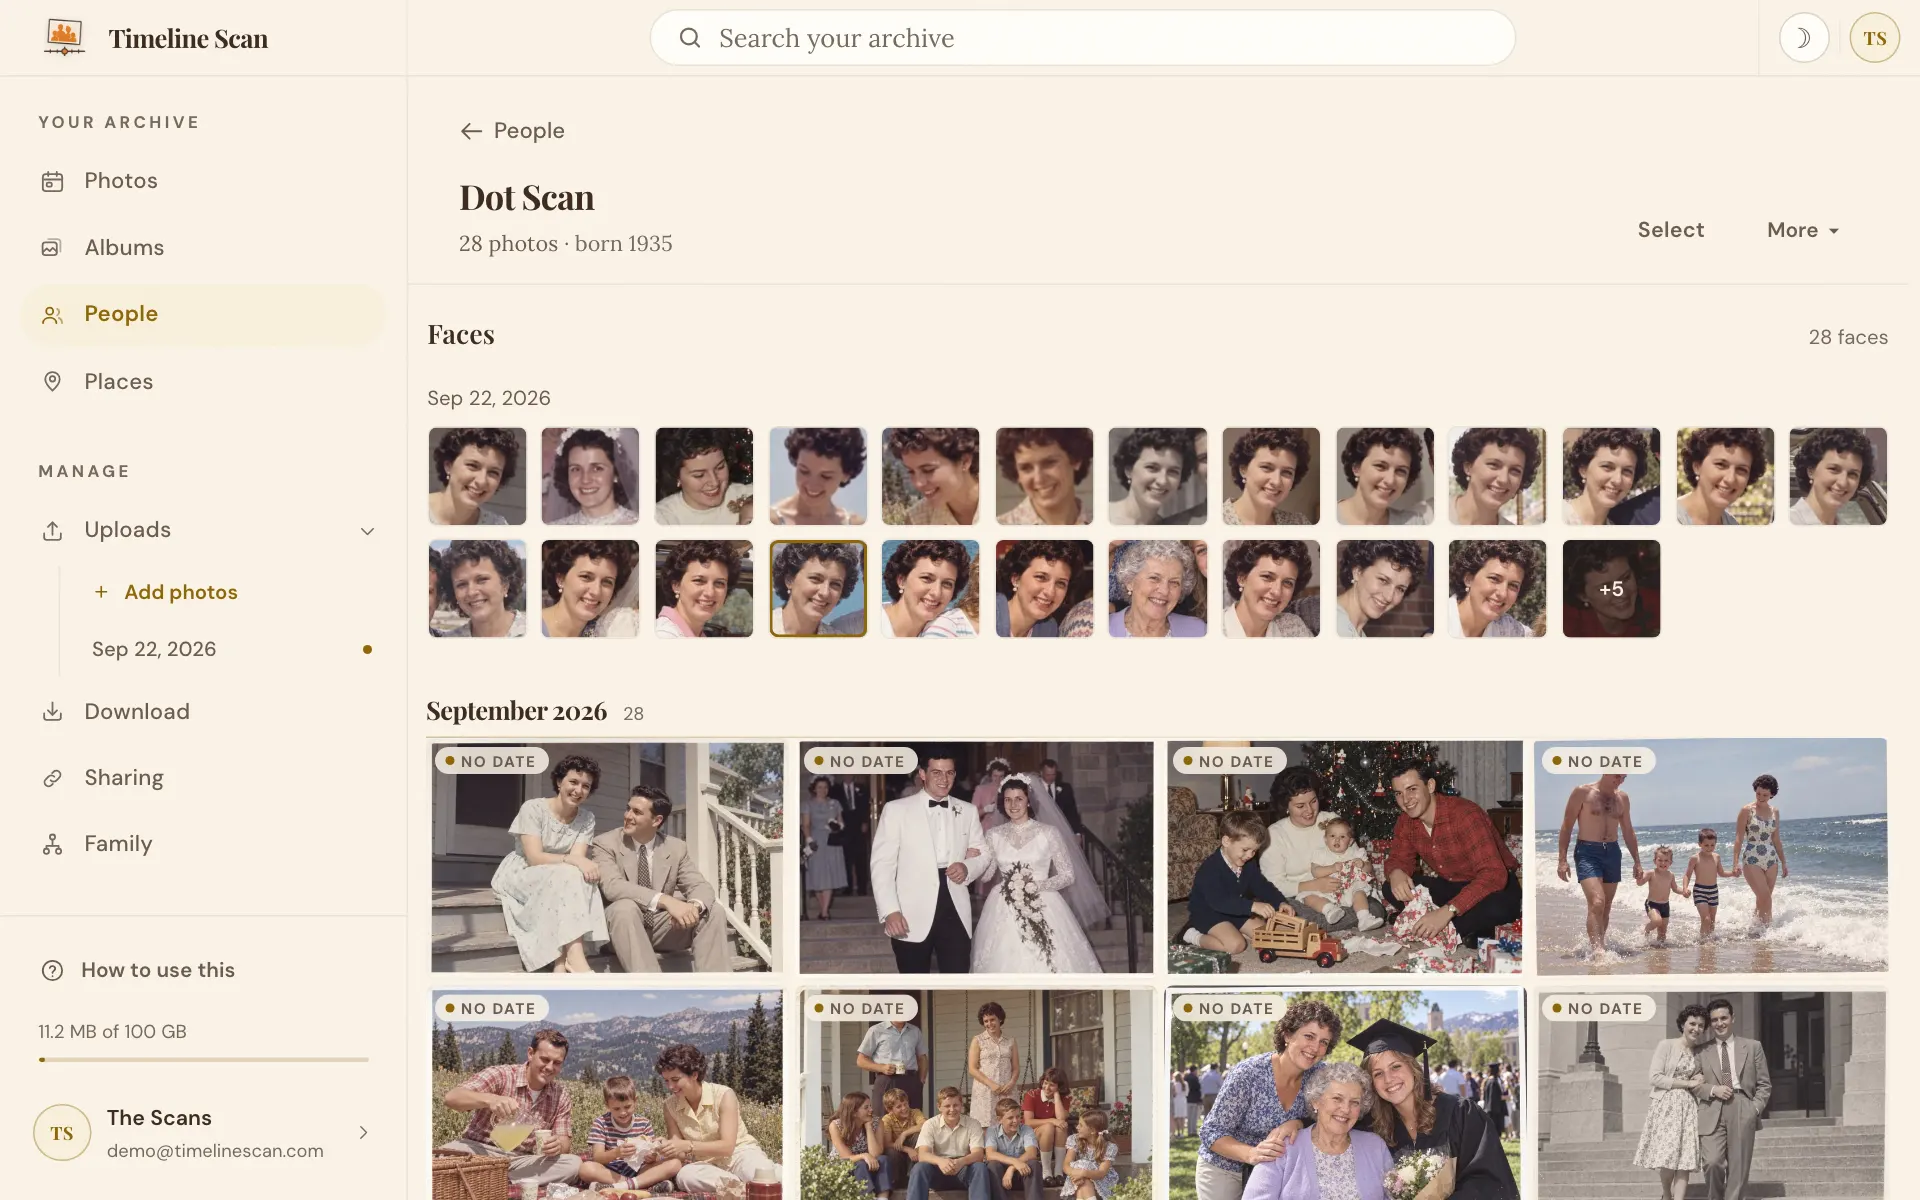
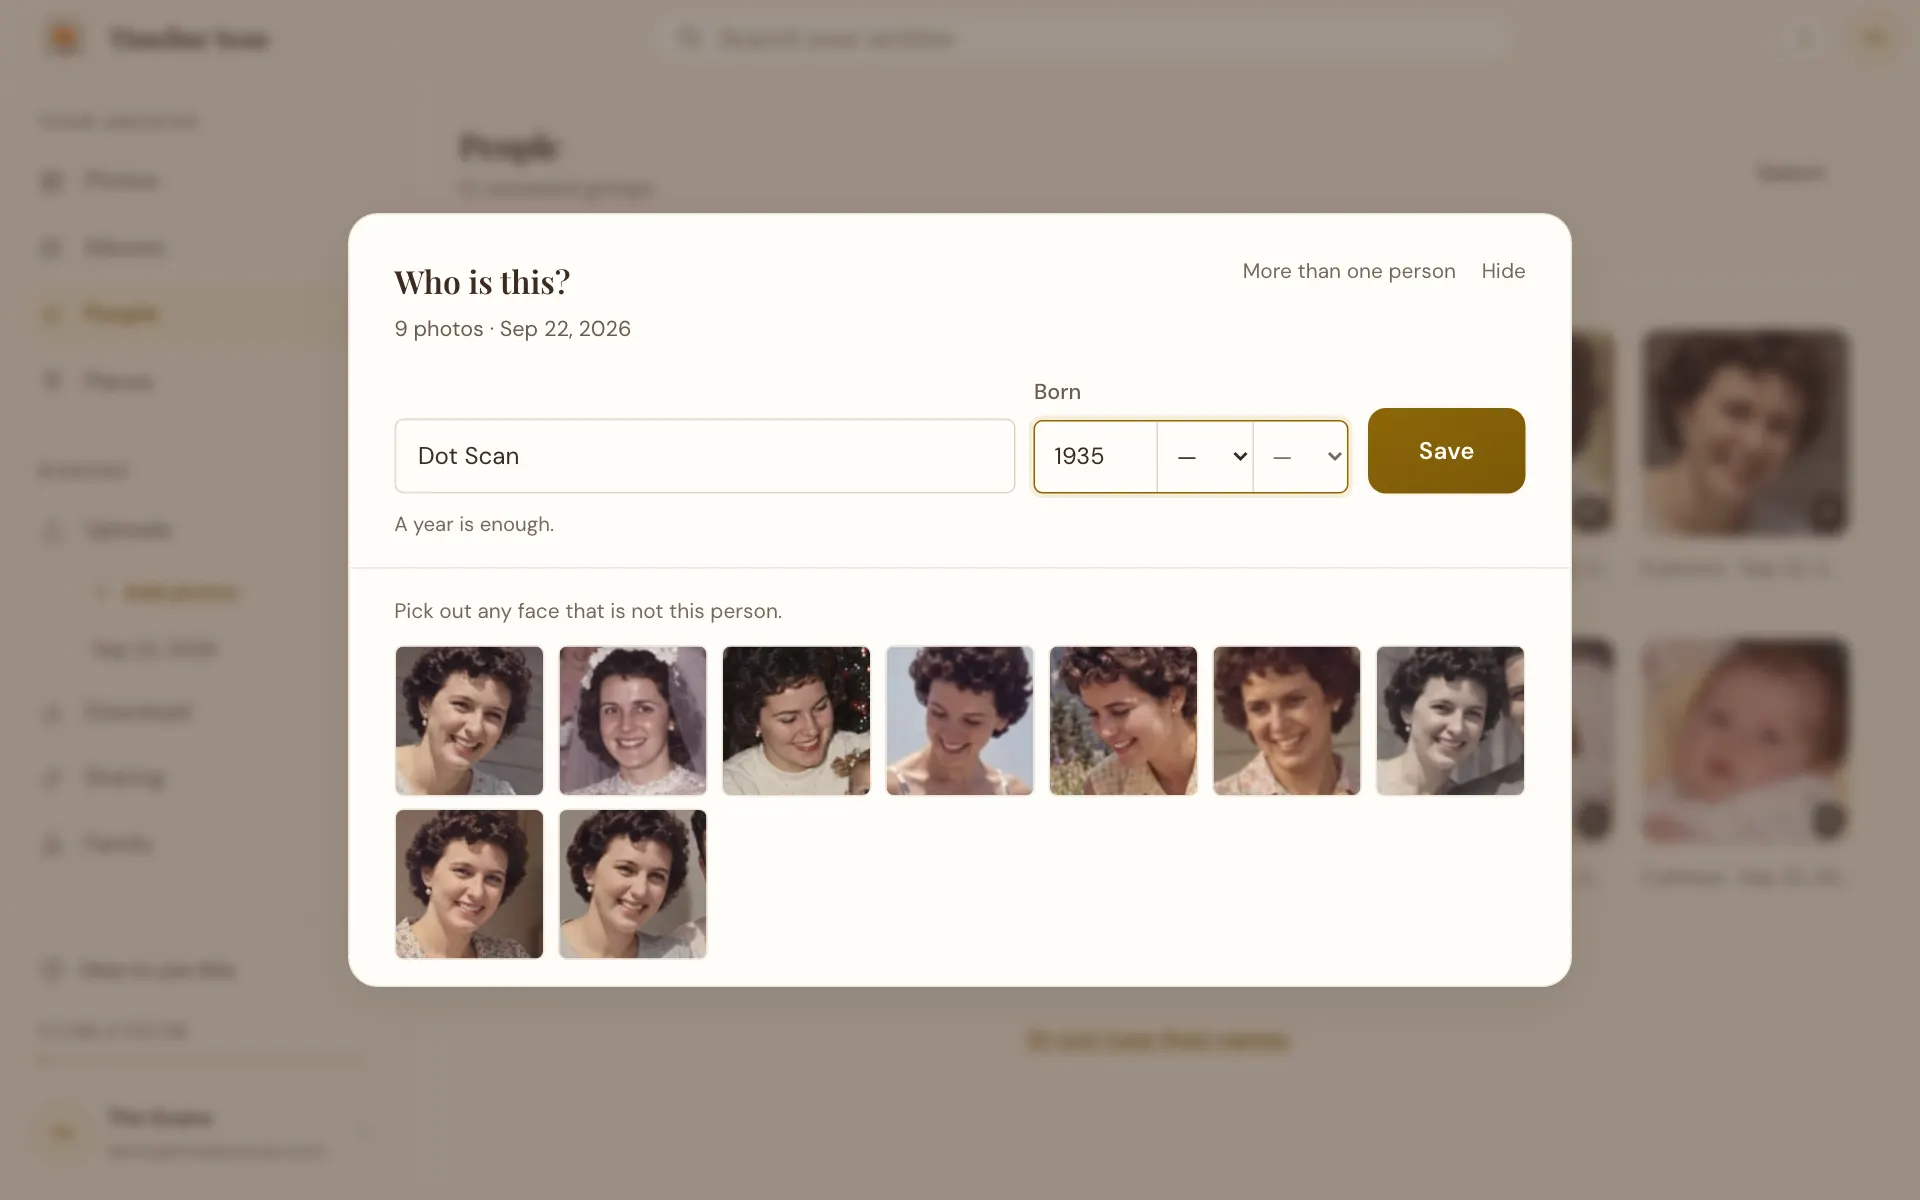
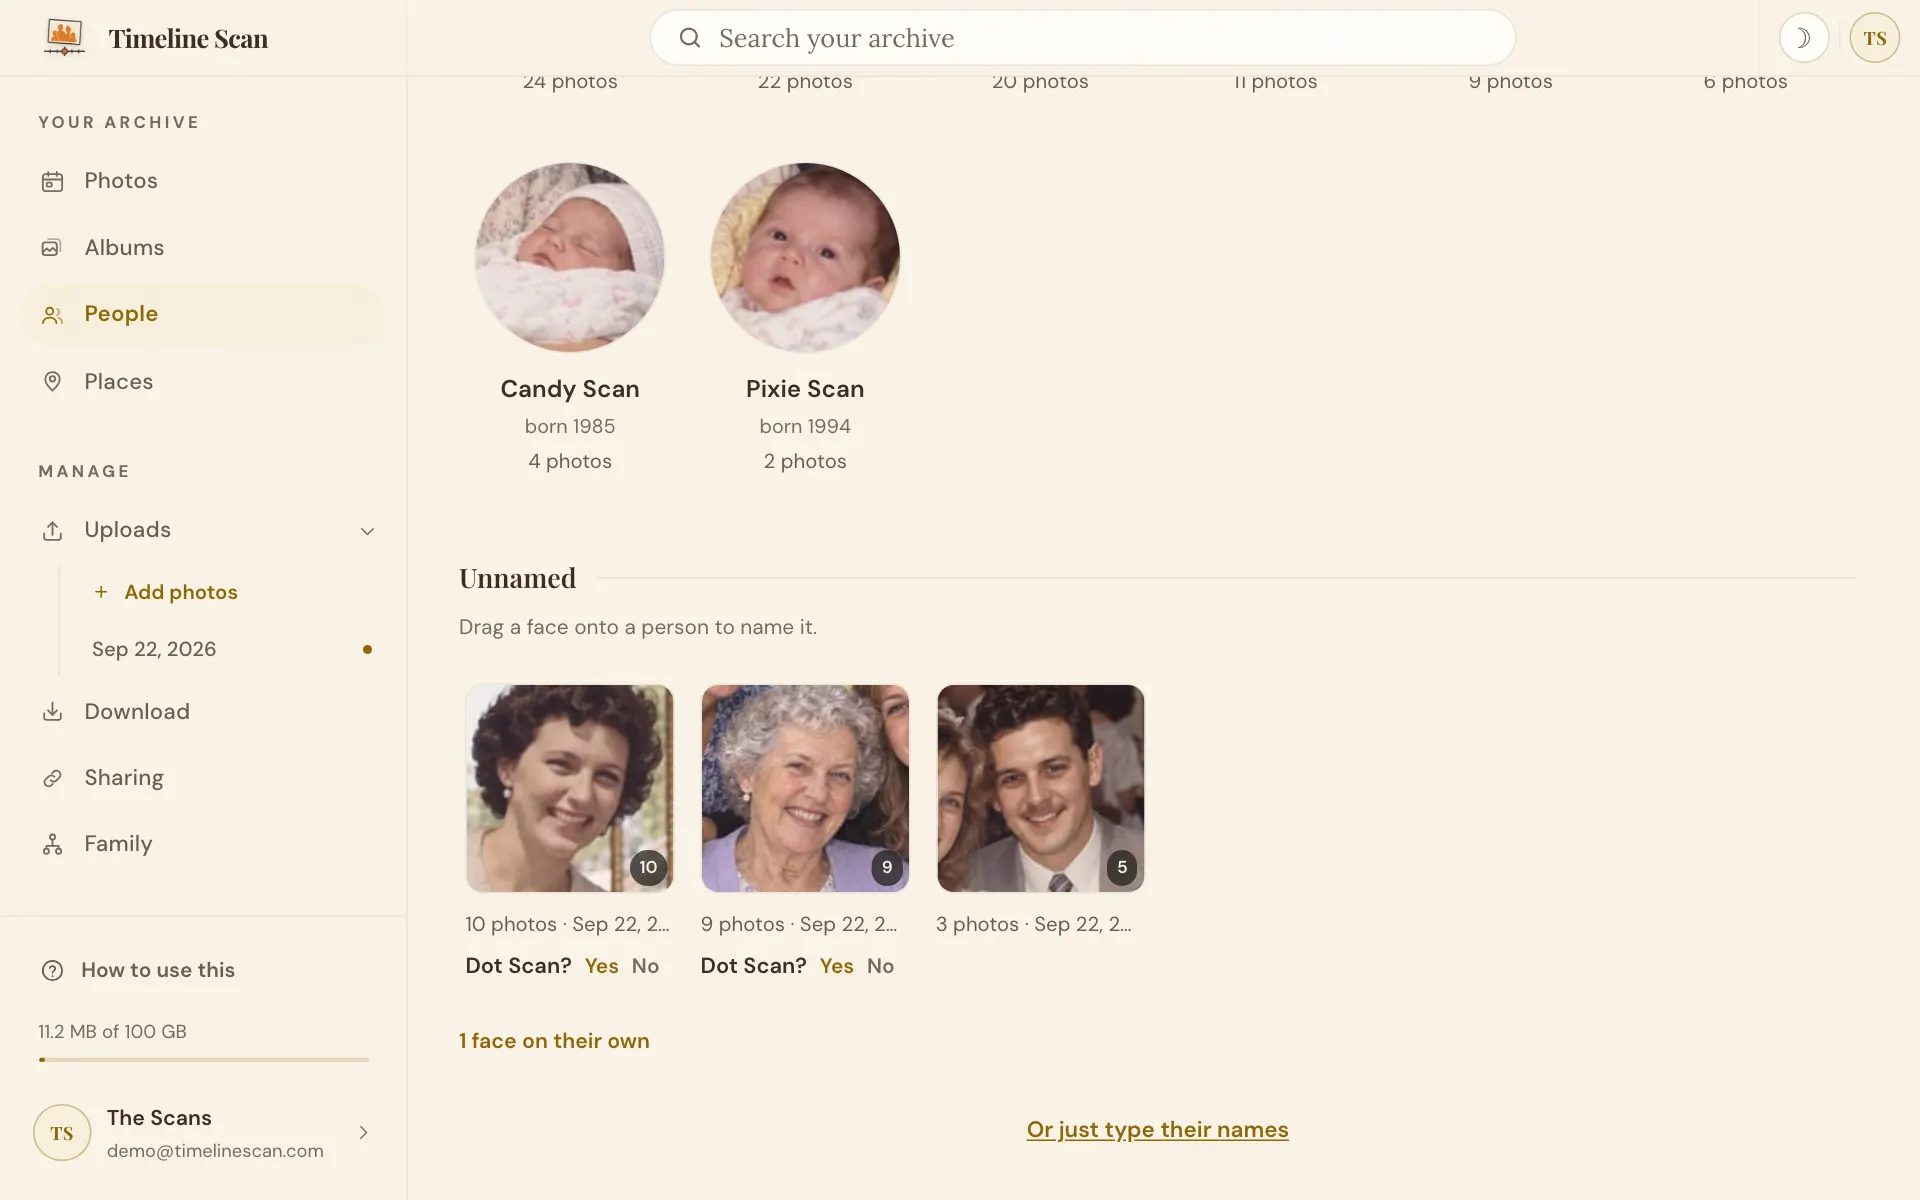
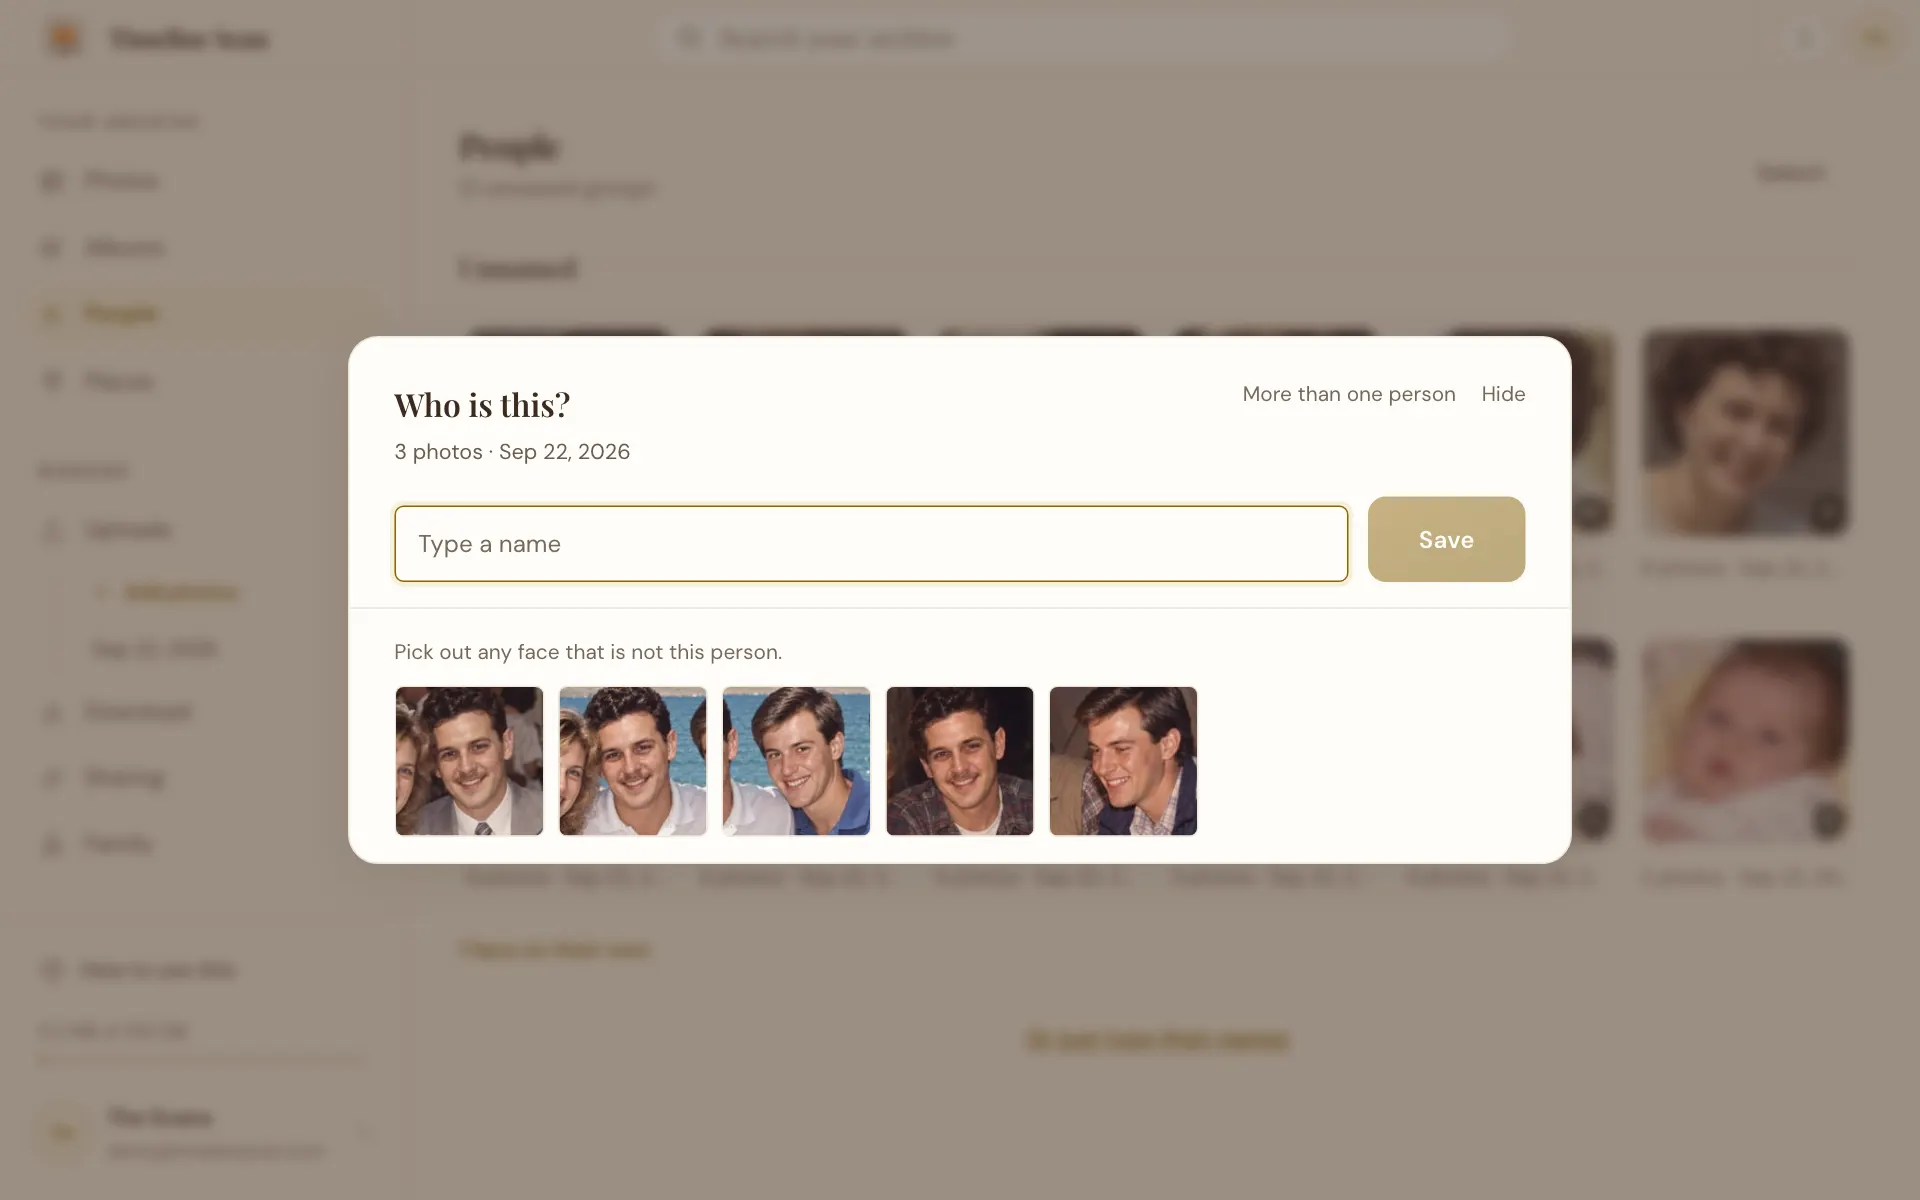
The People page, each card a group of the same face gathered from several photos A face group open in a sheet with a name being typed into its name field The same sheet with 1935 typed into the birth year field The face group sheet with its Save button ready A card asking whether another group of faces is the same person, offering Yes and No
Step 4 of 9

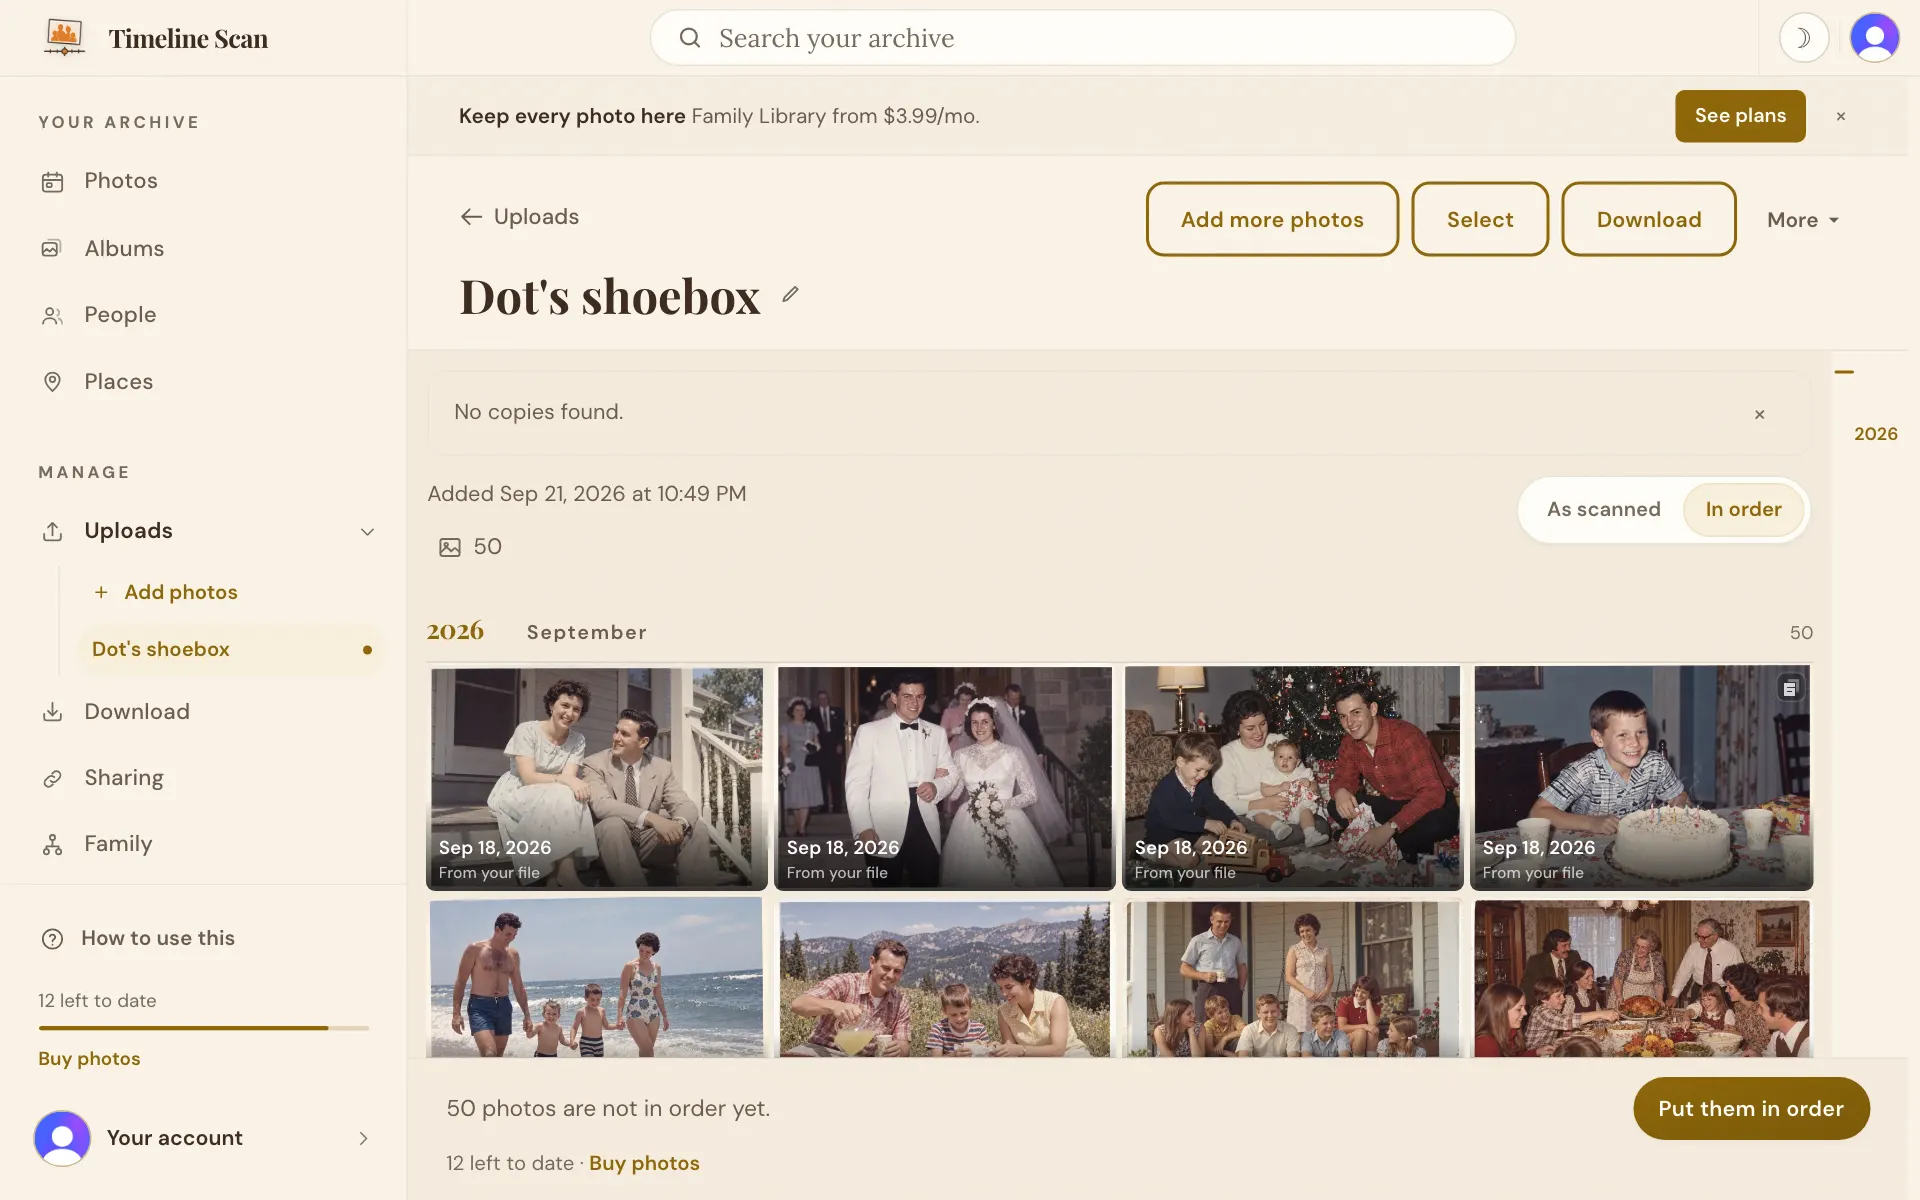
Put them in order

One press dates the whole box.

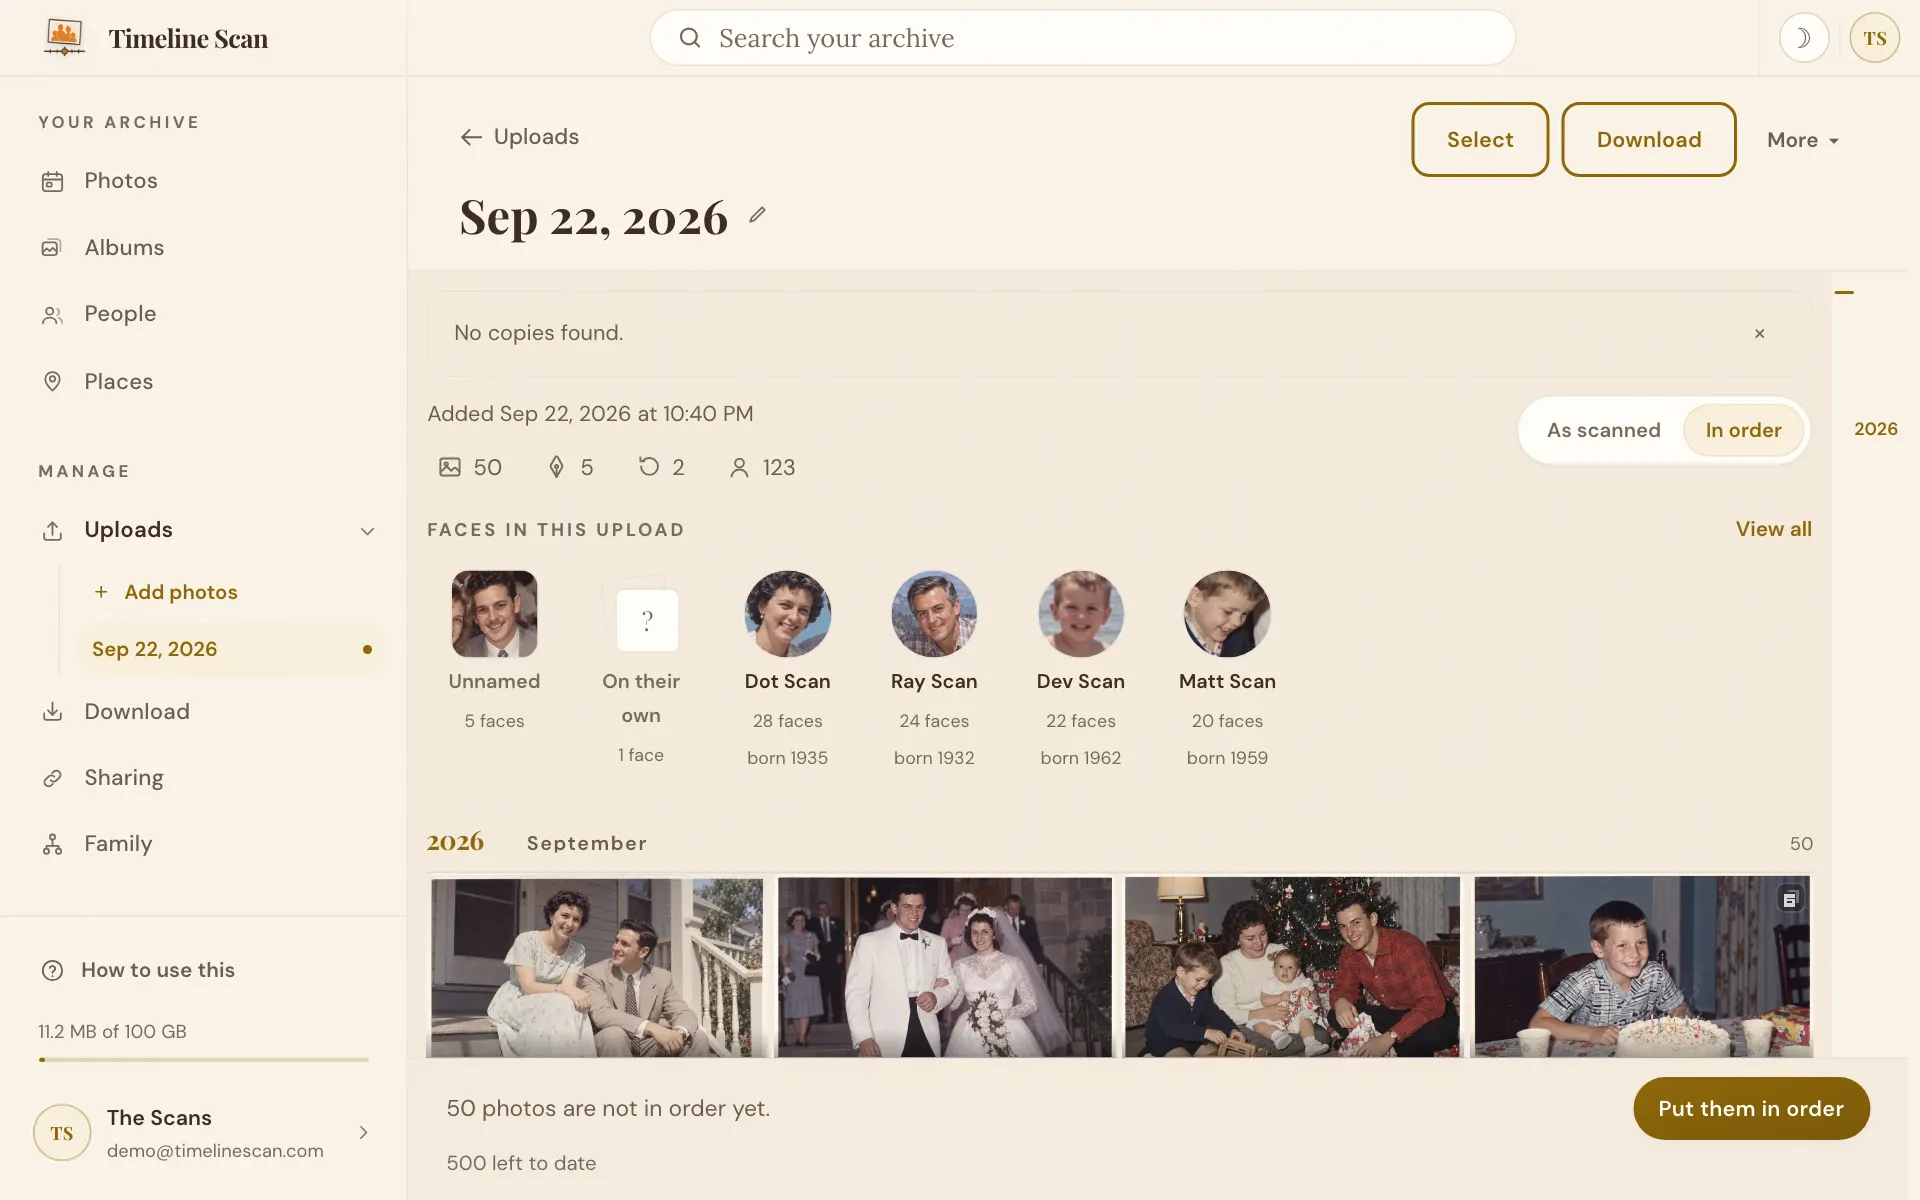
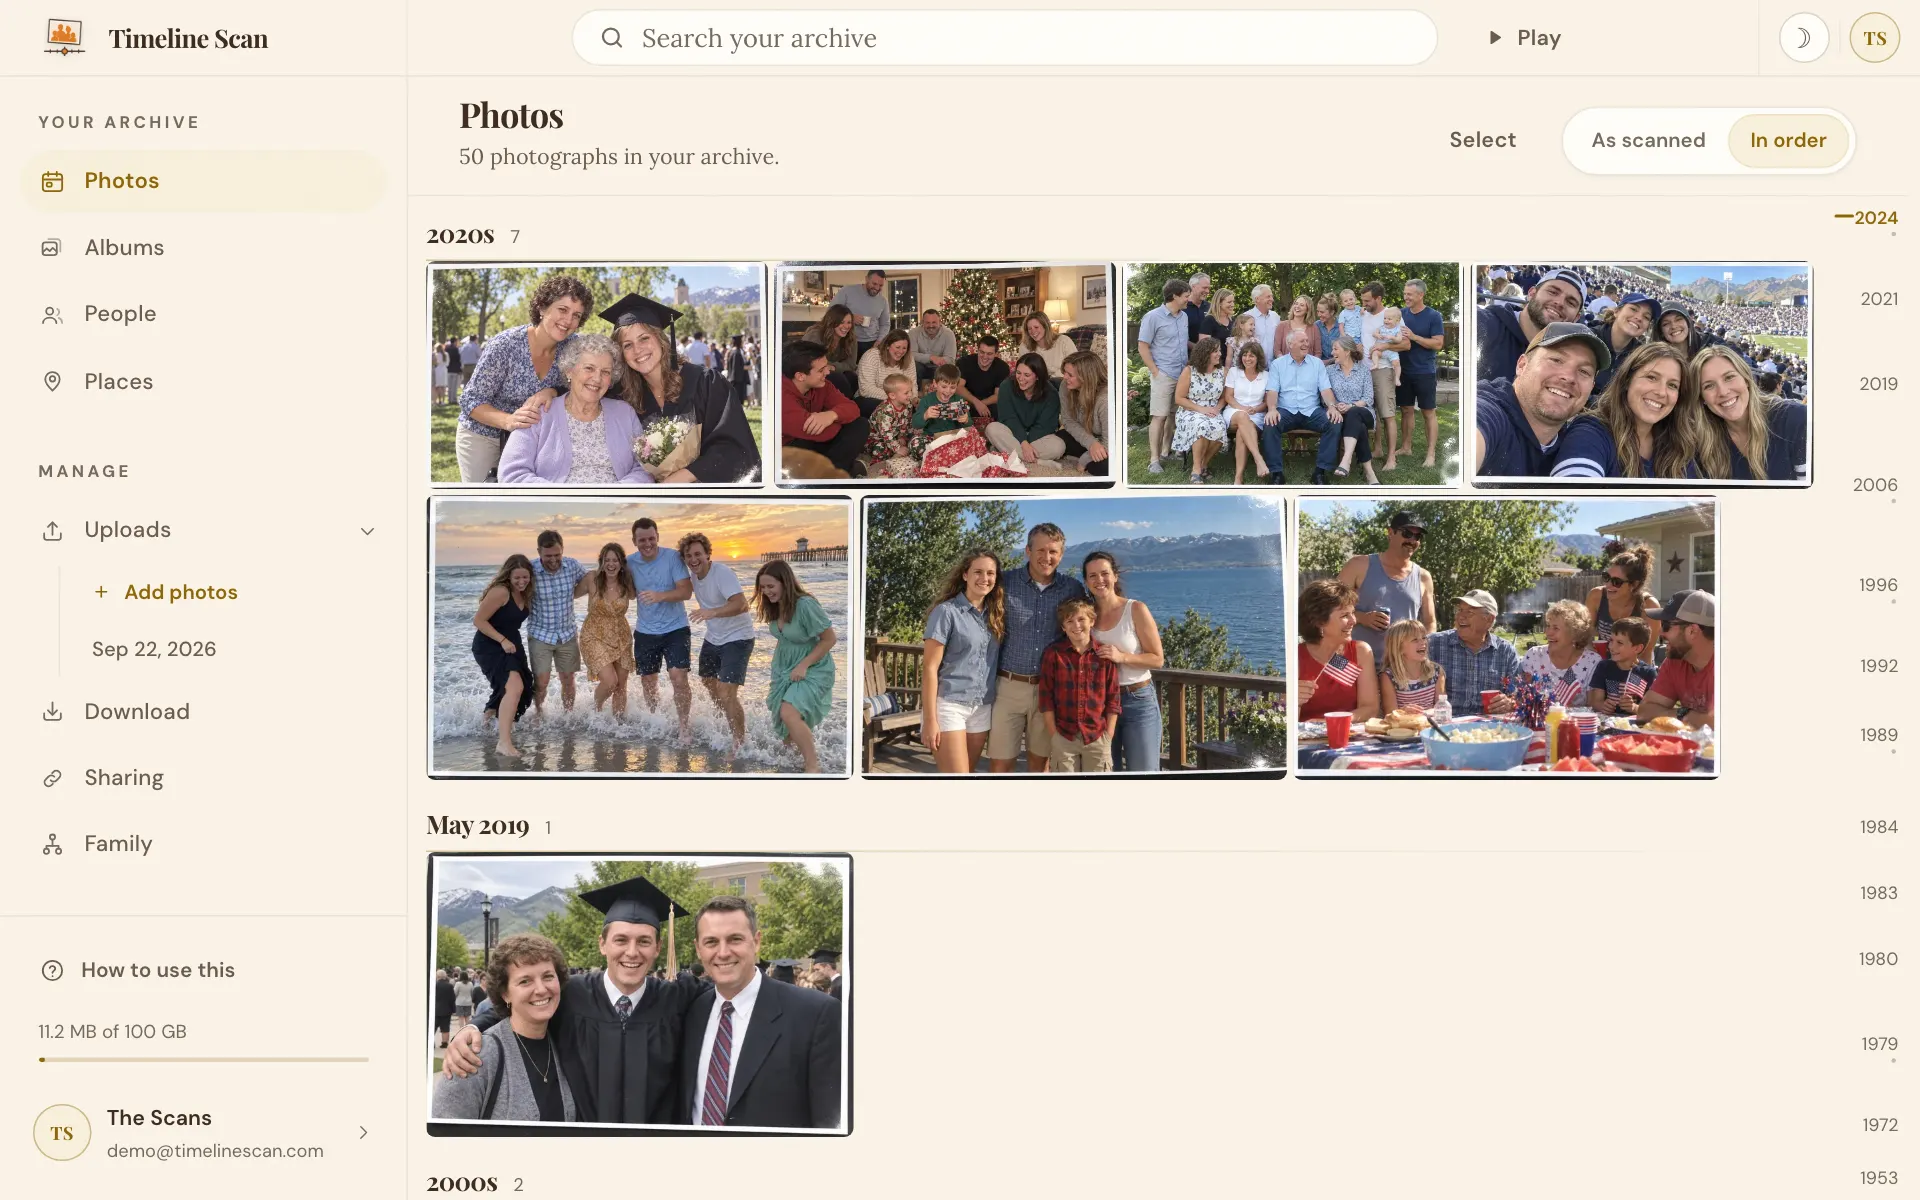
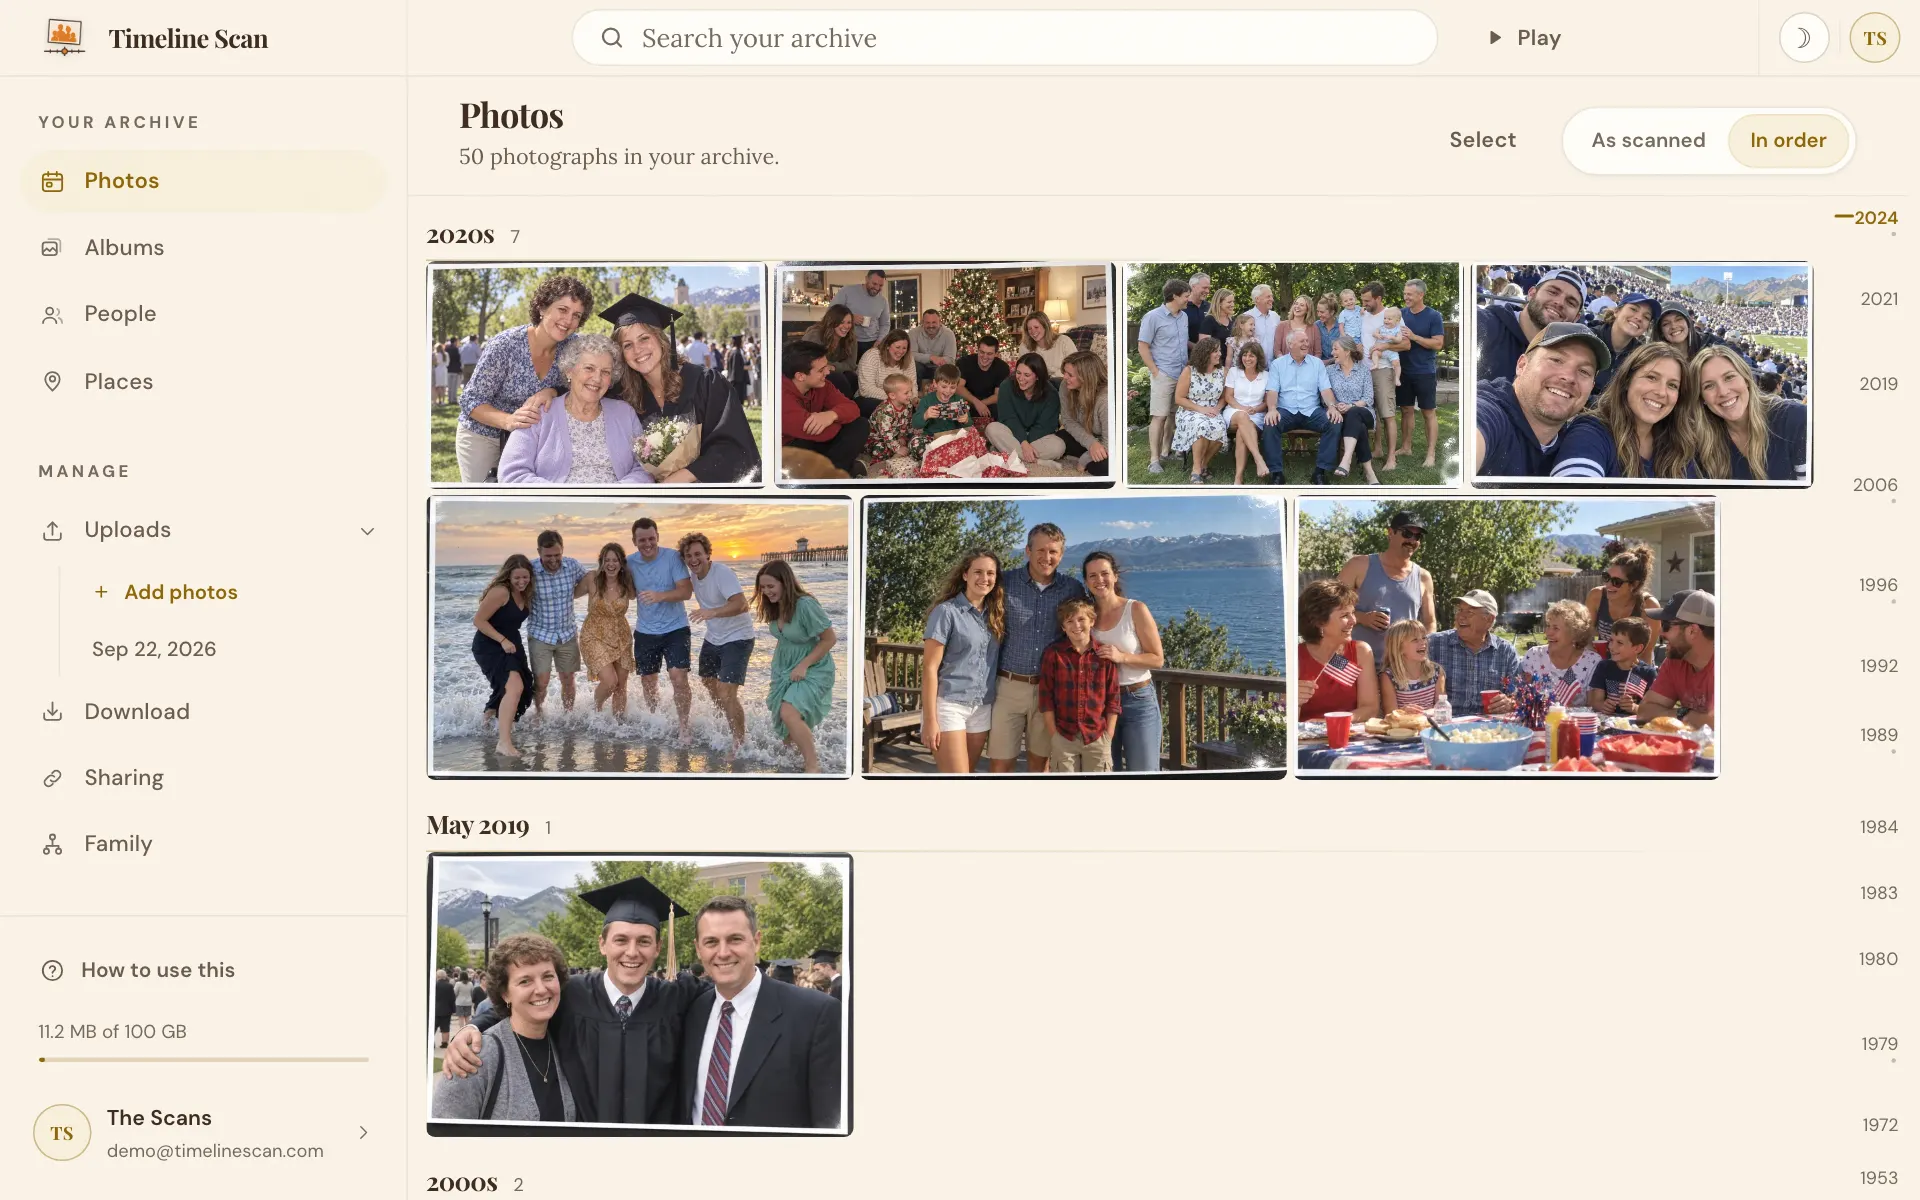
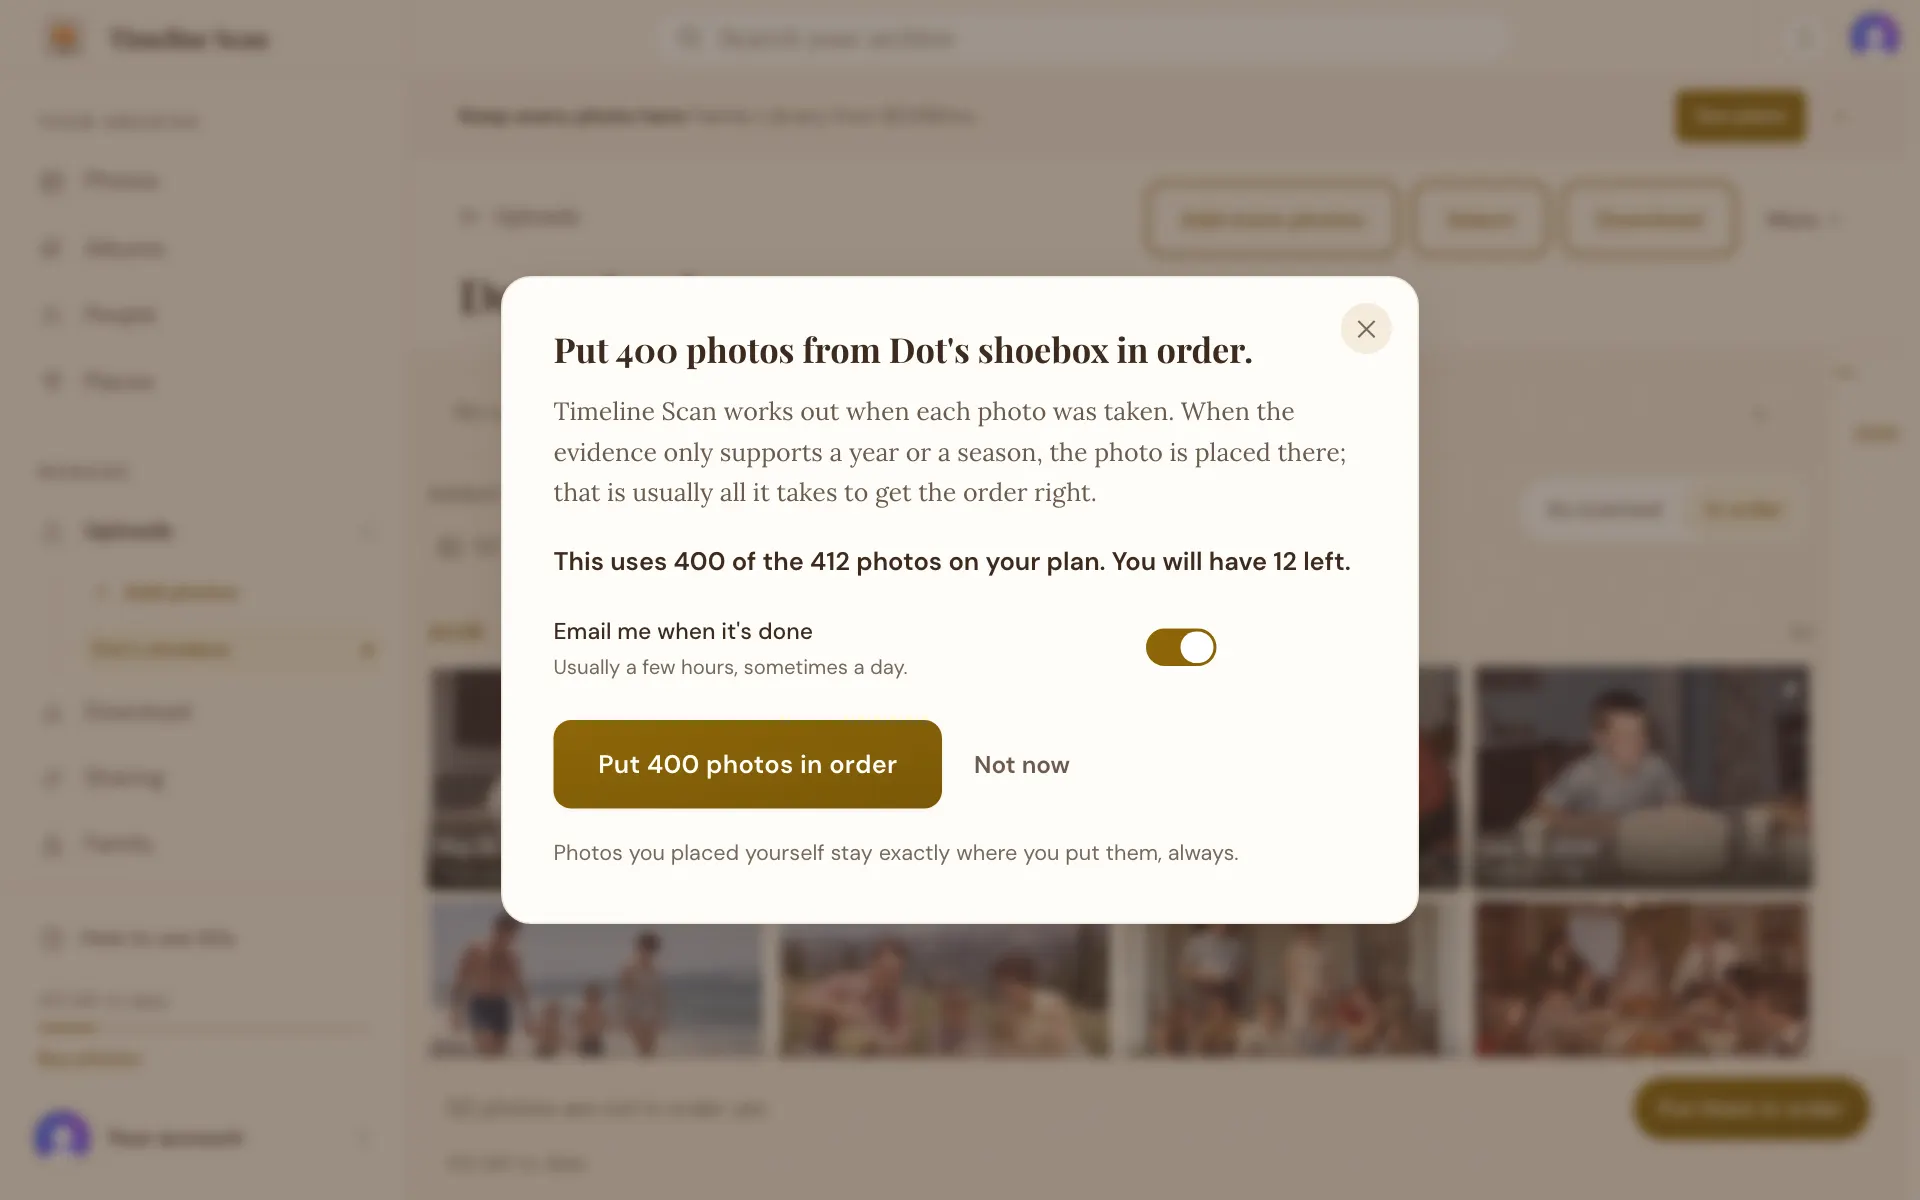
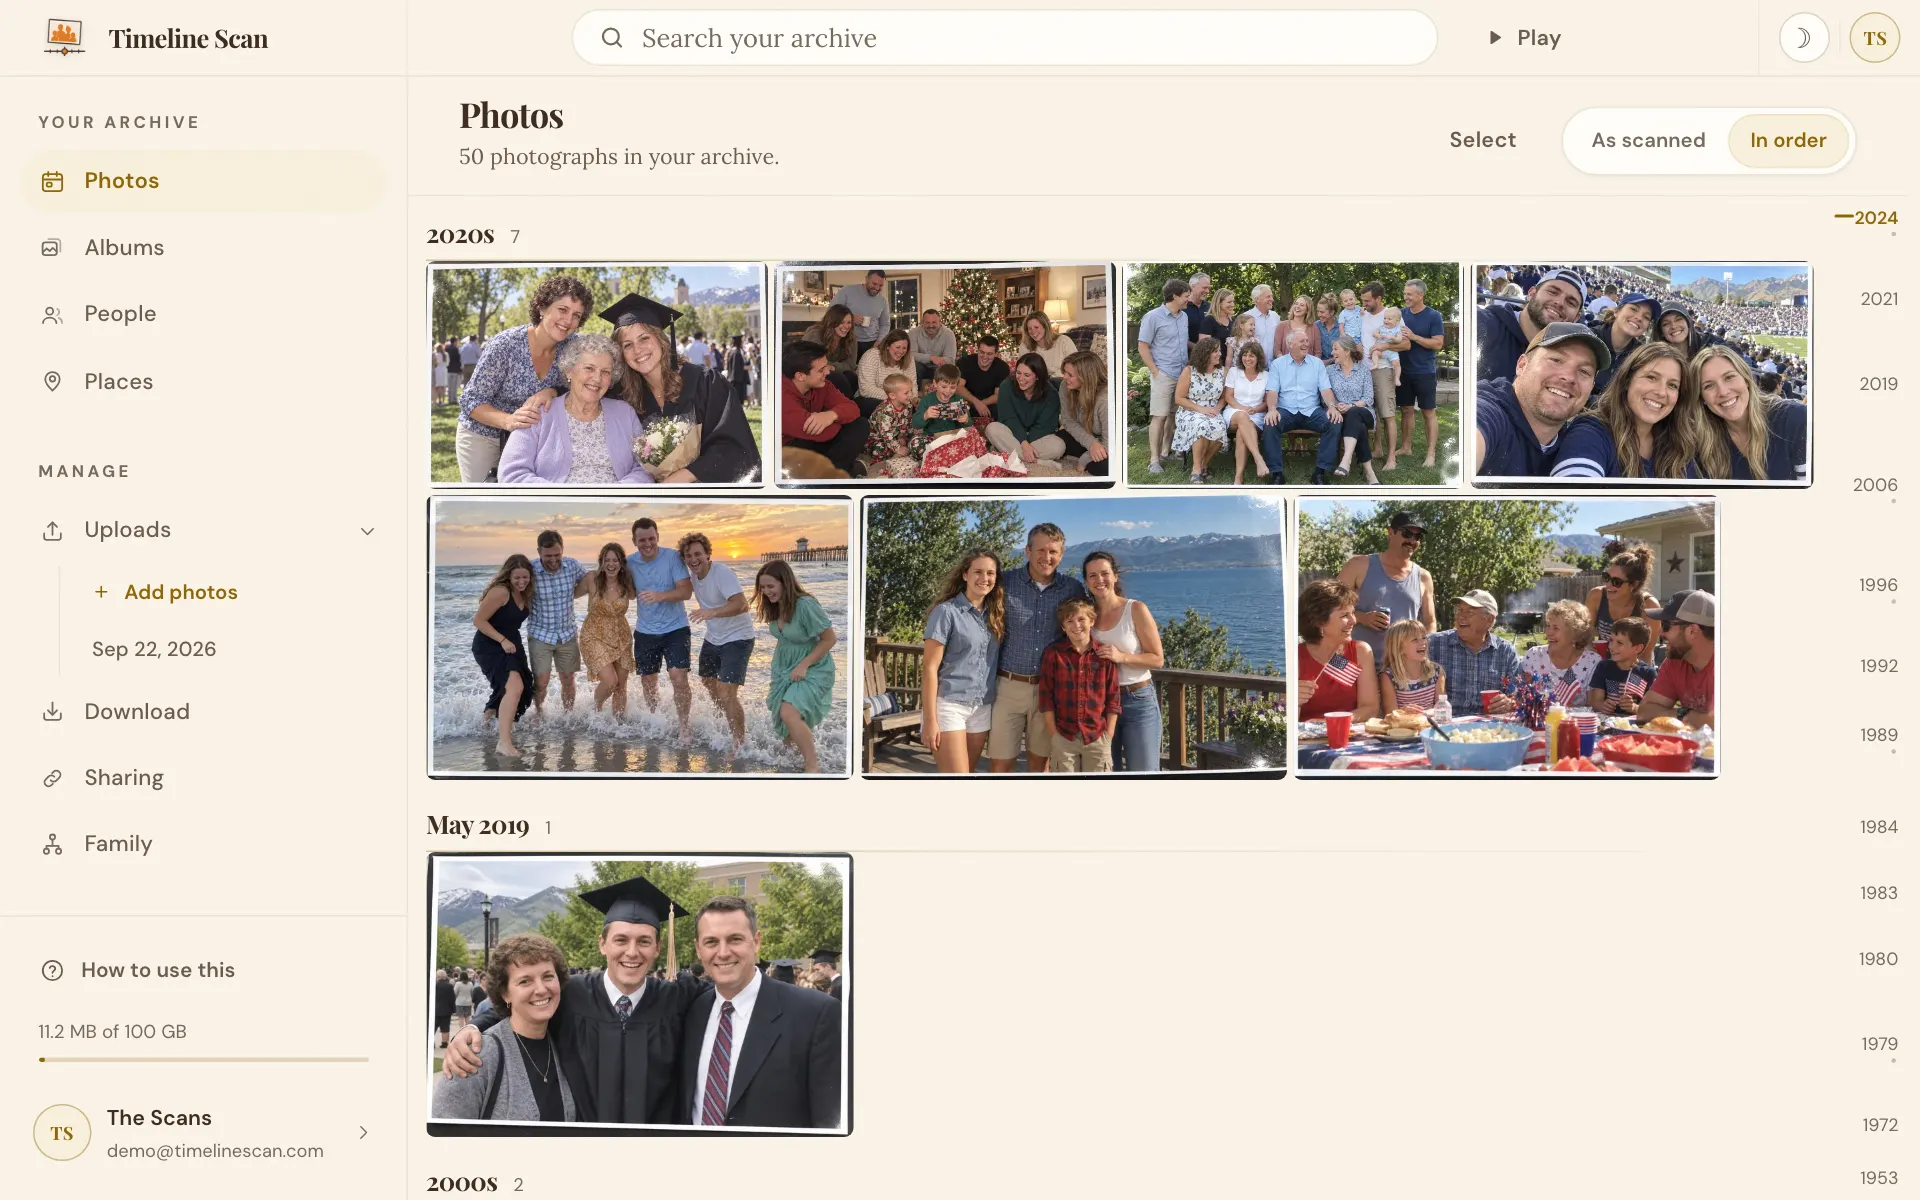
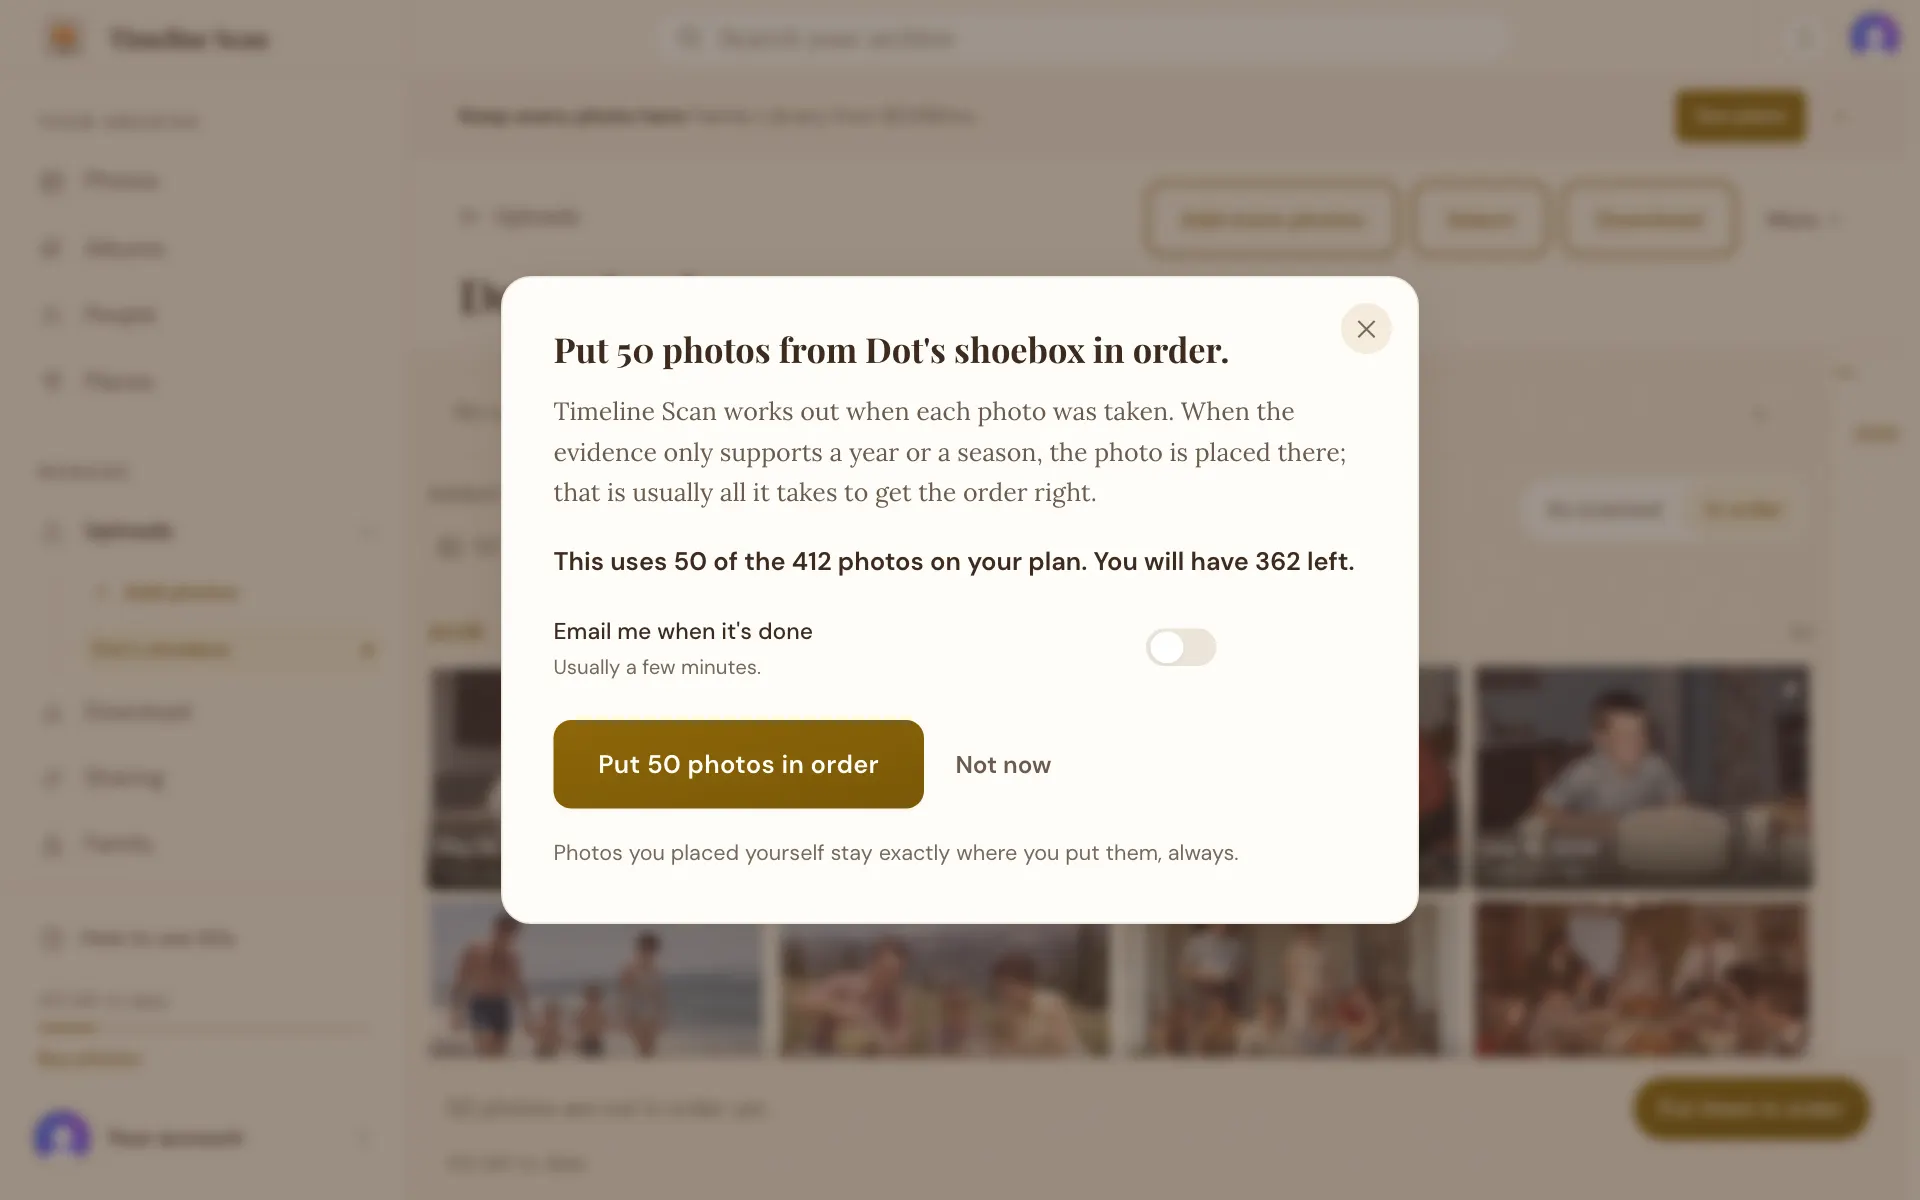
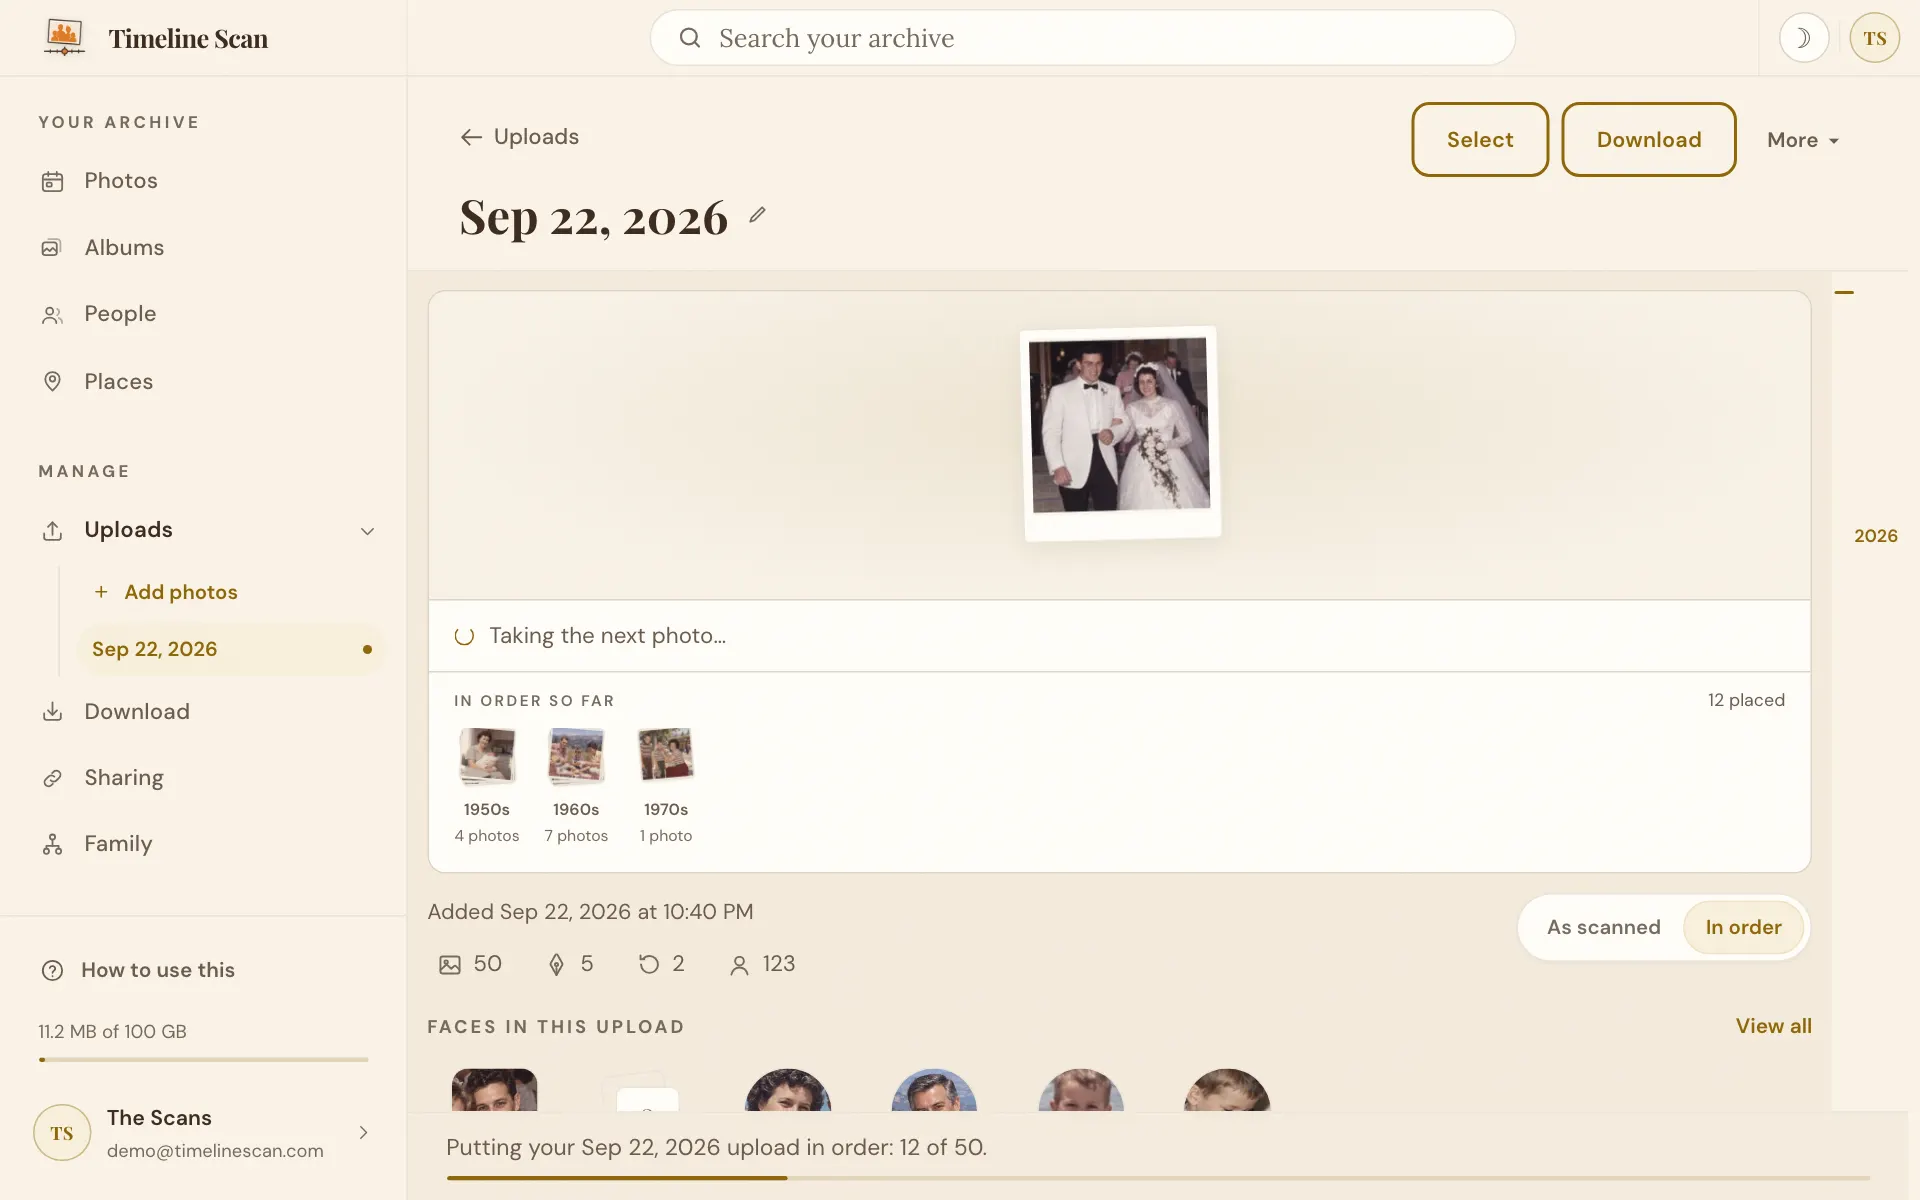
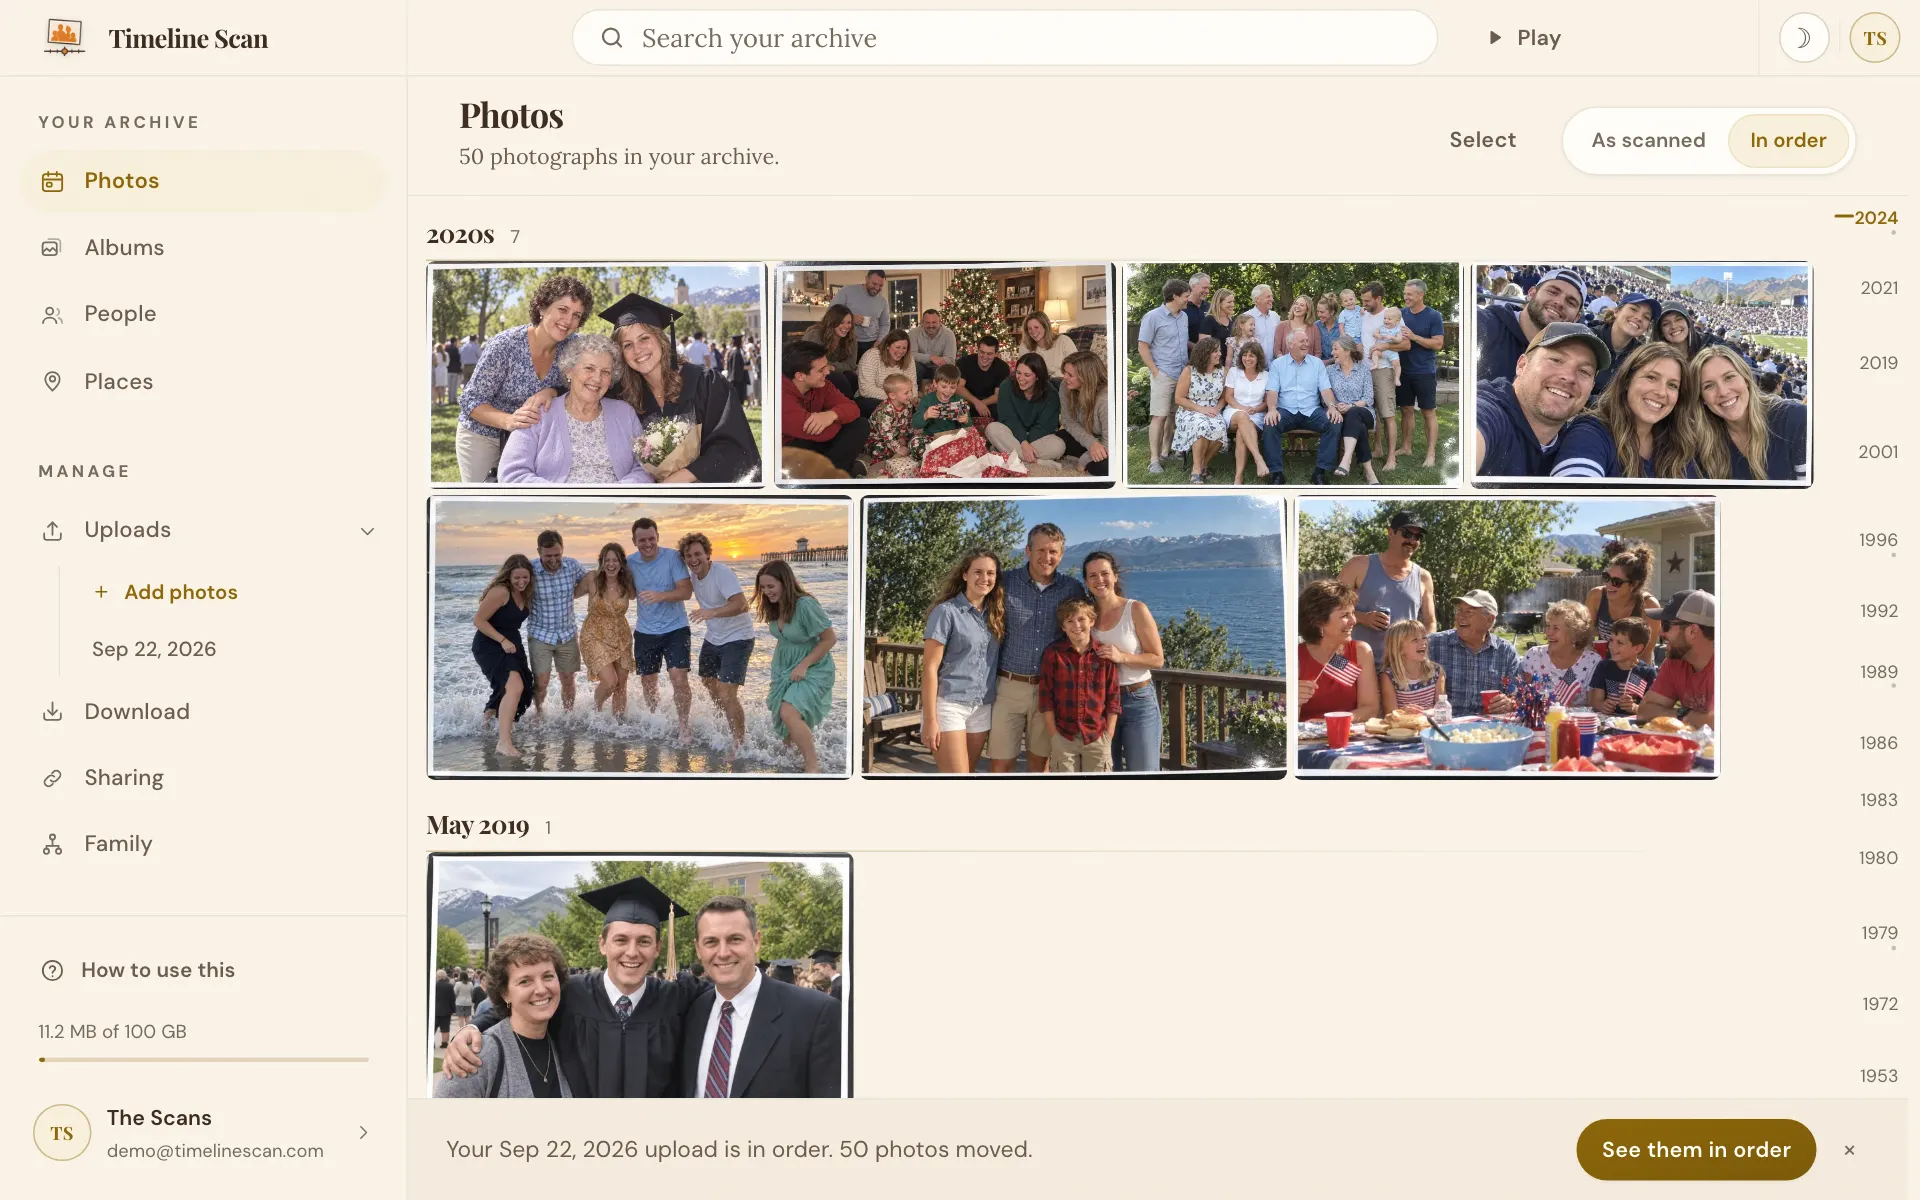
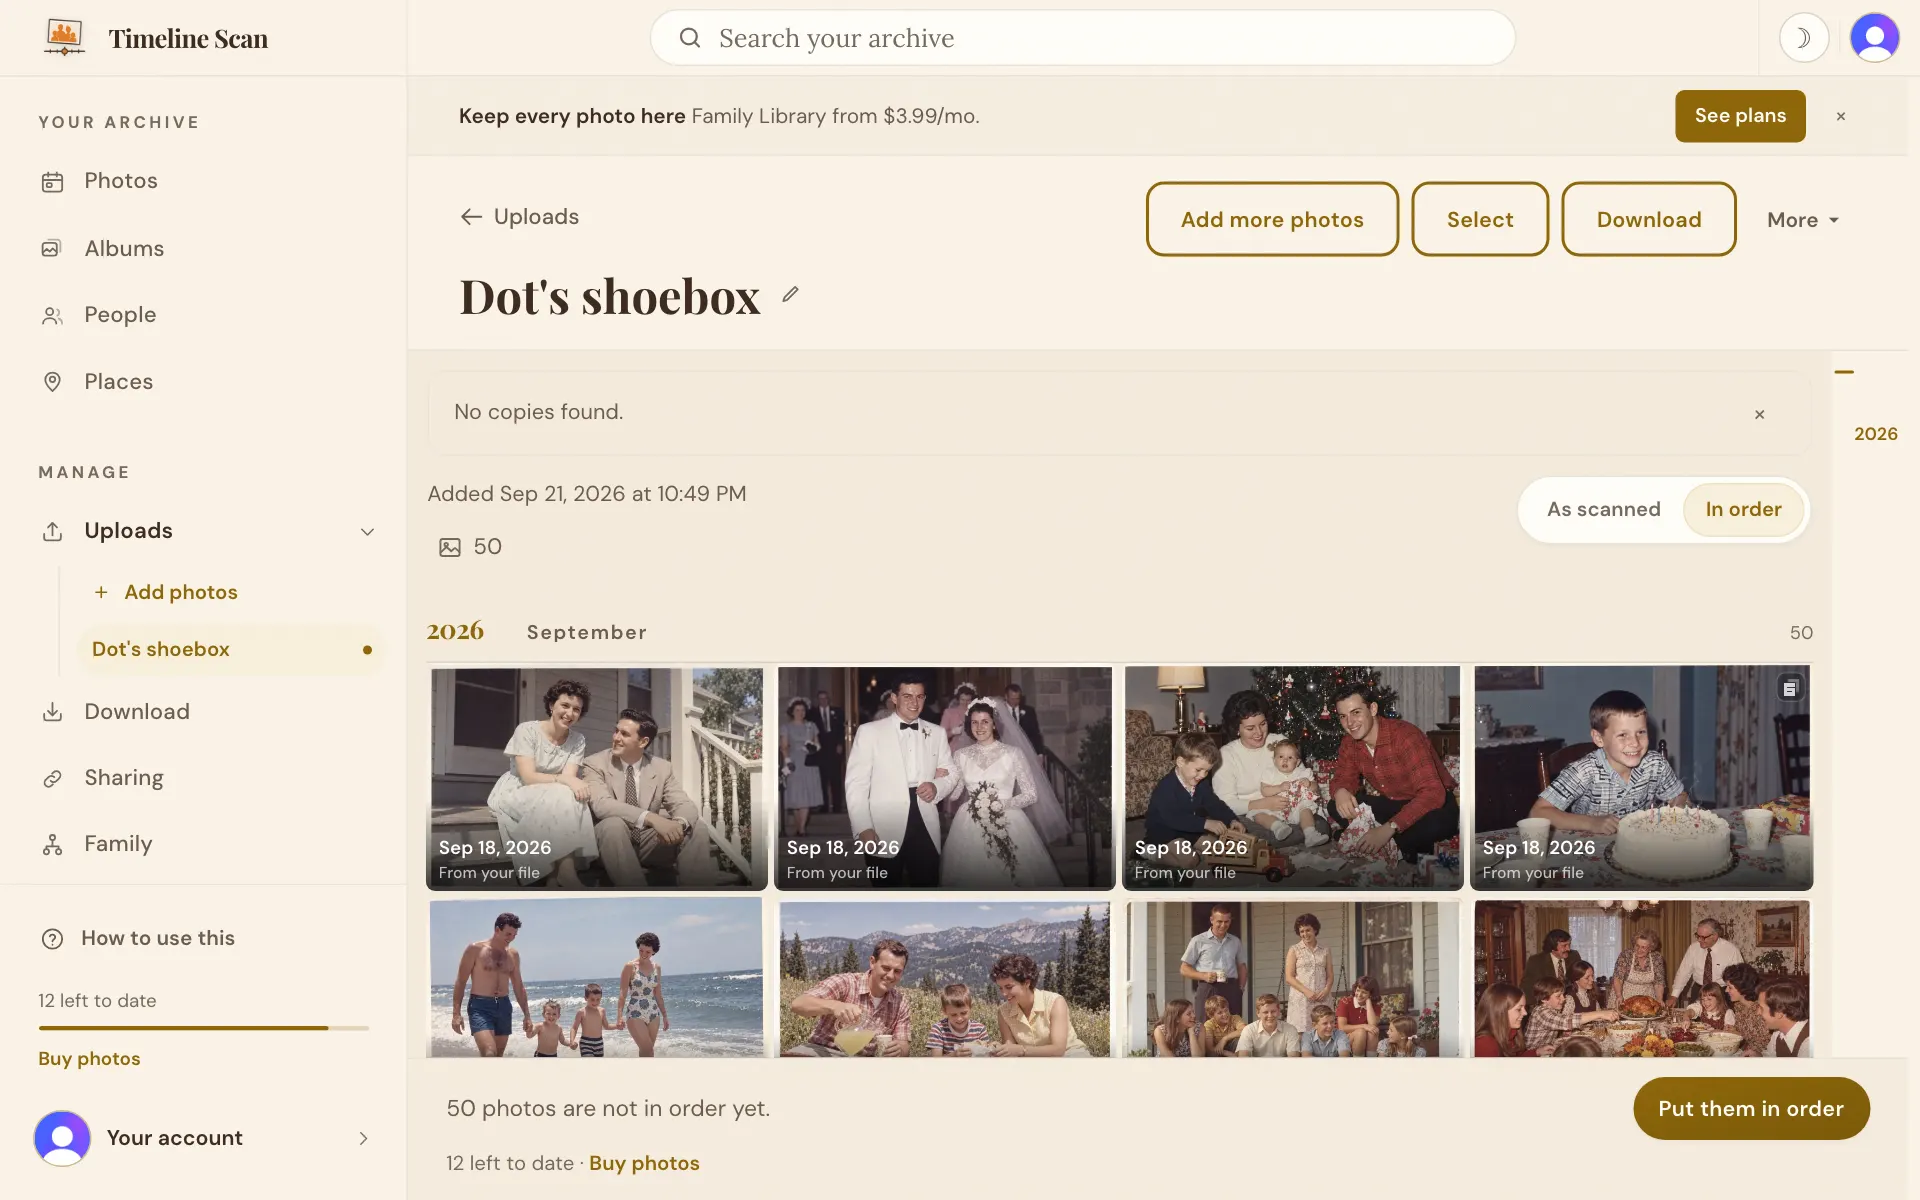
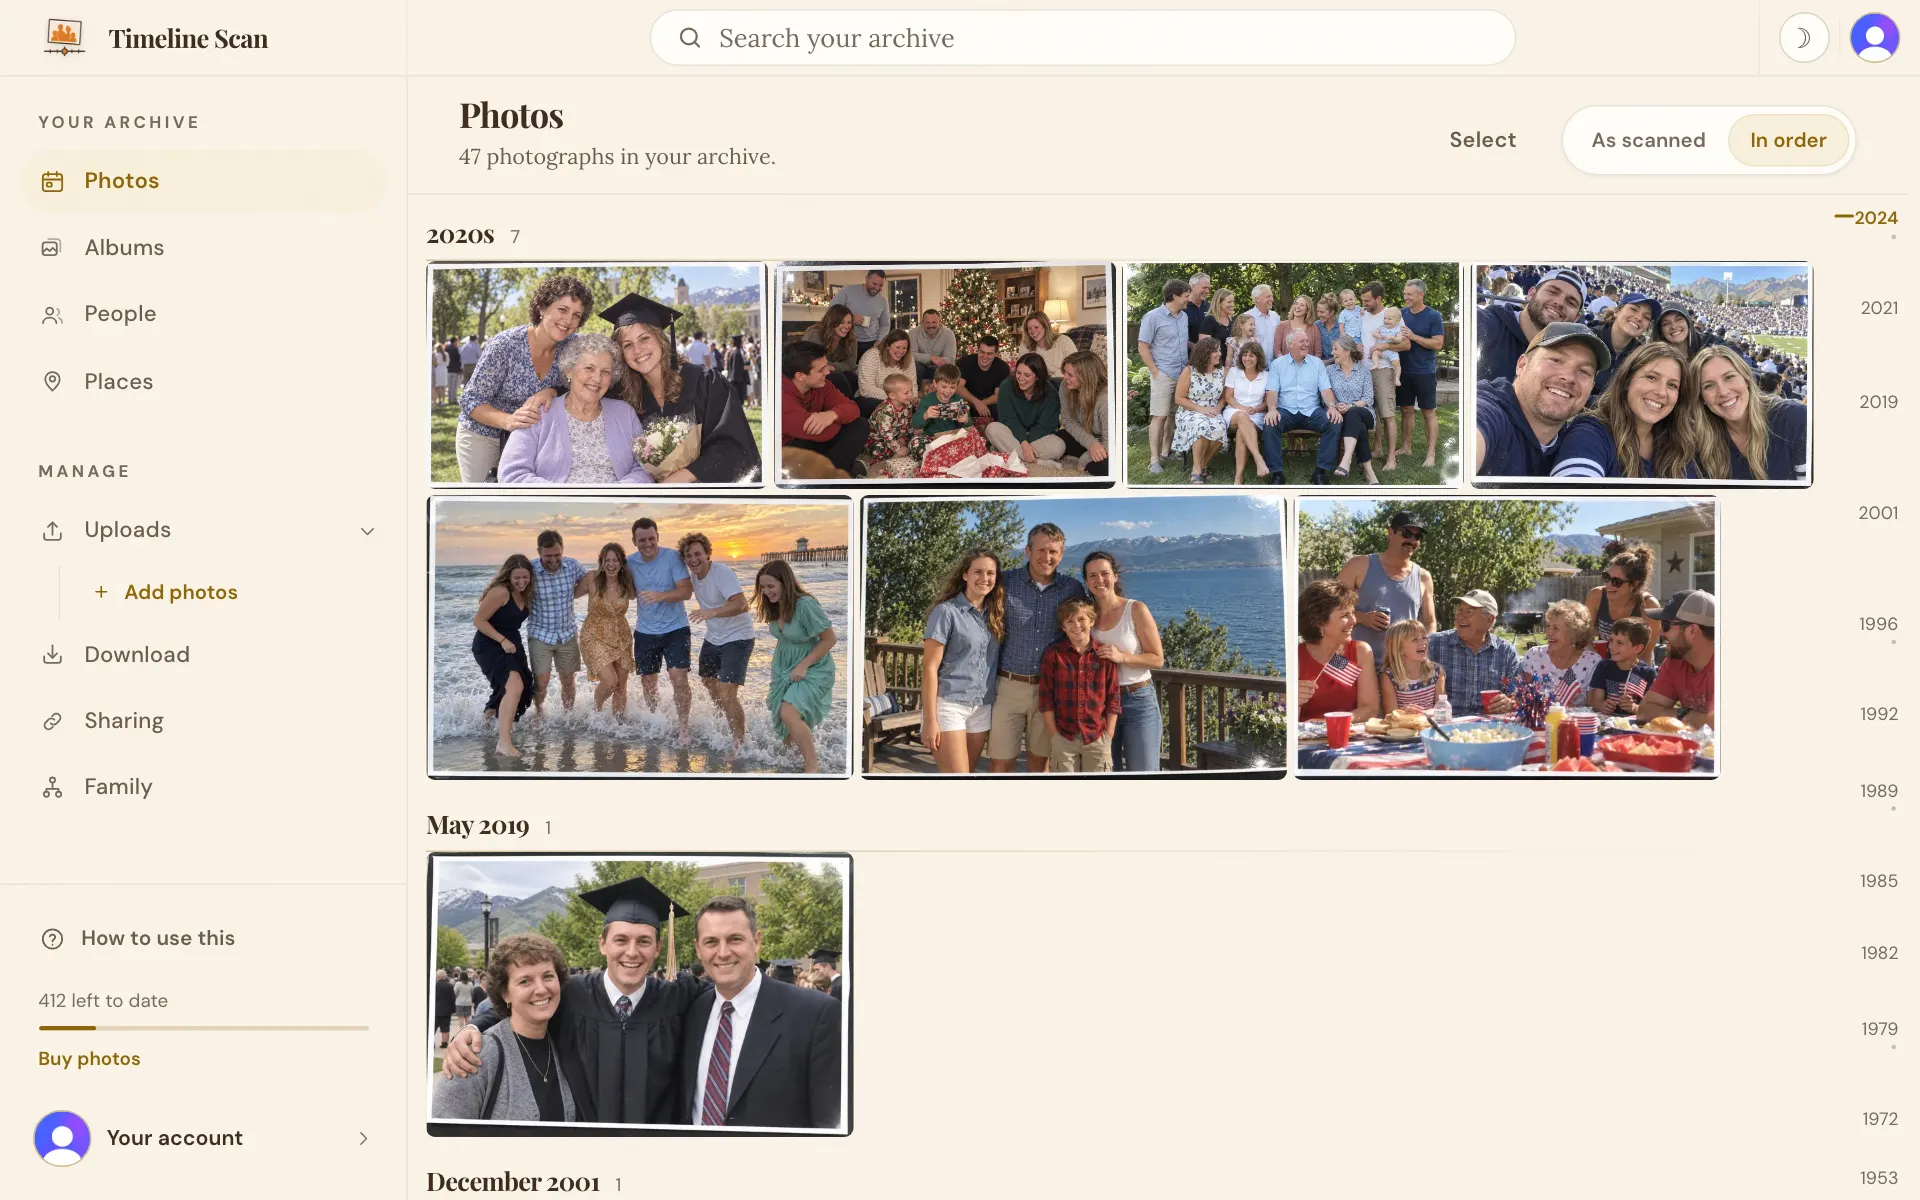
The upload page offering Put them in order at its foot, with the photos left to date under it A sheet naming how many photos will be put in order, with an email switch and the button that starts it Photos landing one at a time into a timeline while the dating run works The library with its As scanned and In order switch, showing the photos in date order
Step 5 of 9

Fix a date

Every photo shows our guess. Change any of them.
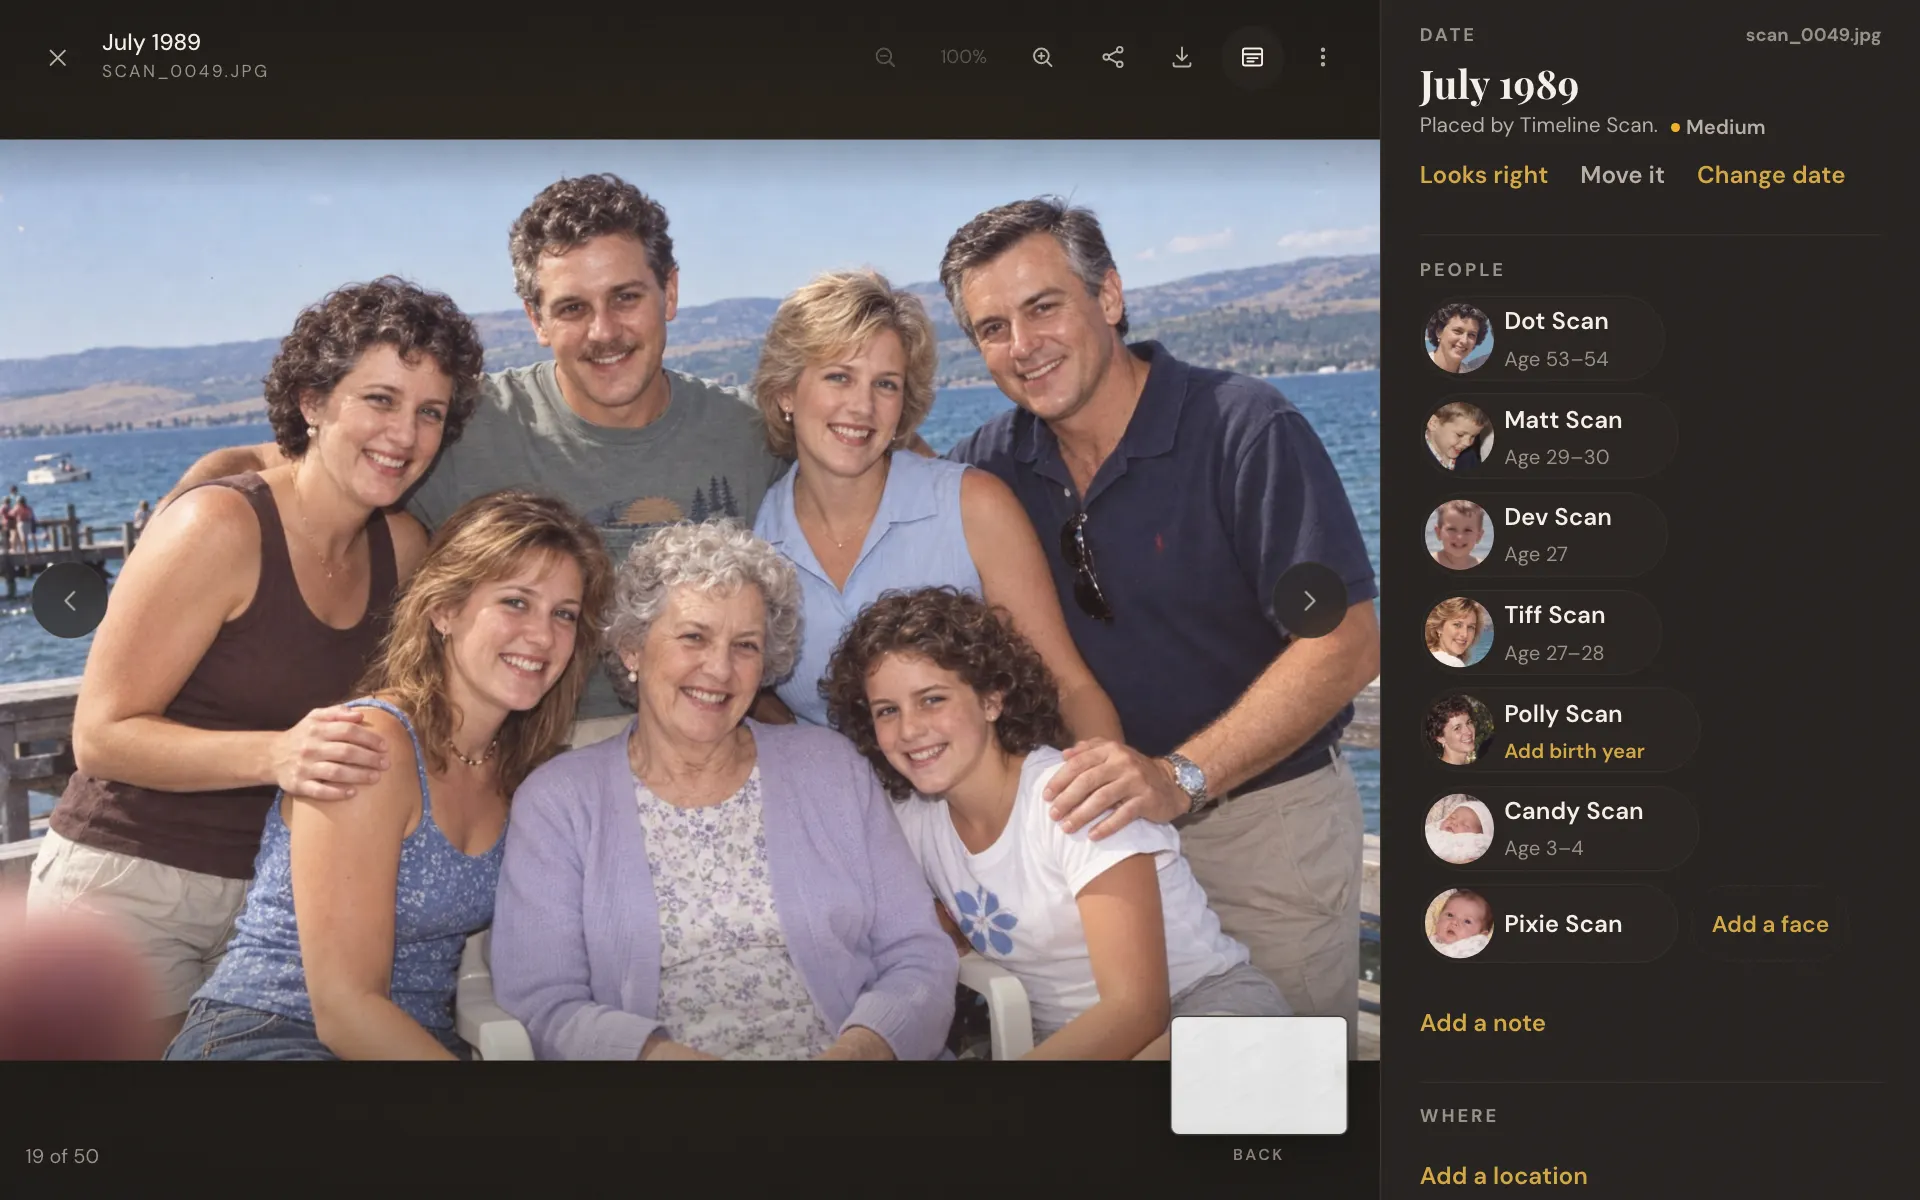
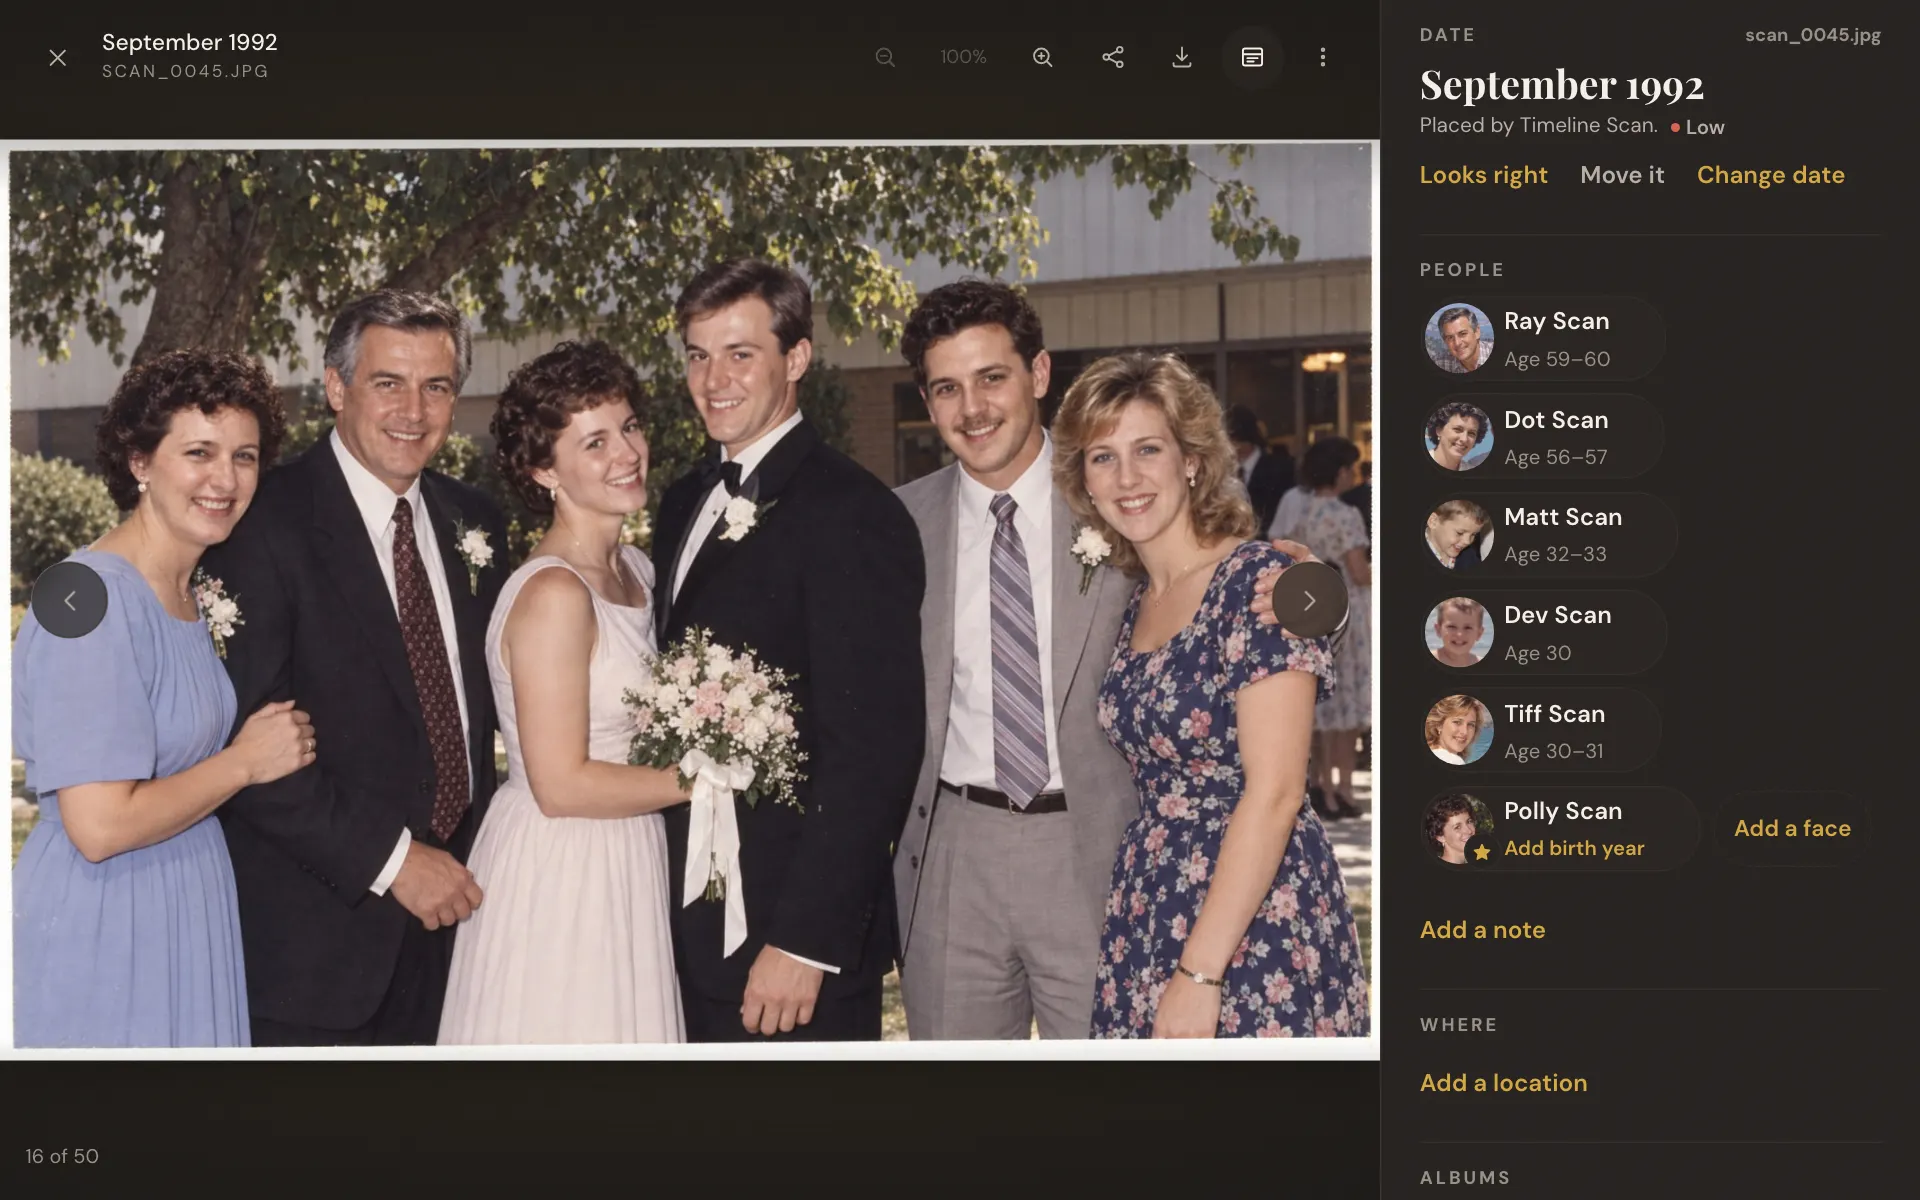
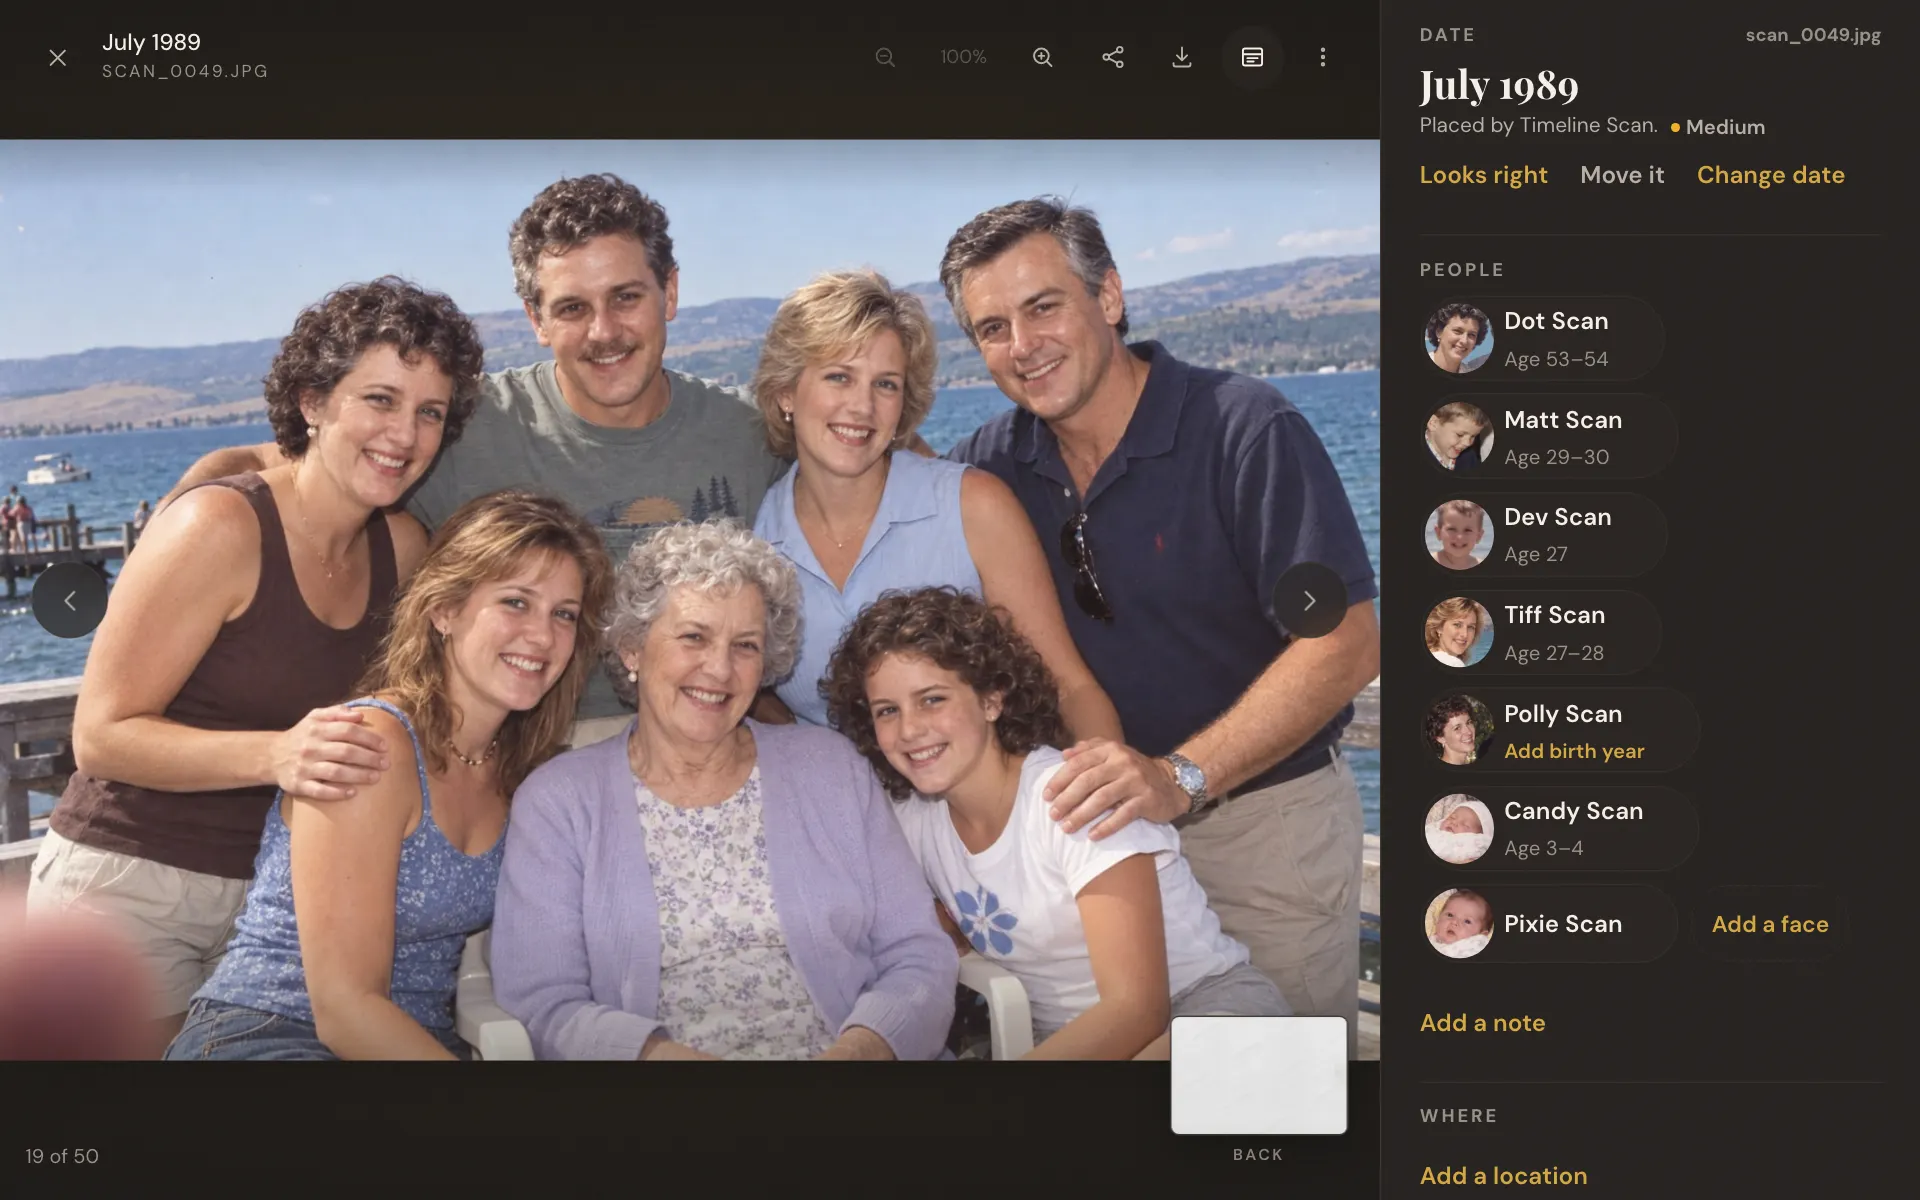
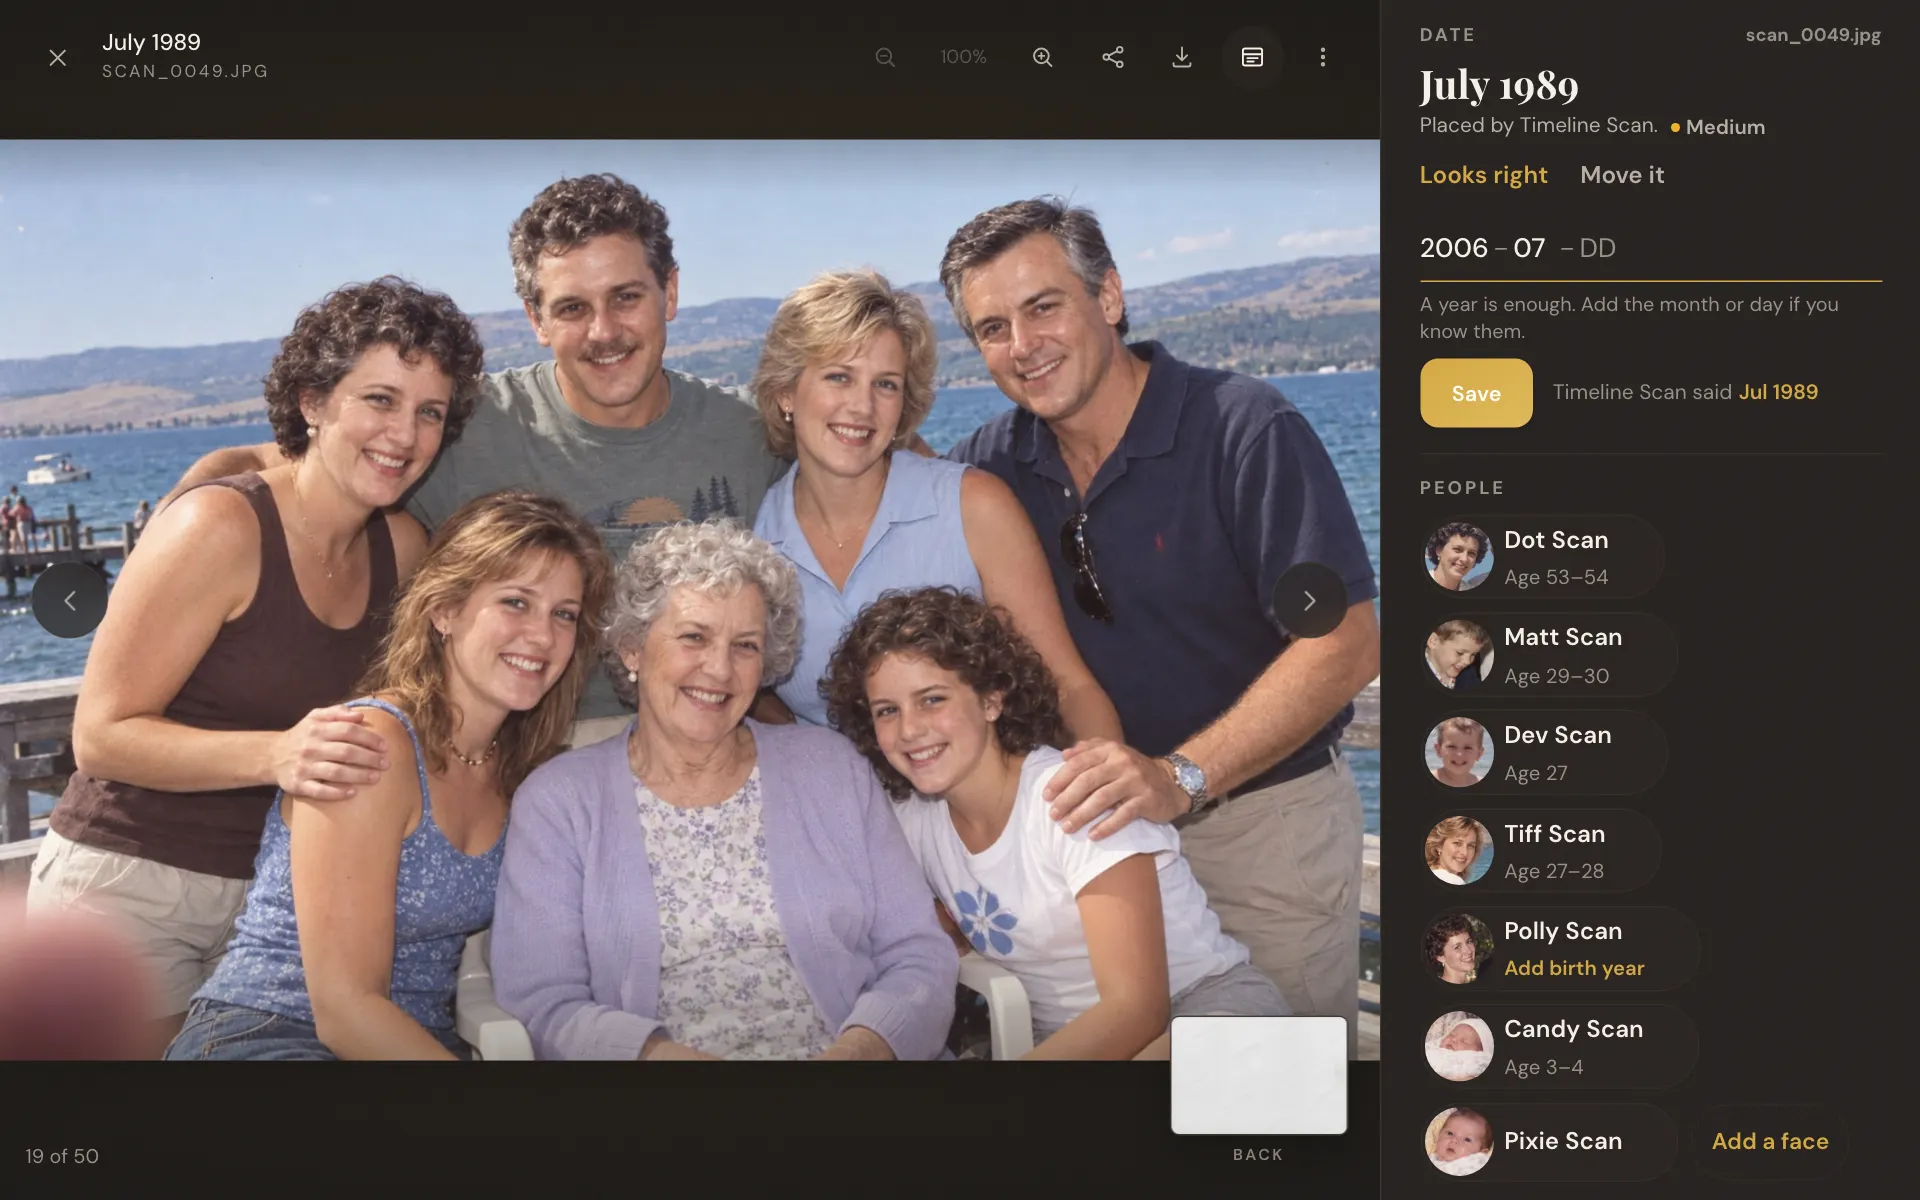
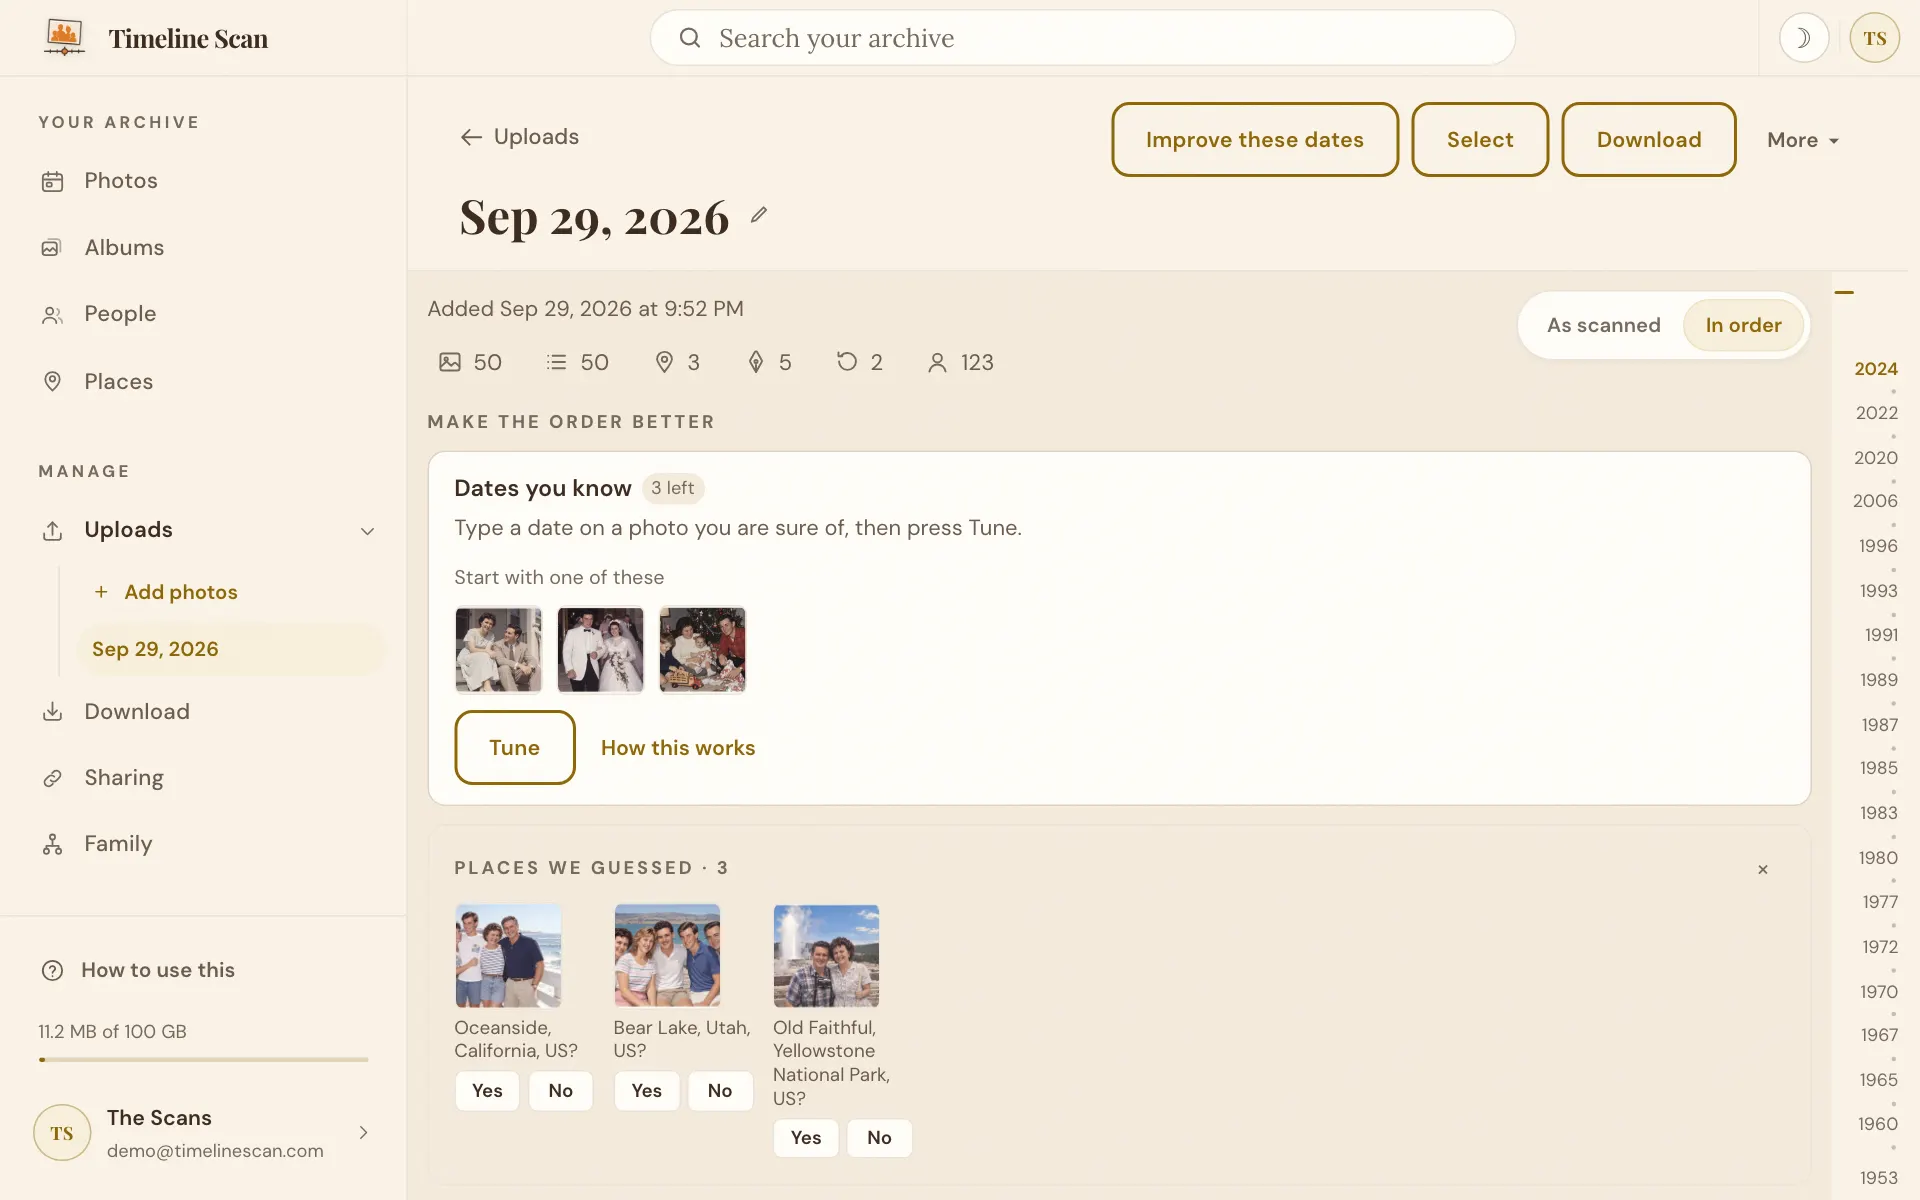
A photo open full size with its estimated date and how sure we are beside it The same photo with Change date under its date A date field holding July 2006 with a Save button under it The upload's Dates you know card, which re-tunes the other photos from the dates you typed, with its Tune button
Step 6 of 9

Put them on the map

We guess a place from the picture. You confirm it.
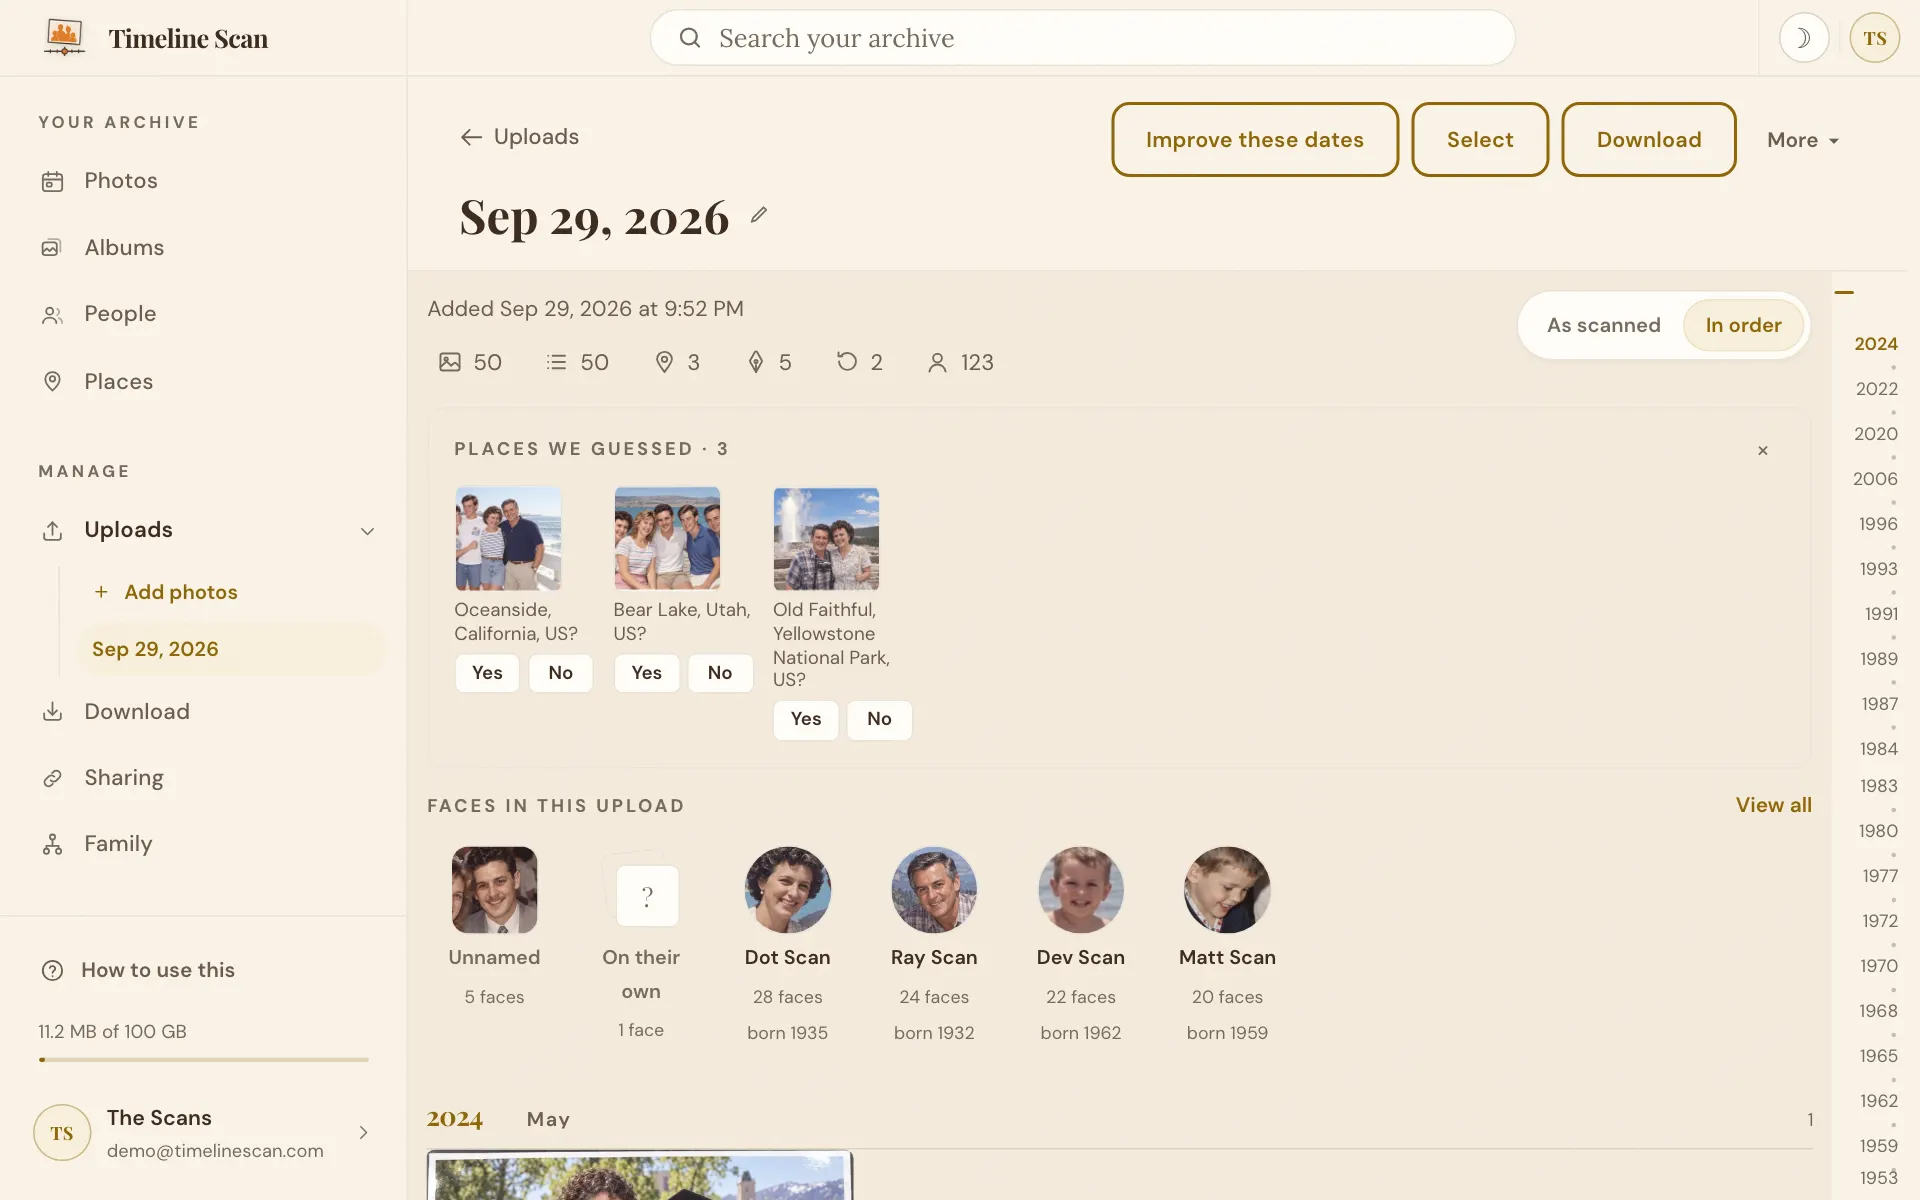
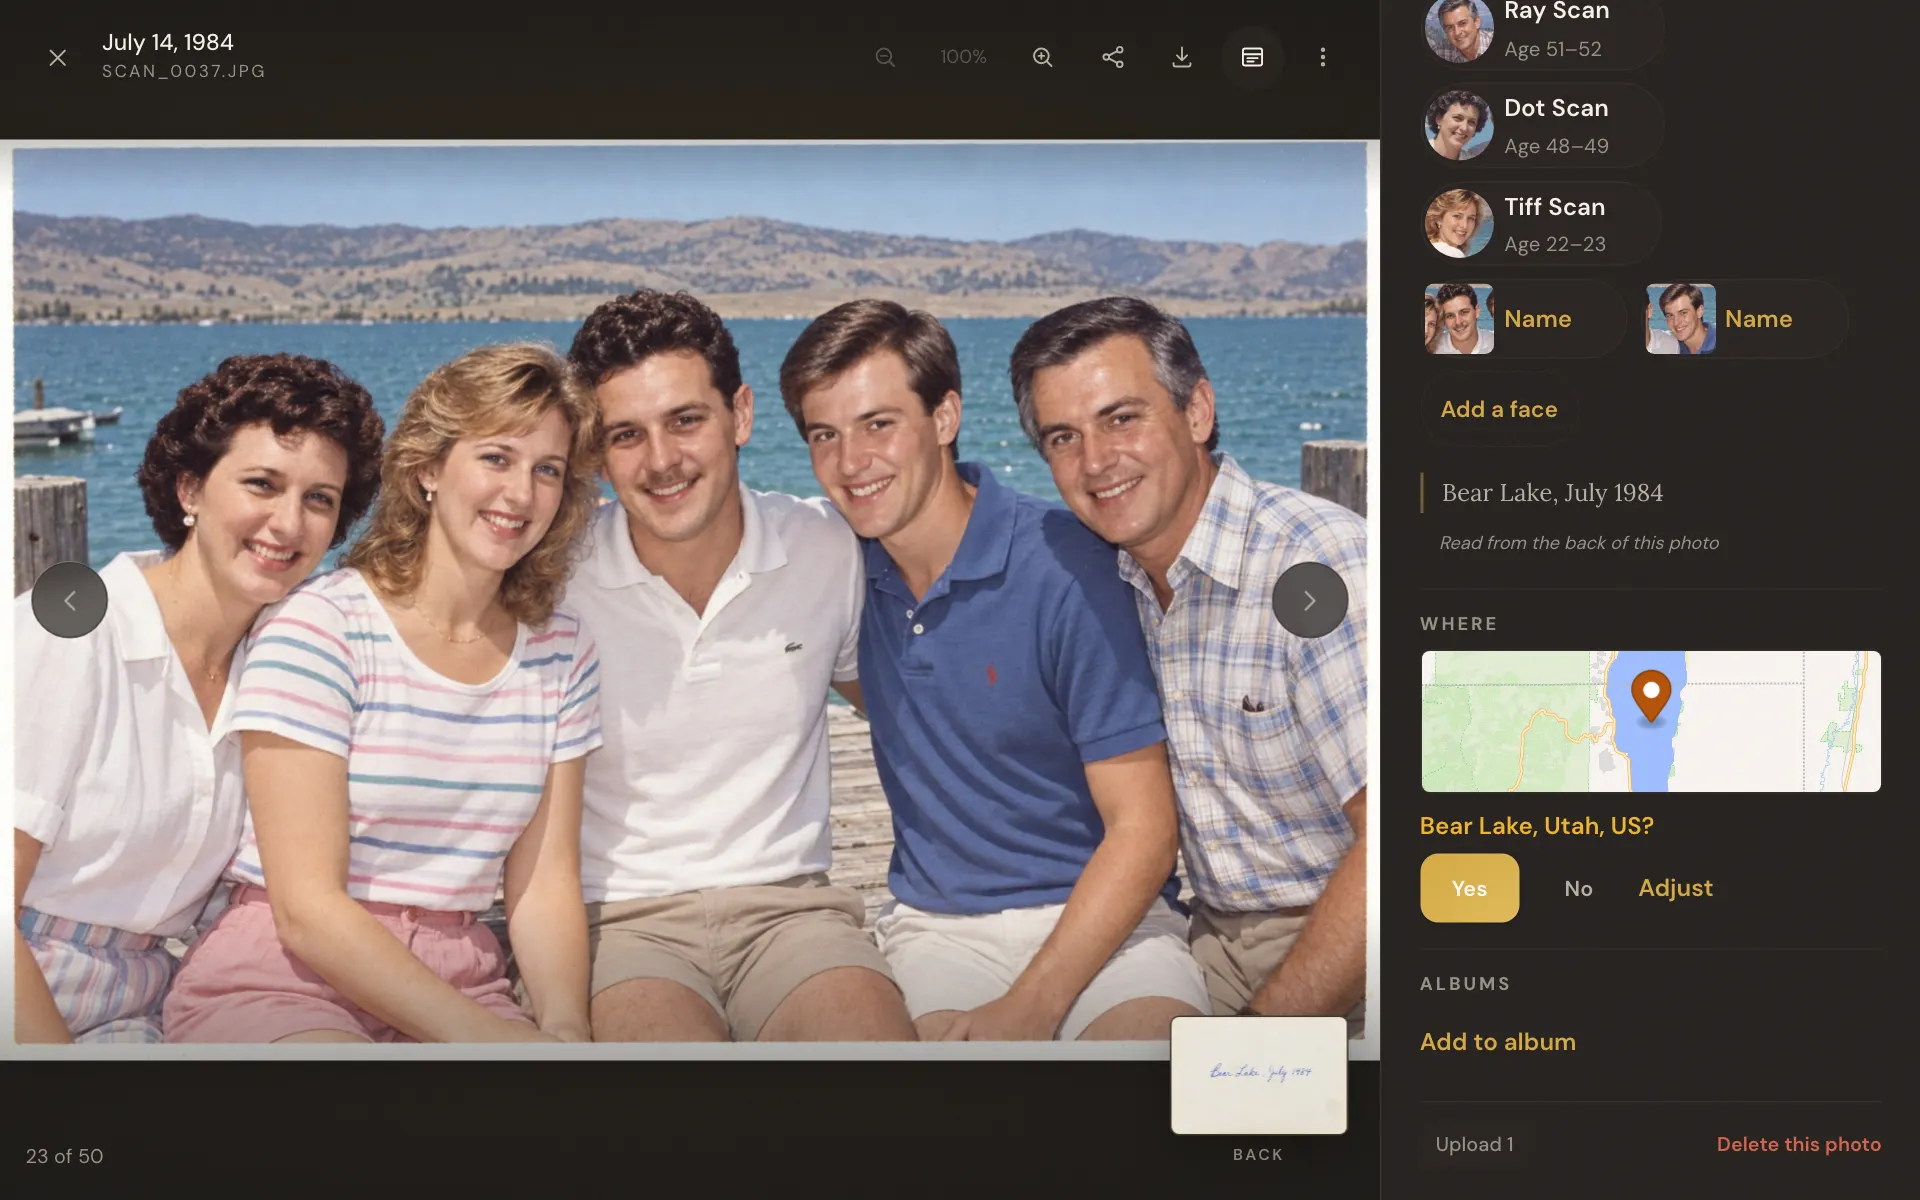
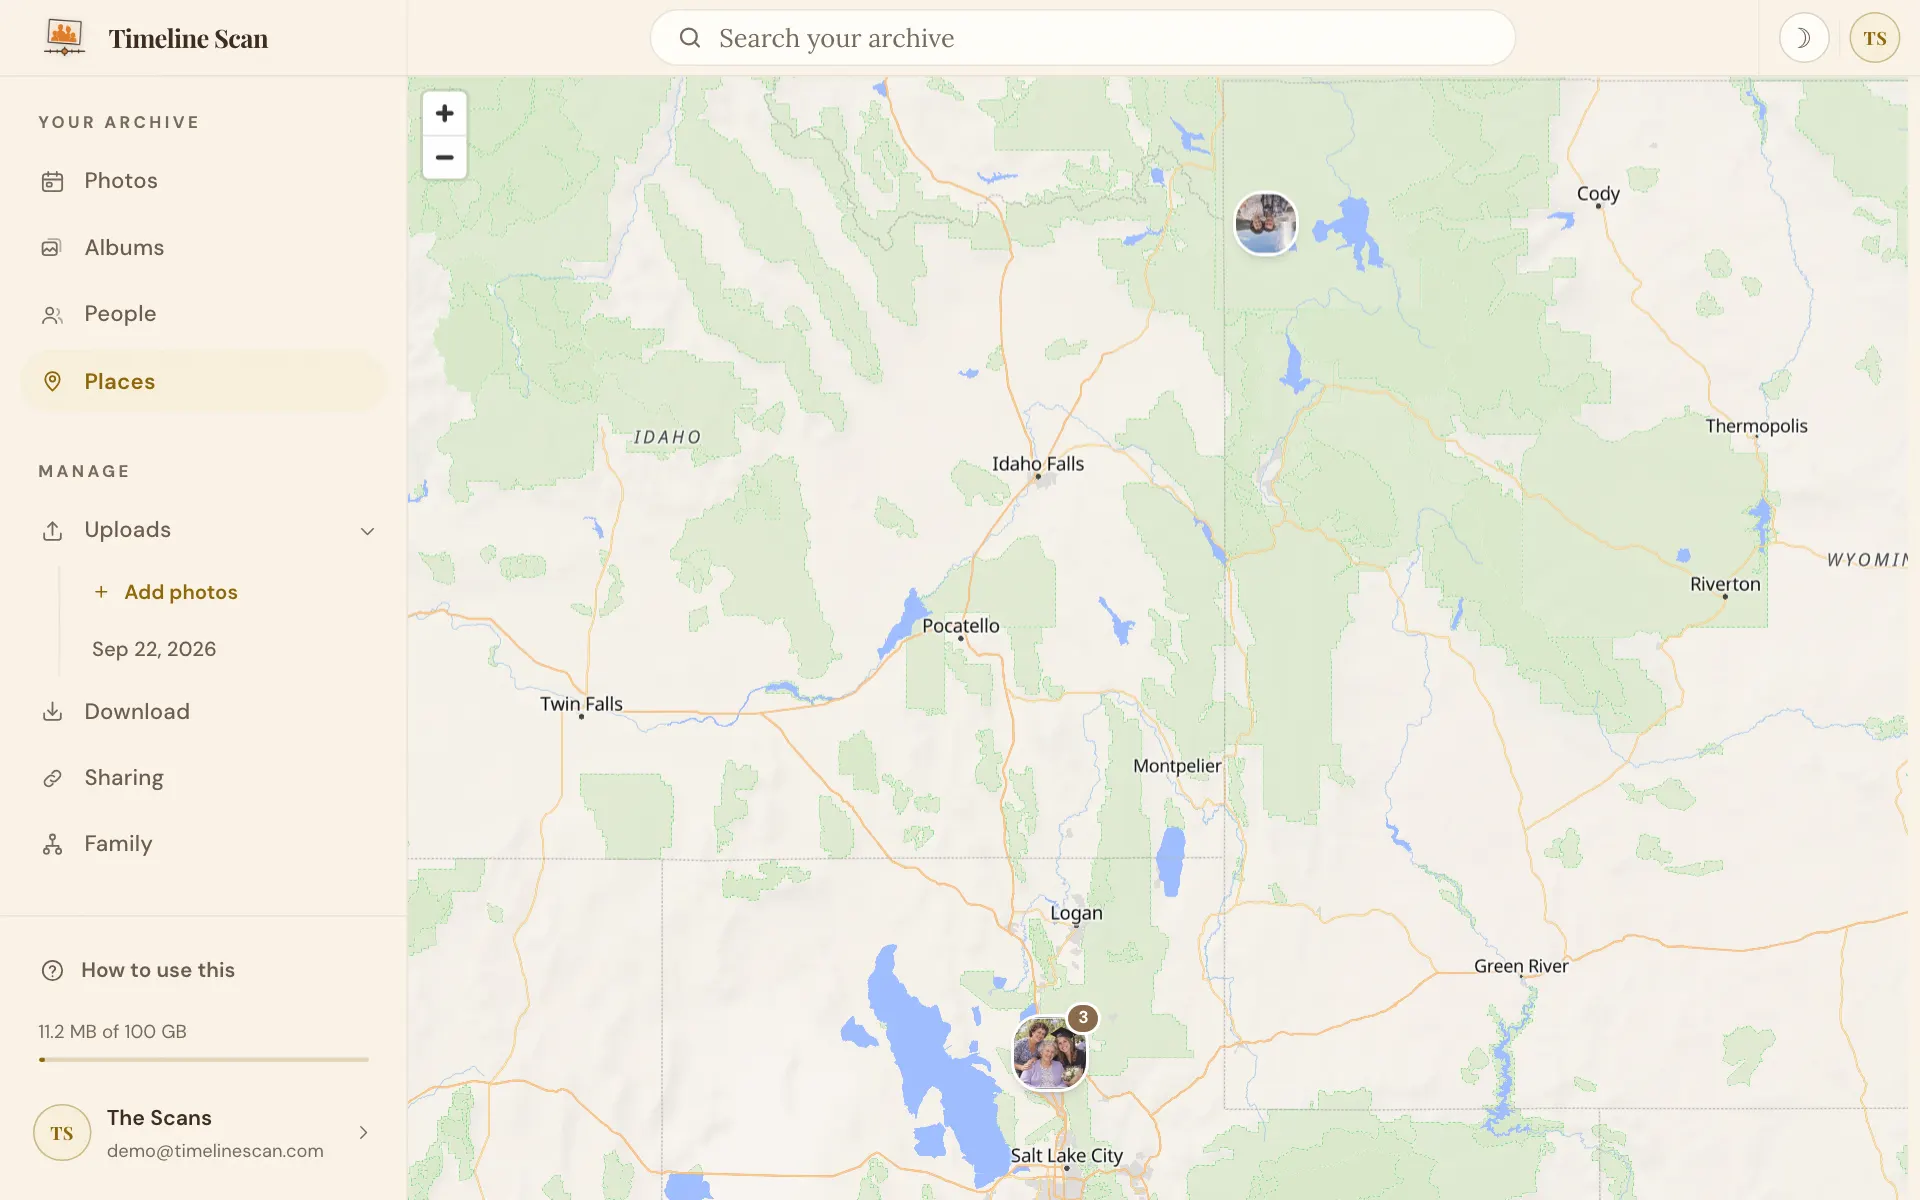
A guessed place card naming Old Faithful, with Yes and No under it A photo open full size with a place suggestion under it and a Yes button The Places map with pins spread across a region
Step 7 of 9

Backs and notes

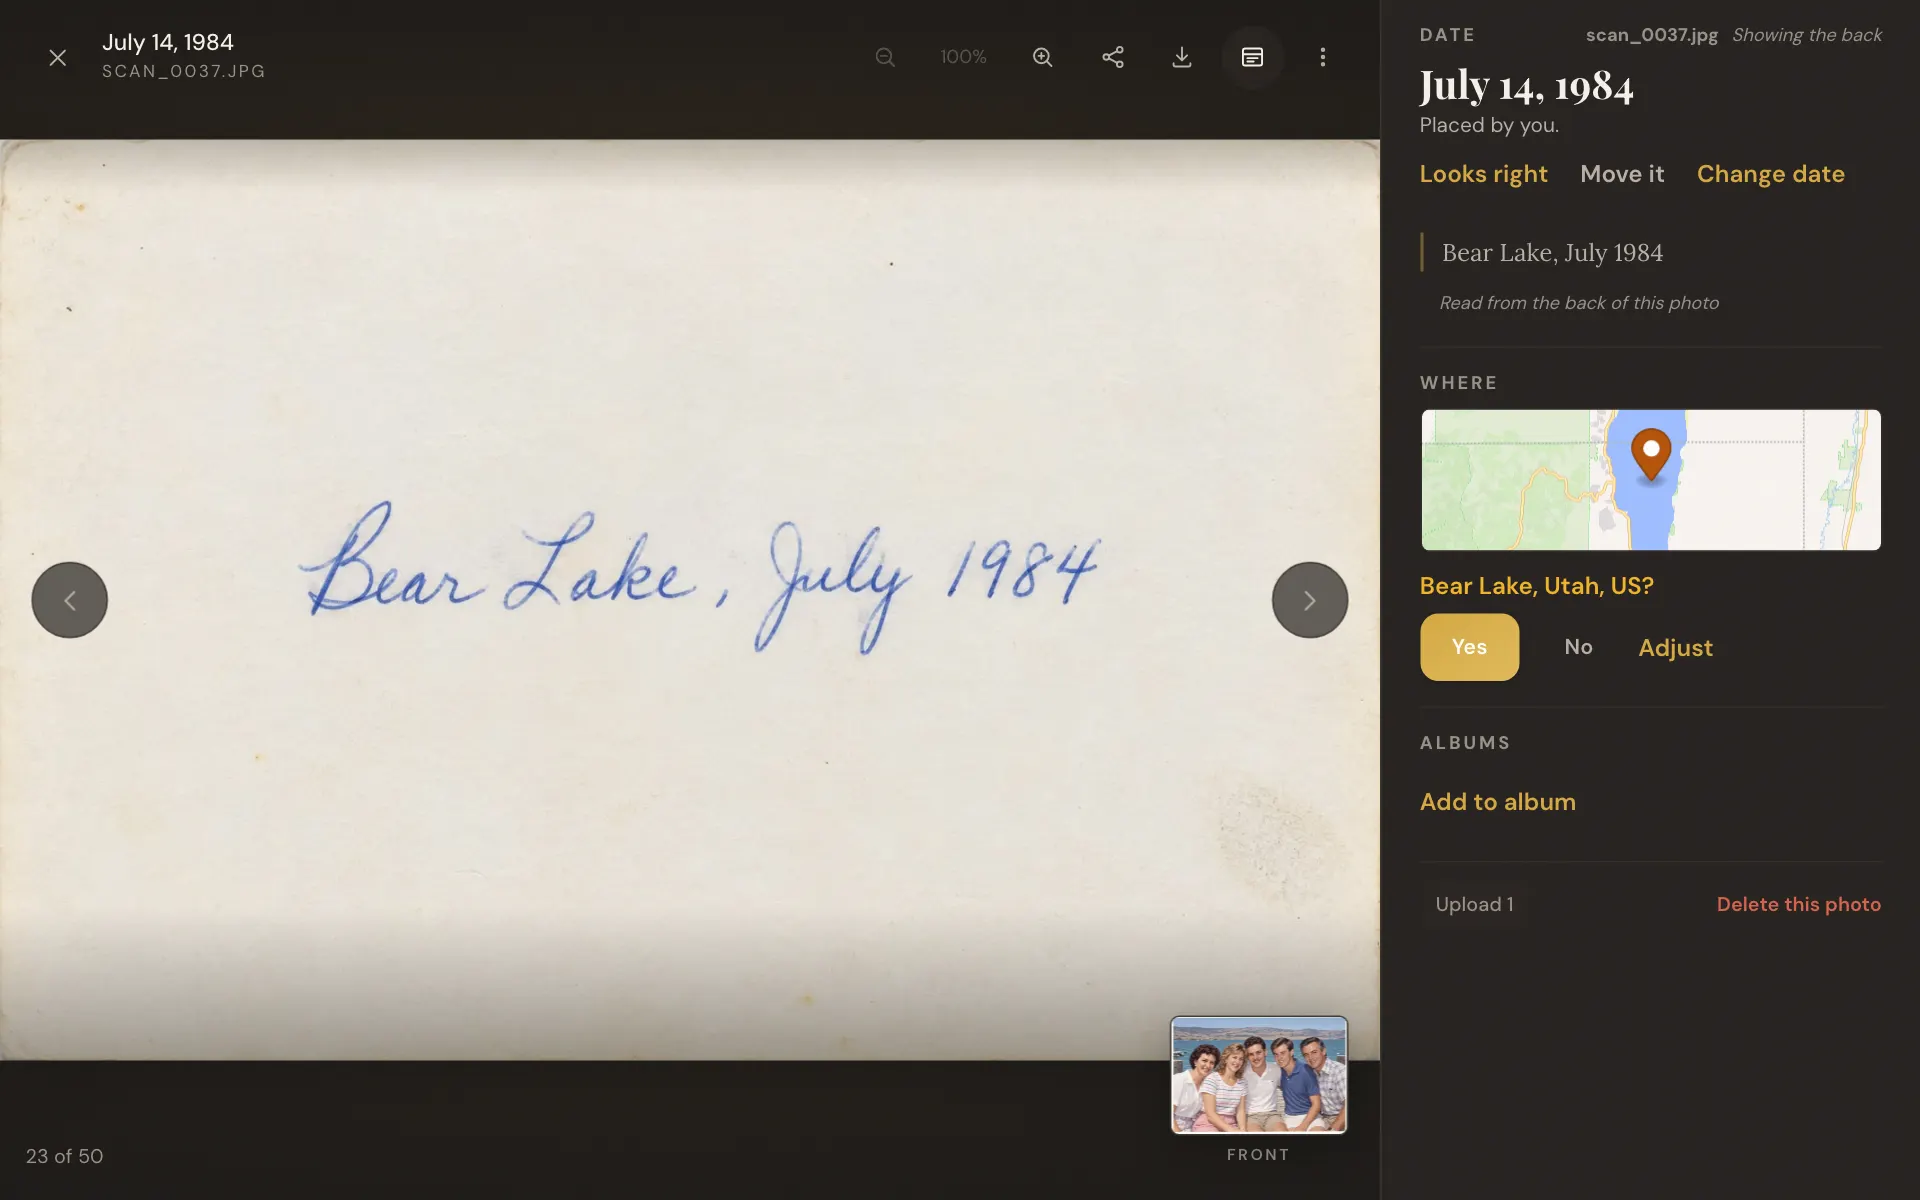
The handwriting is on the back. So is your note.
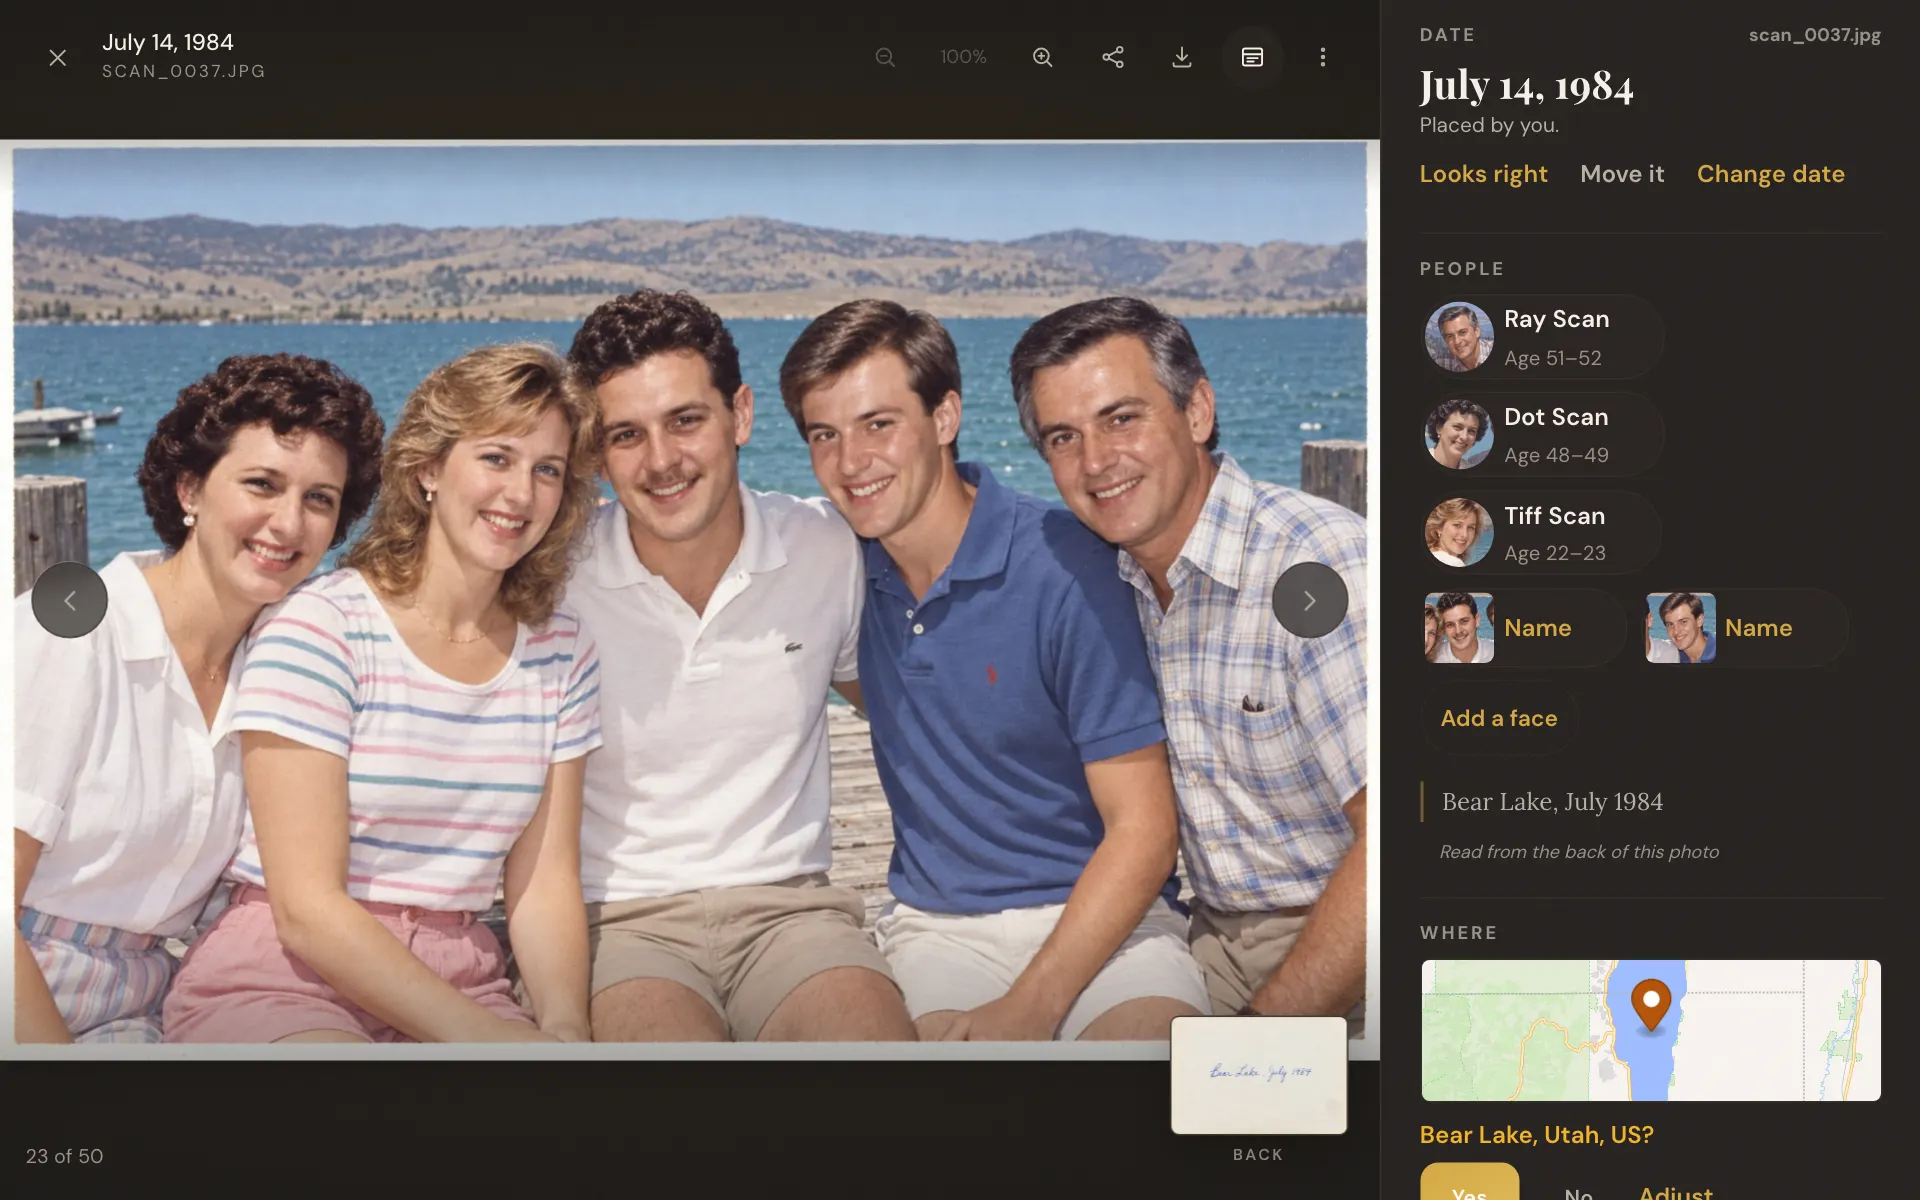
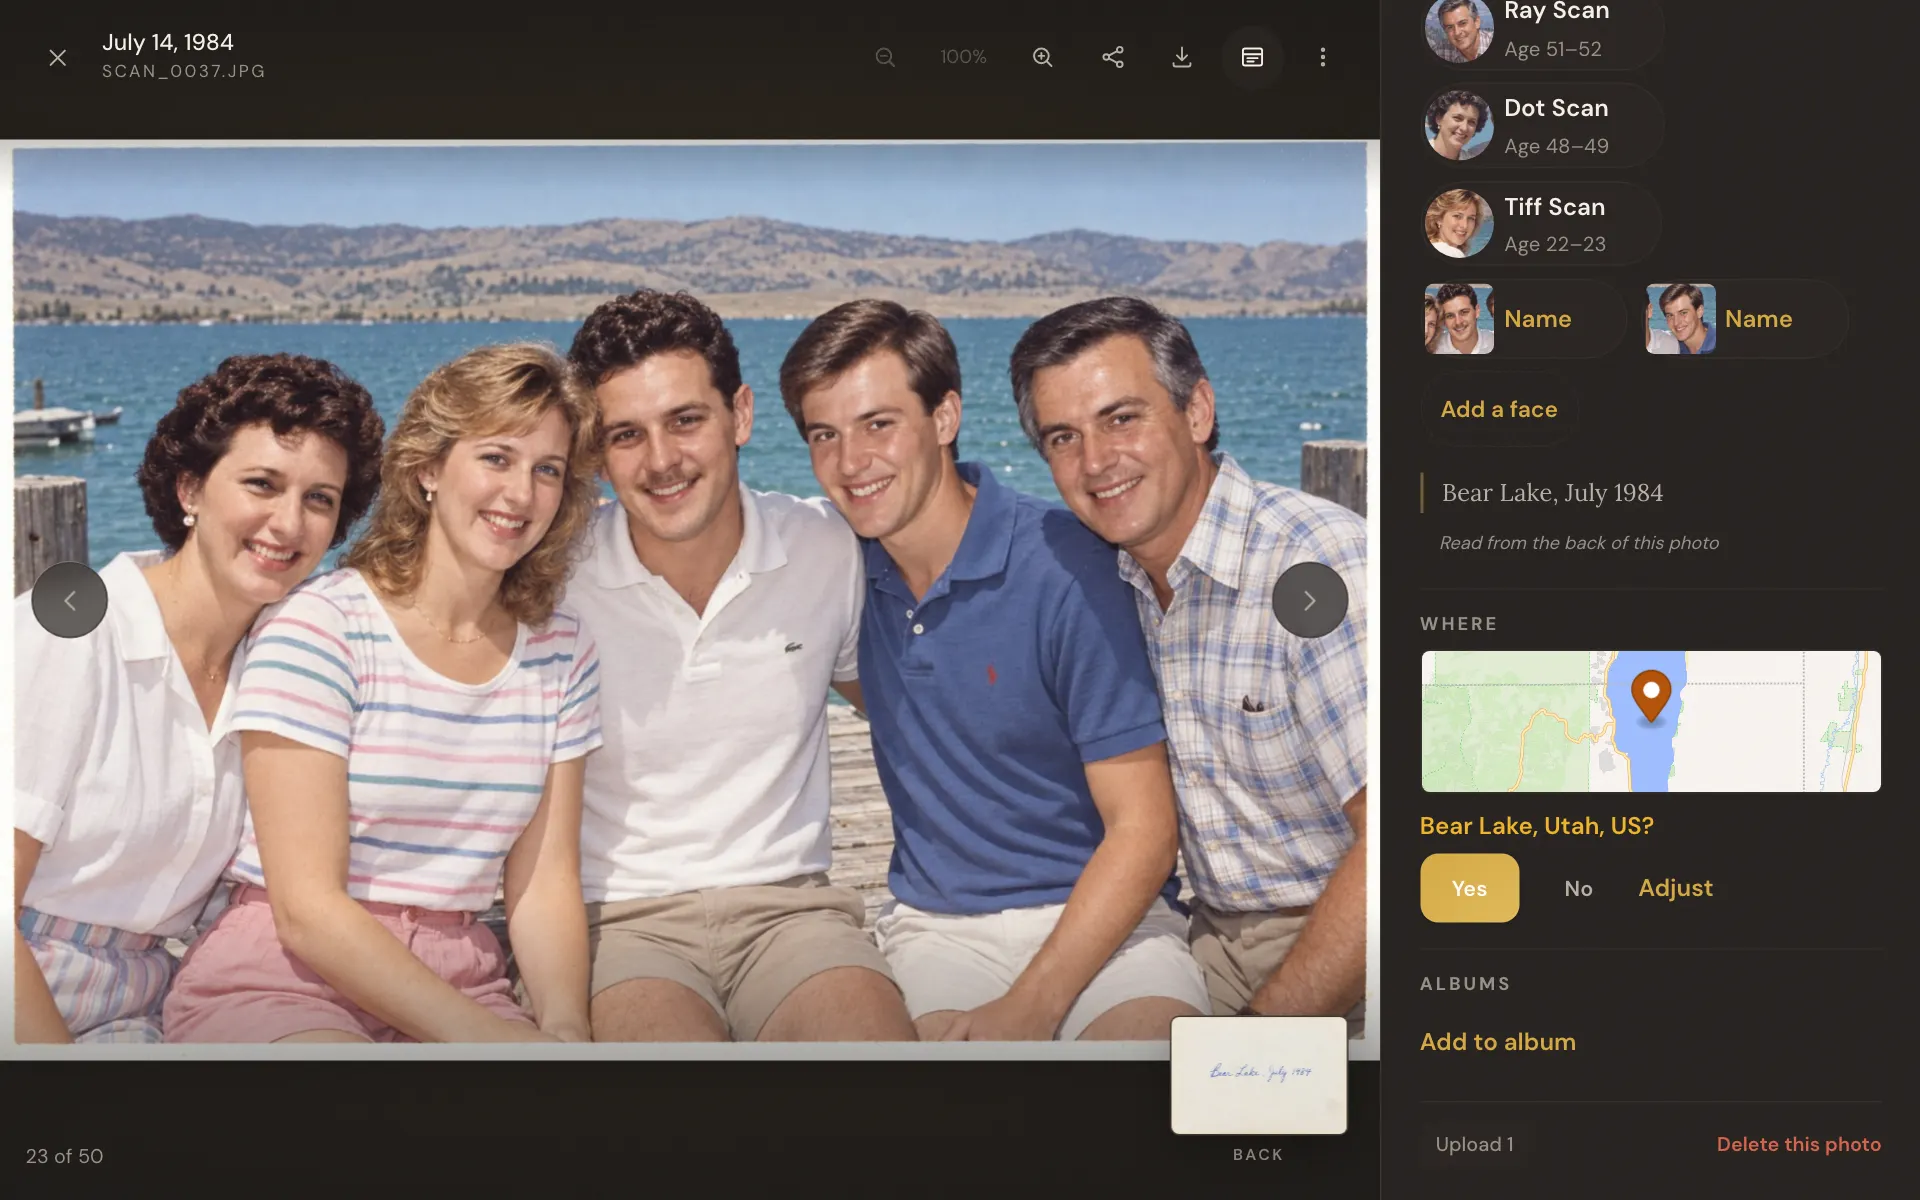
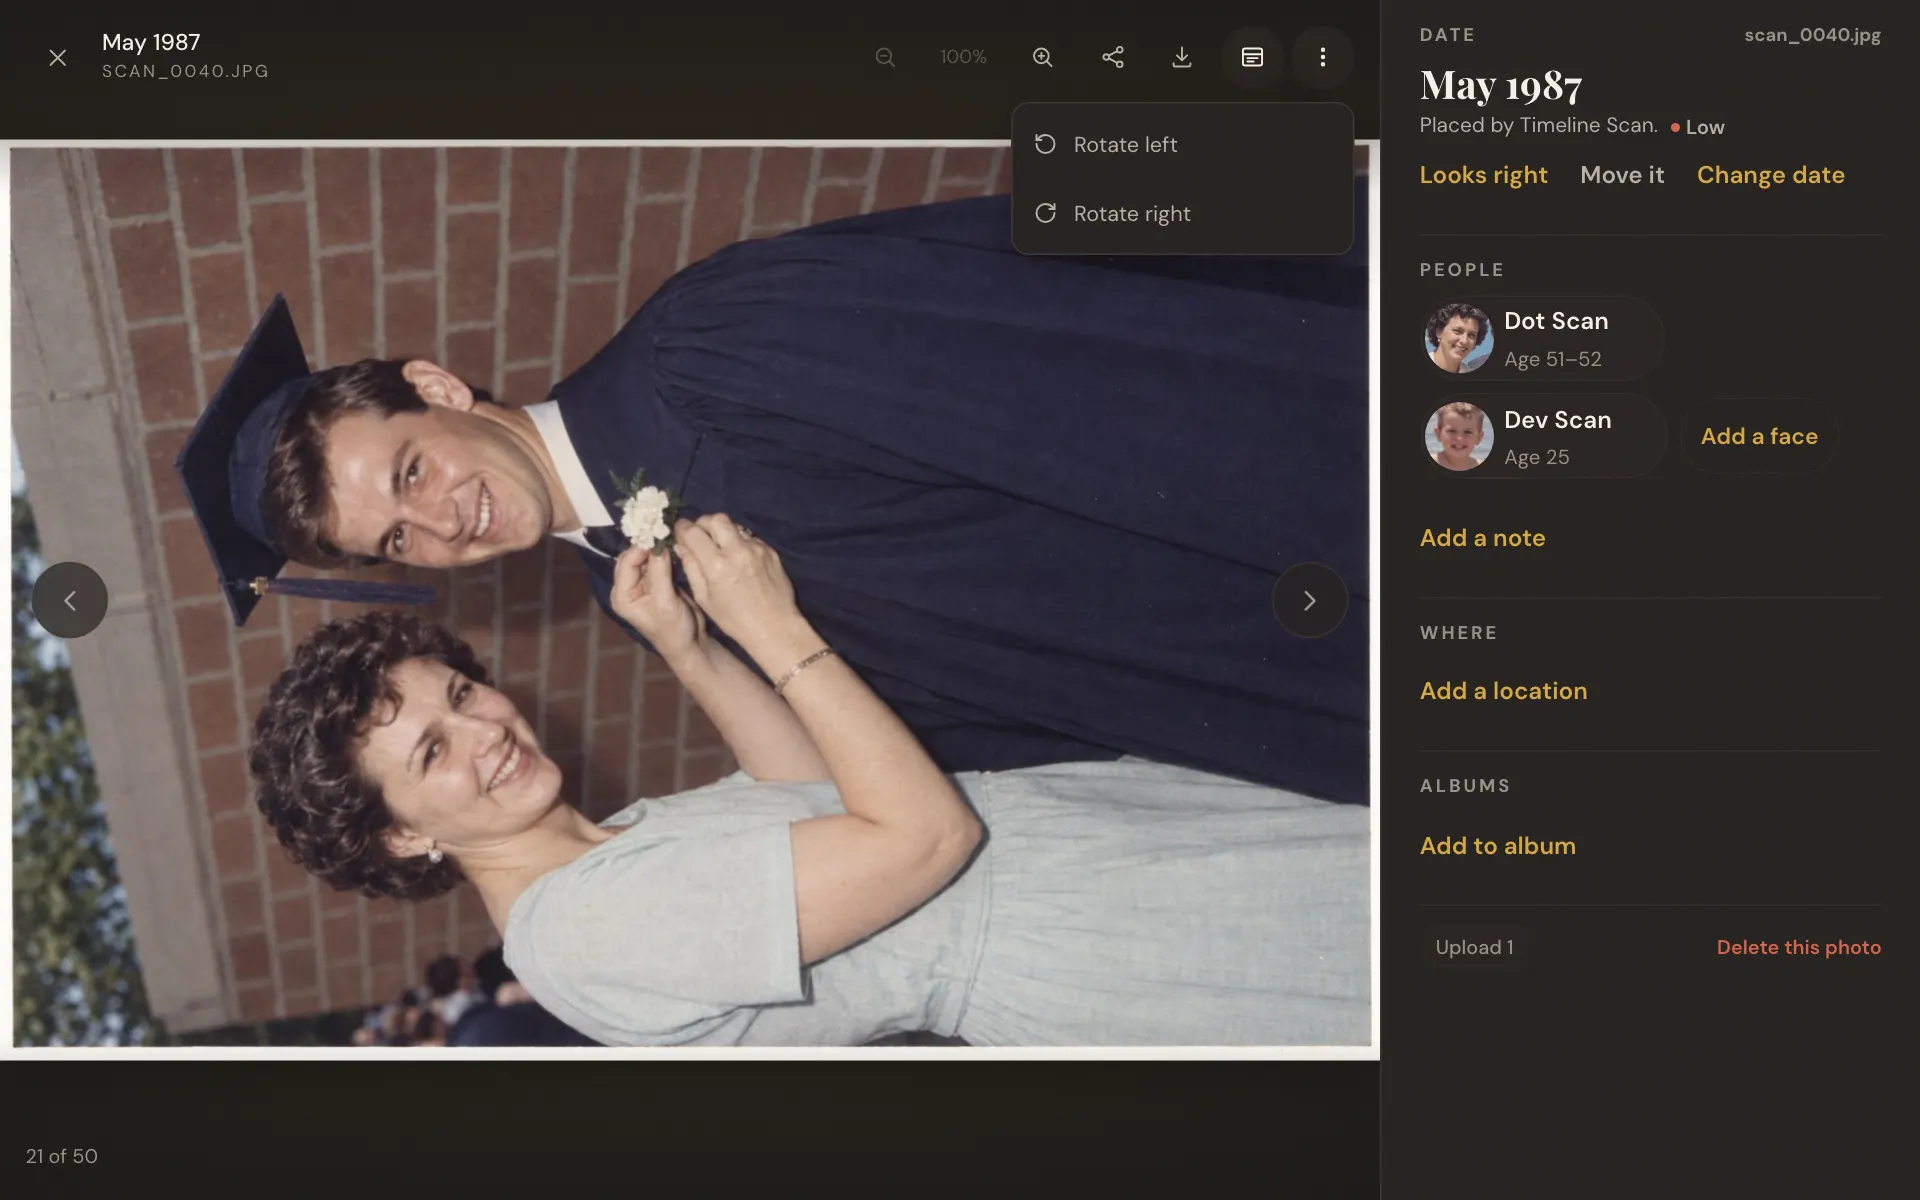
A photo open full size with a small picture of its back, labelled Back, in the corner The scanned back of the print, its handwriting above an editable note field The photo's three-dot menu open with Rotate left and Rotate right
Step 8 of 9

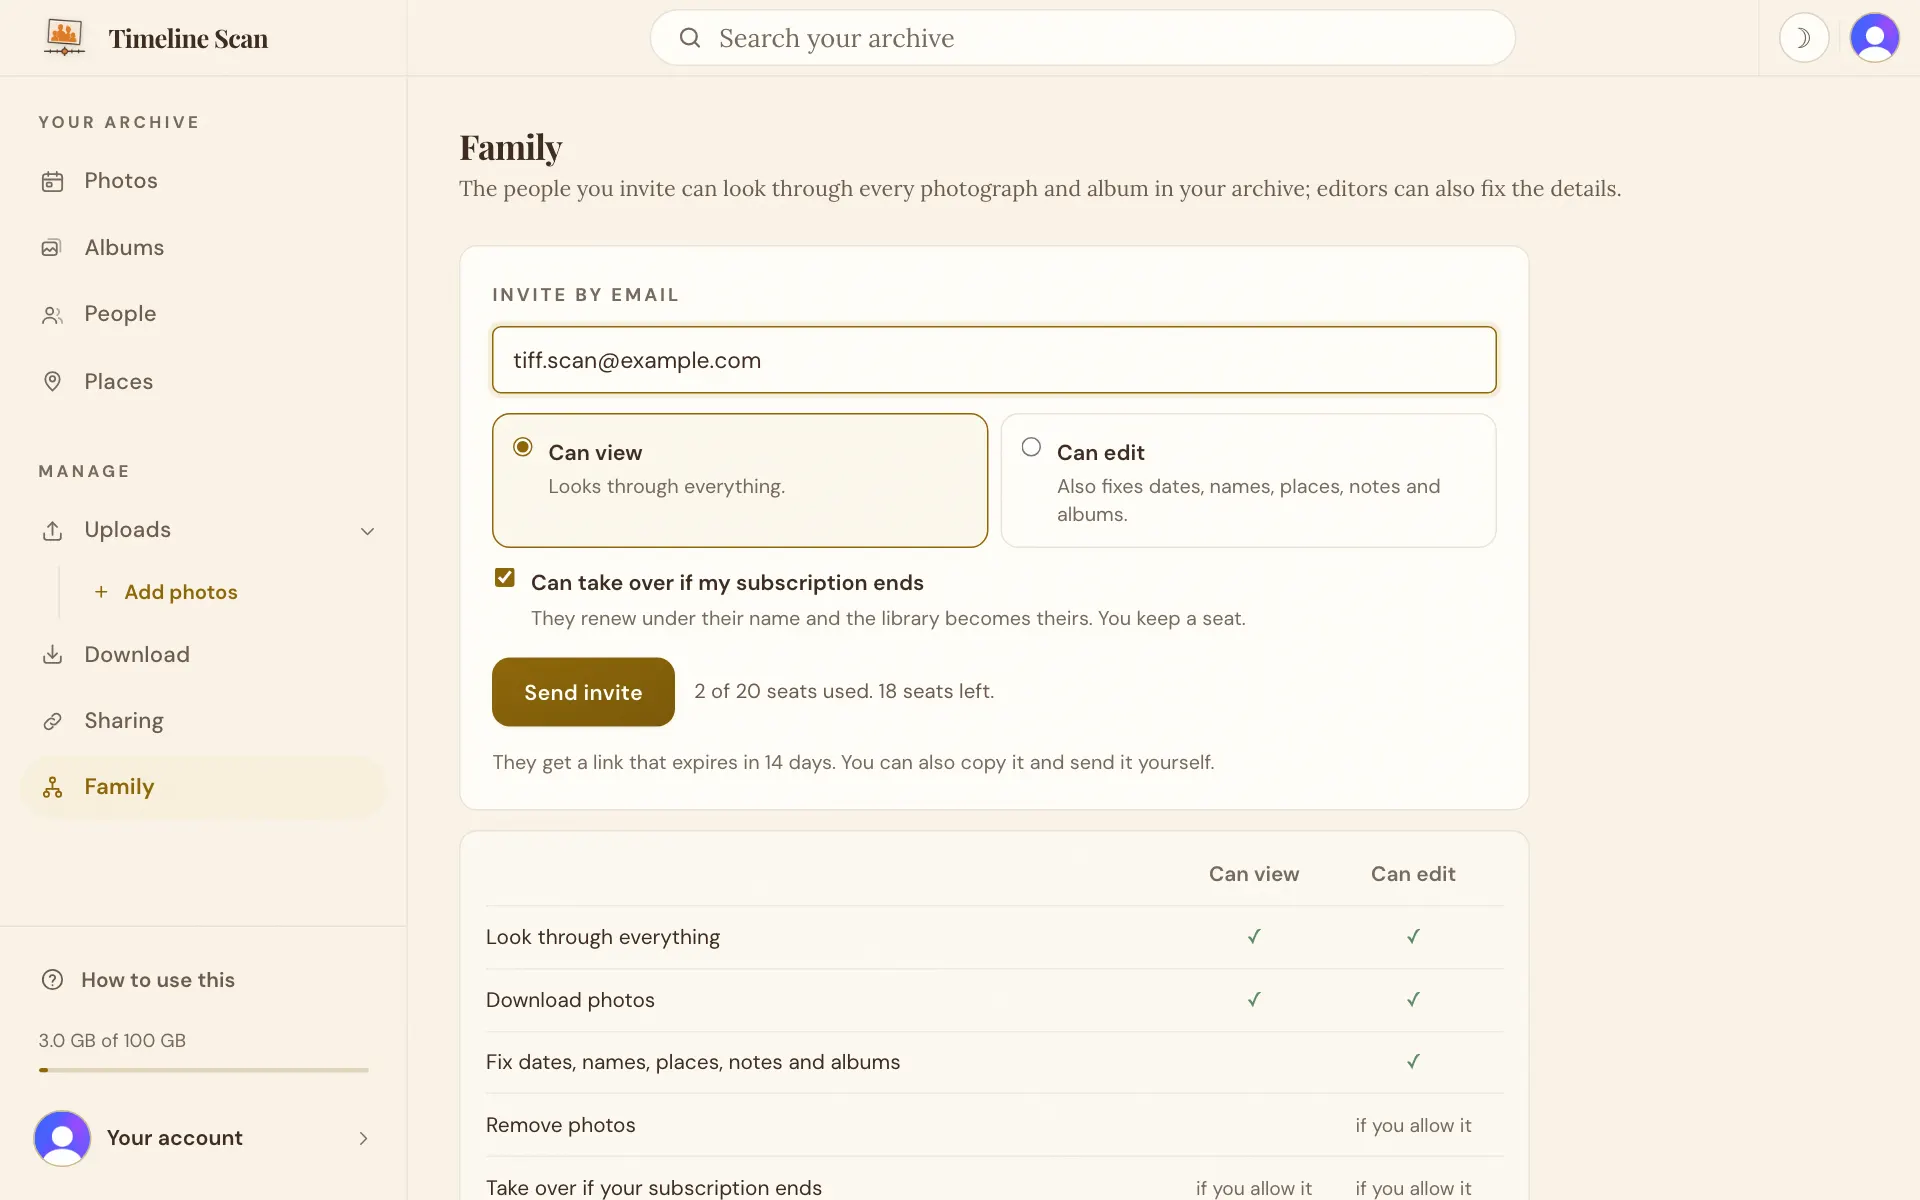
Share with family

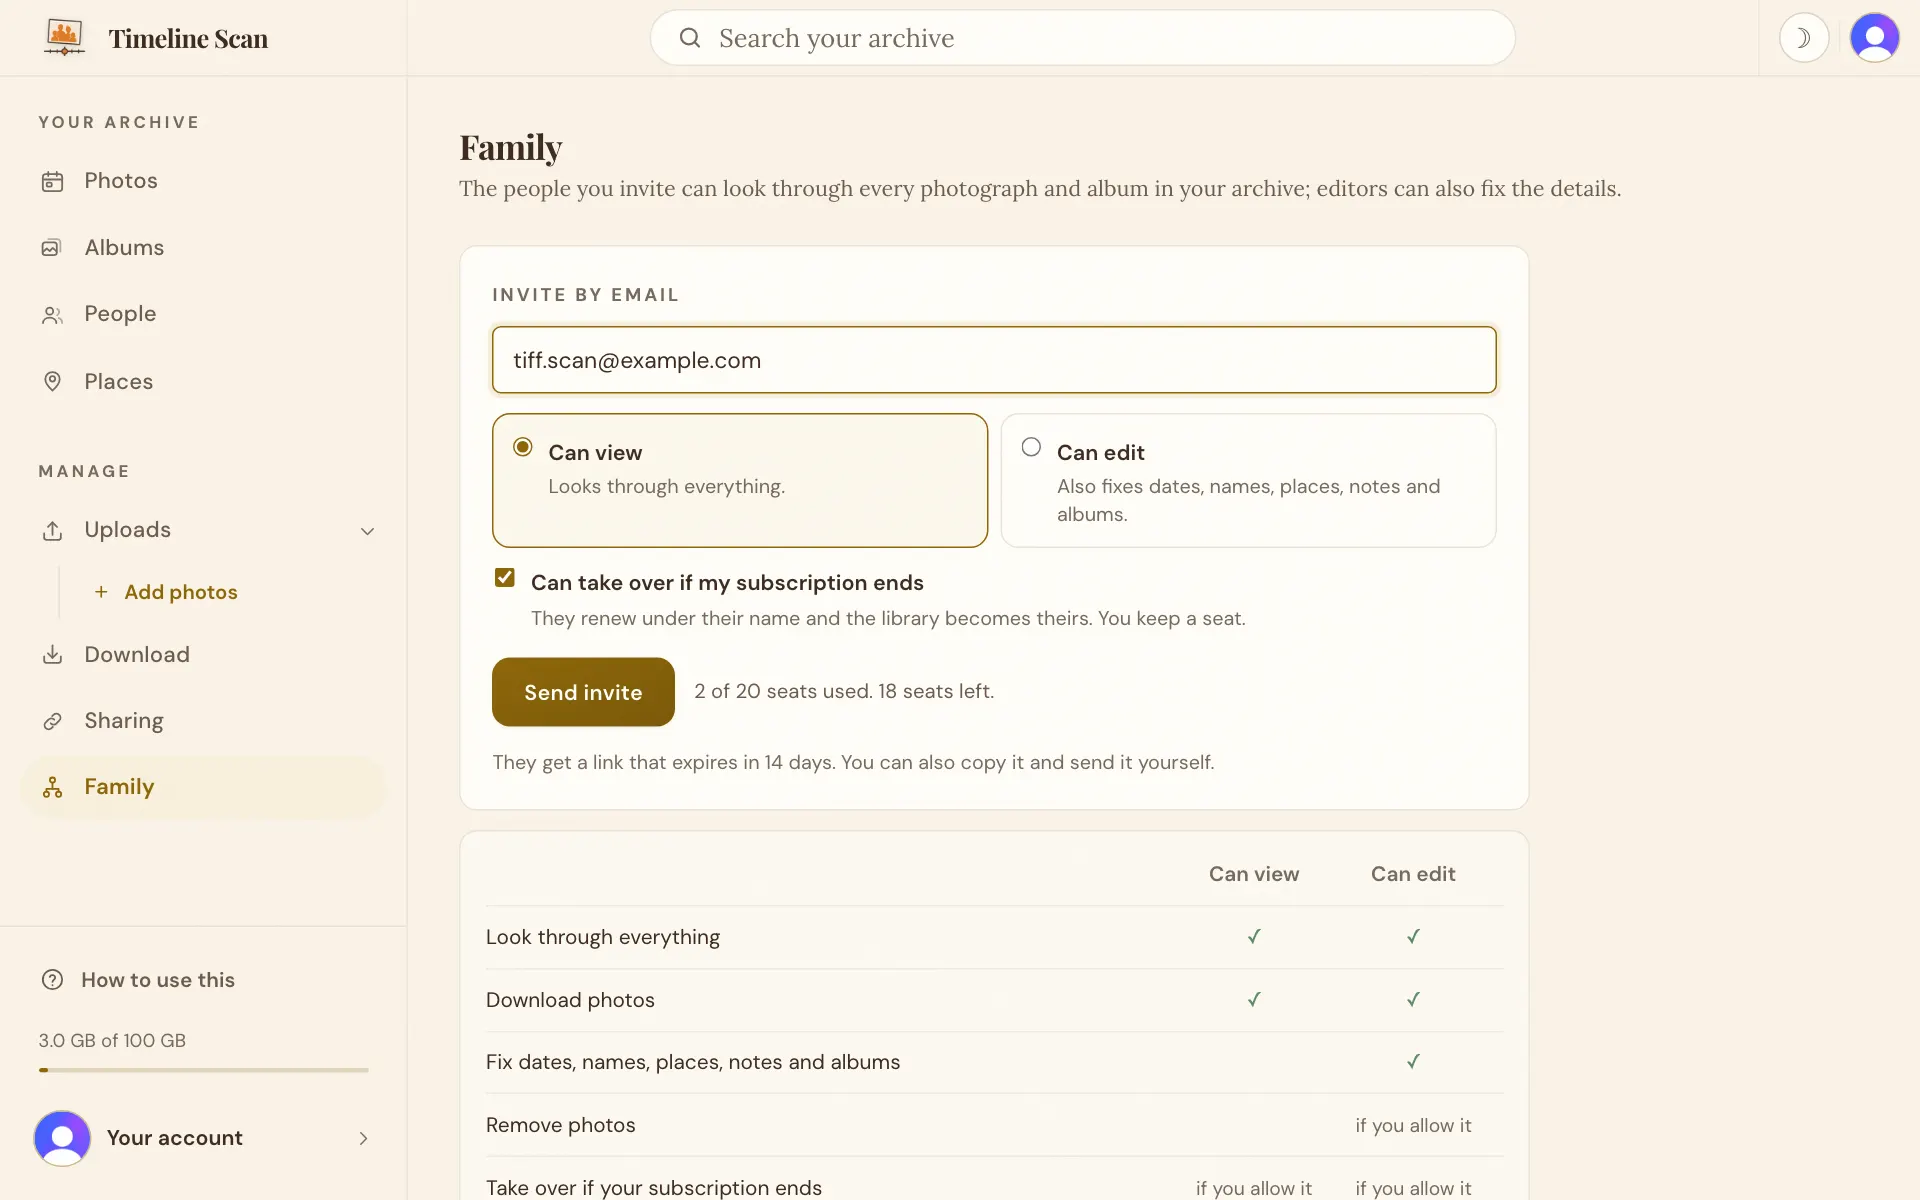
They can look, or they can help.

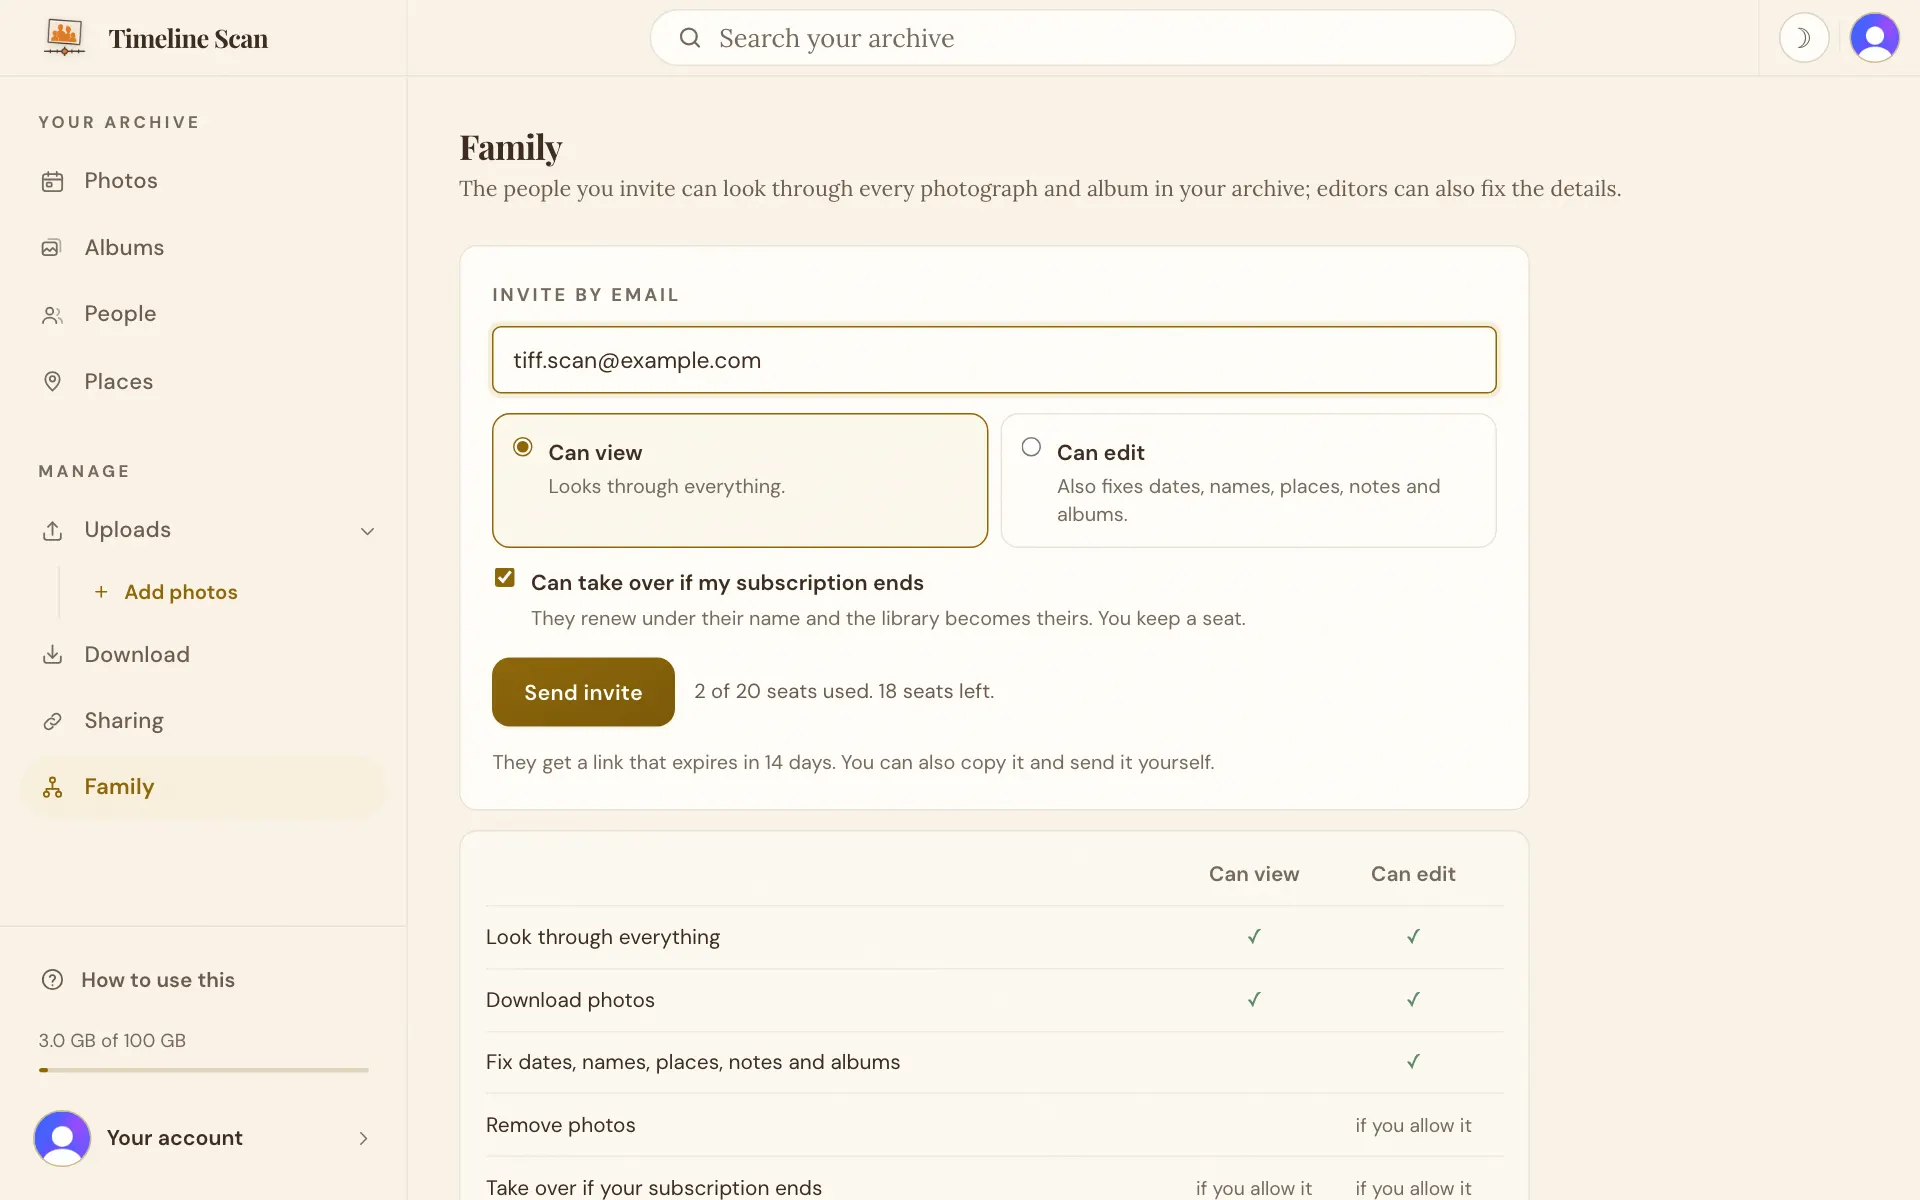
The Family page with an address typed into the invite field The two choices under the address, Can view and Can edit The Send invite button under the choices, with the seats left beside it The Sharing page listing a share link with its settings
Step 9 of 9

Take them home

Dates go inside every photo, so any app shows them in order.
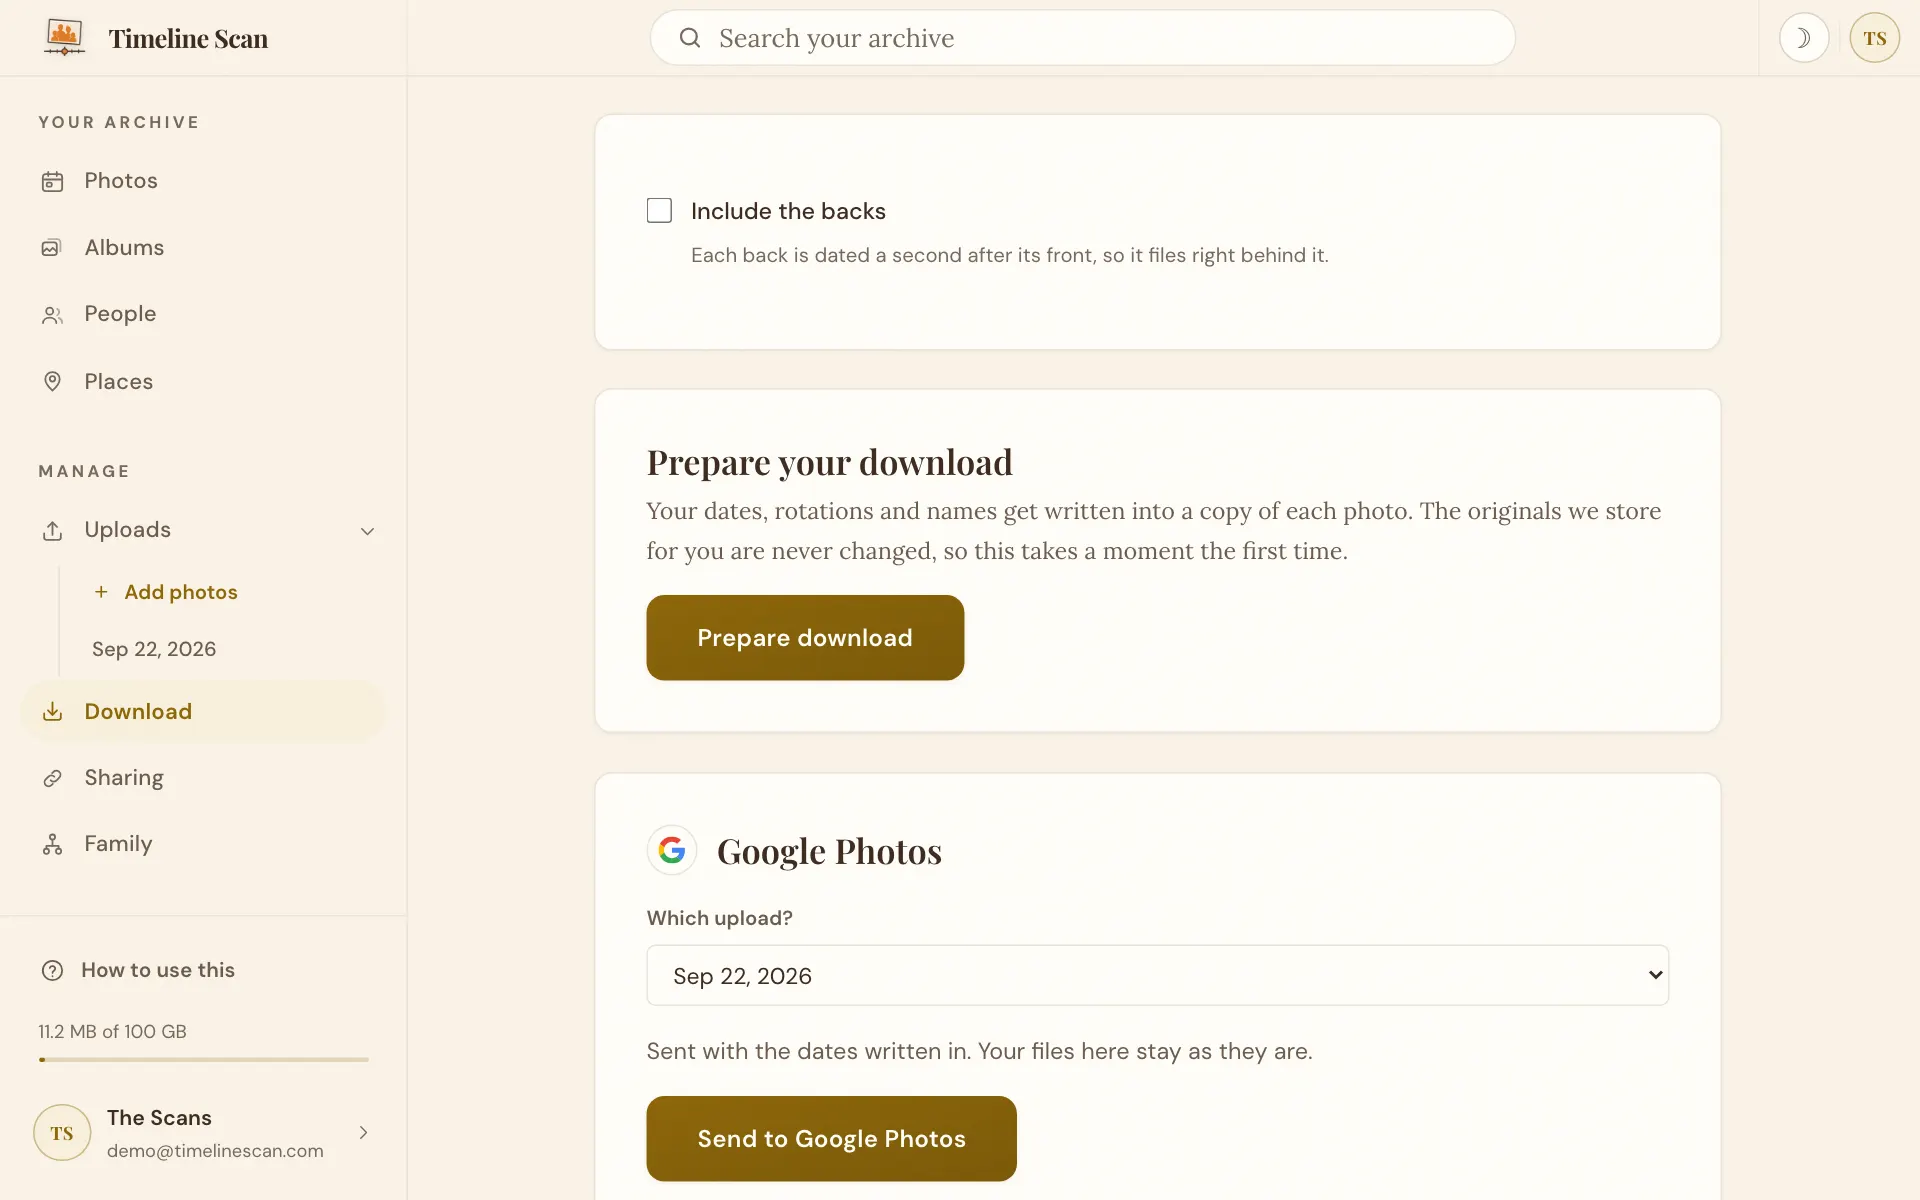
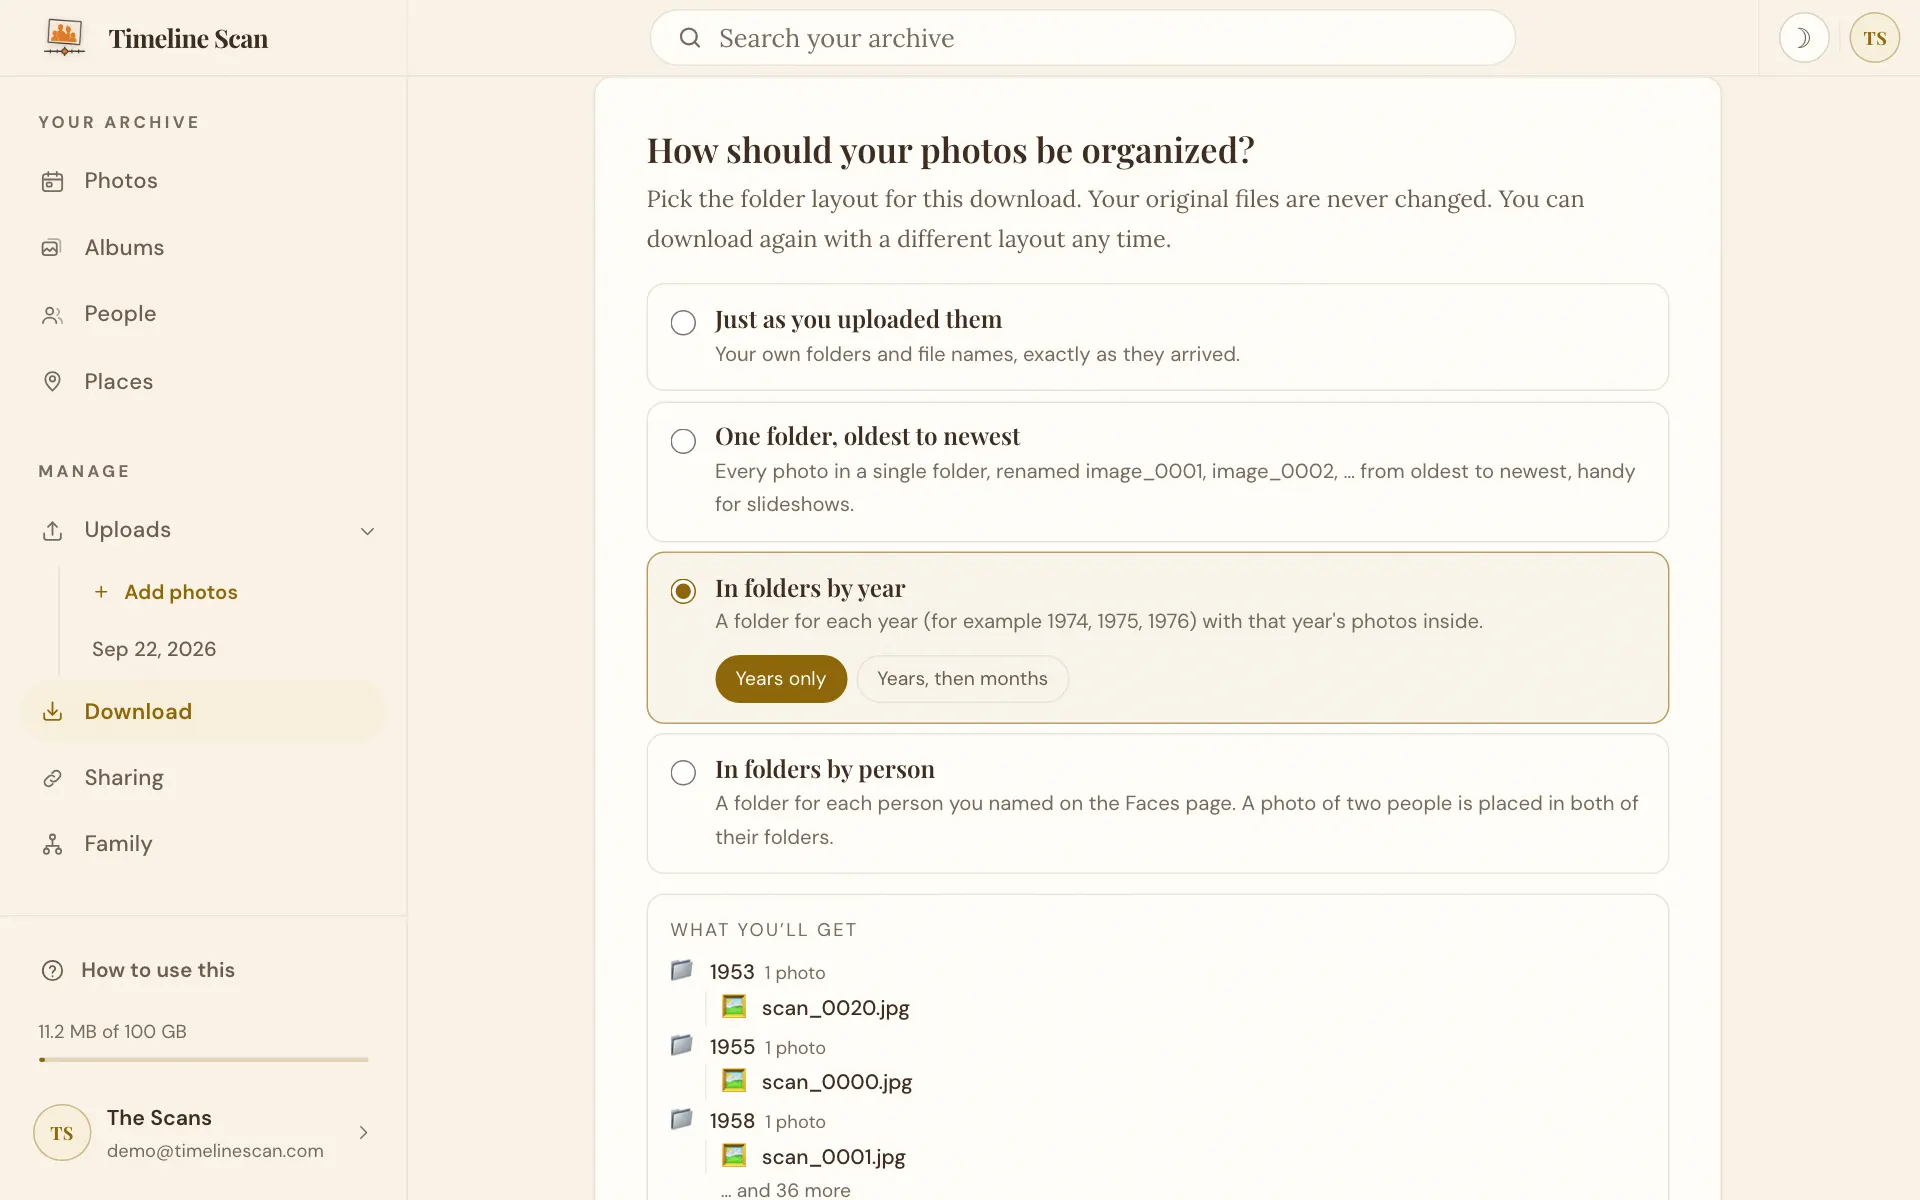
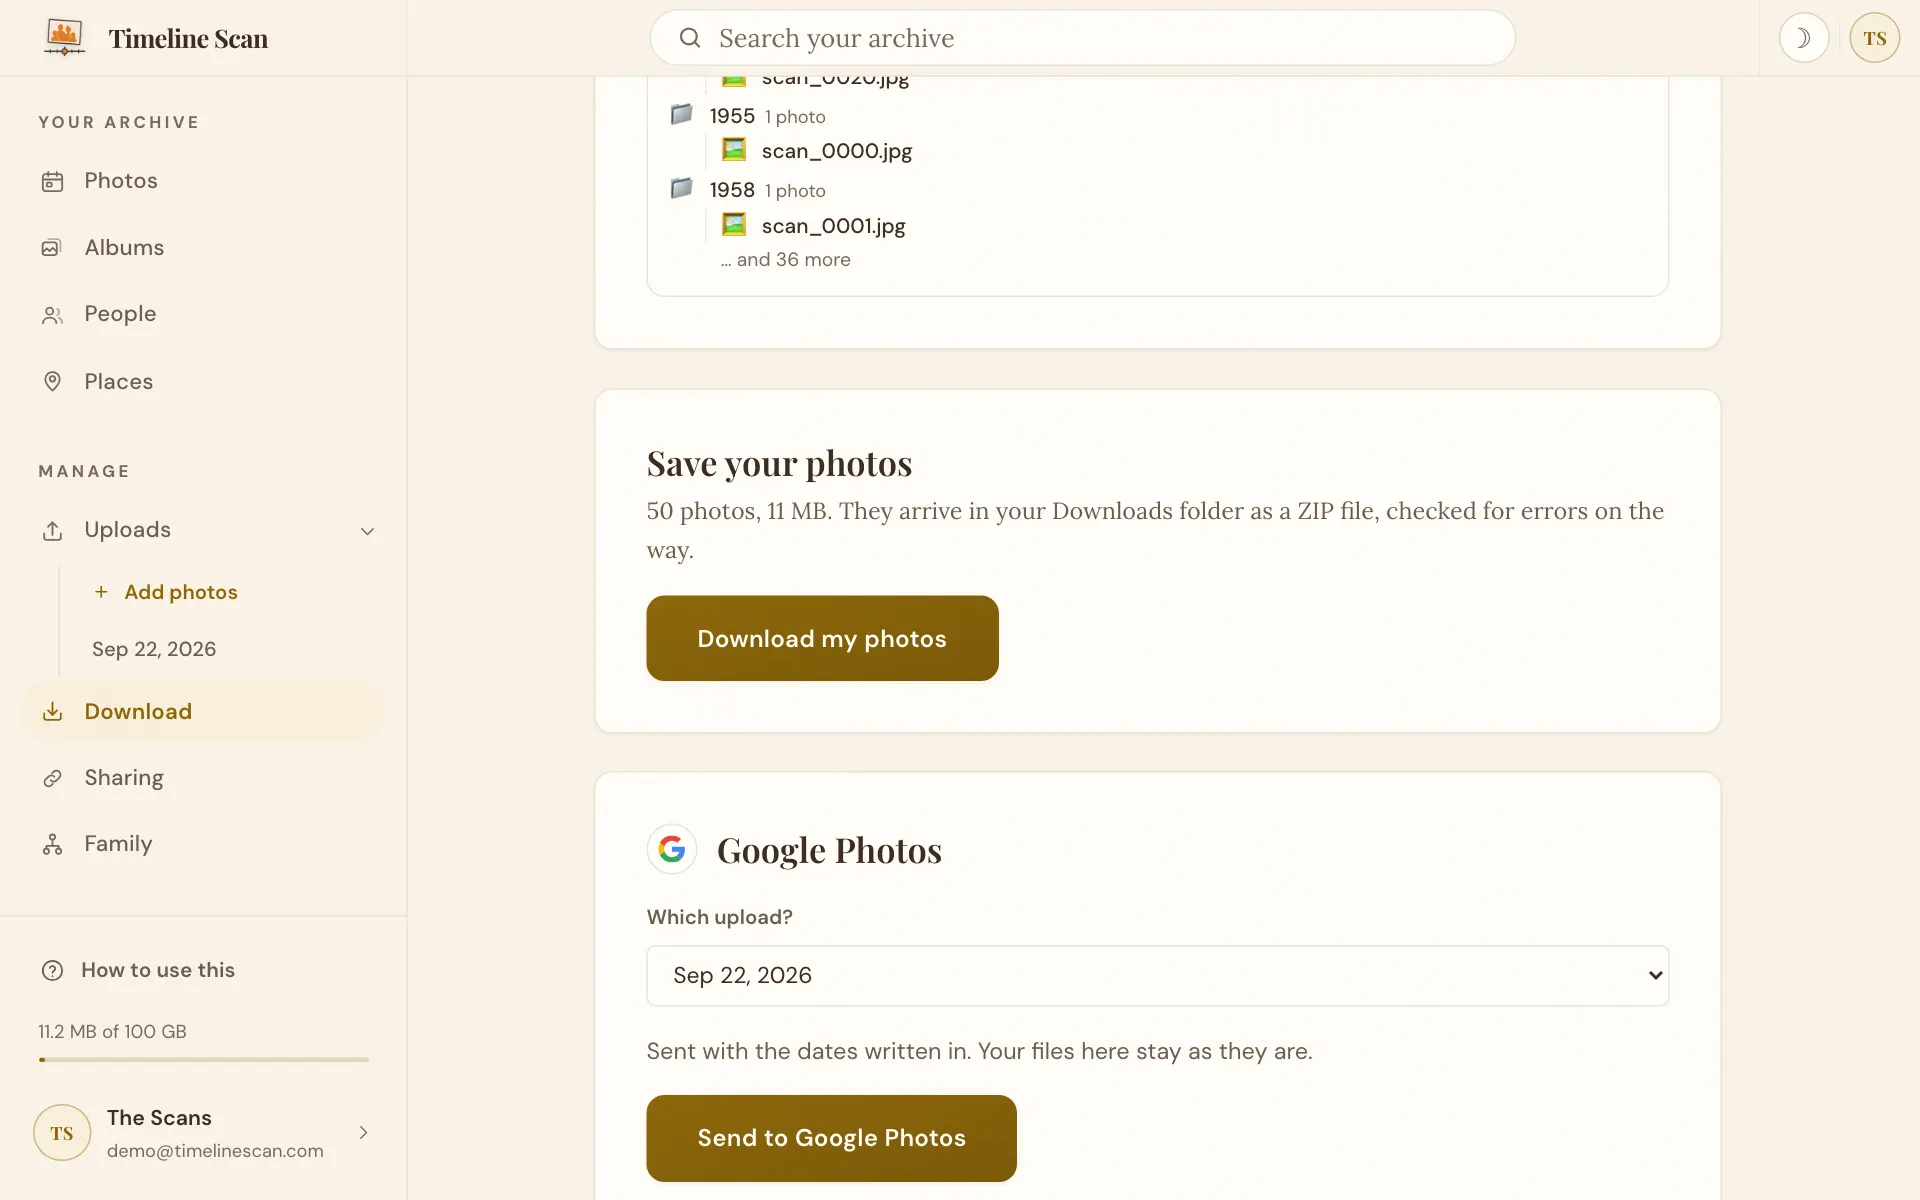
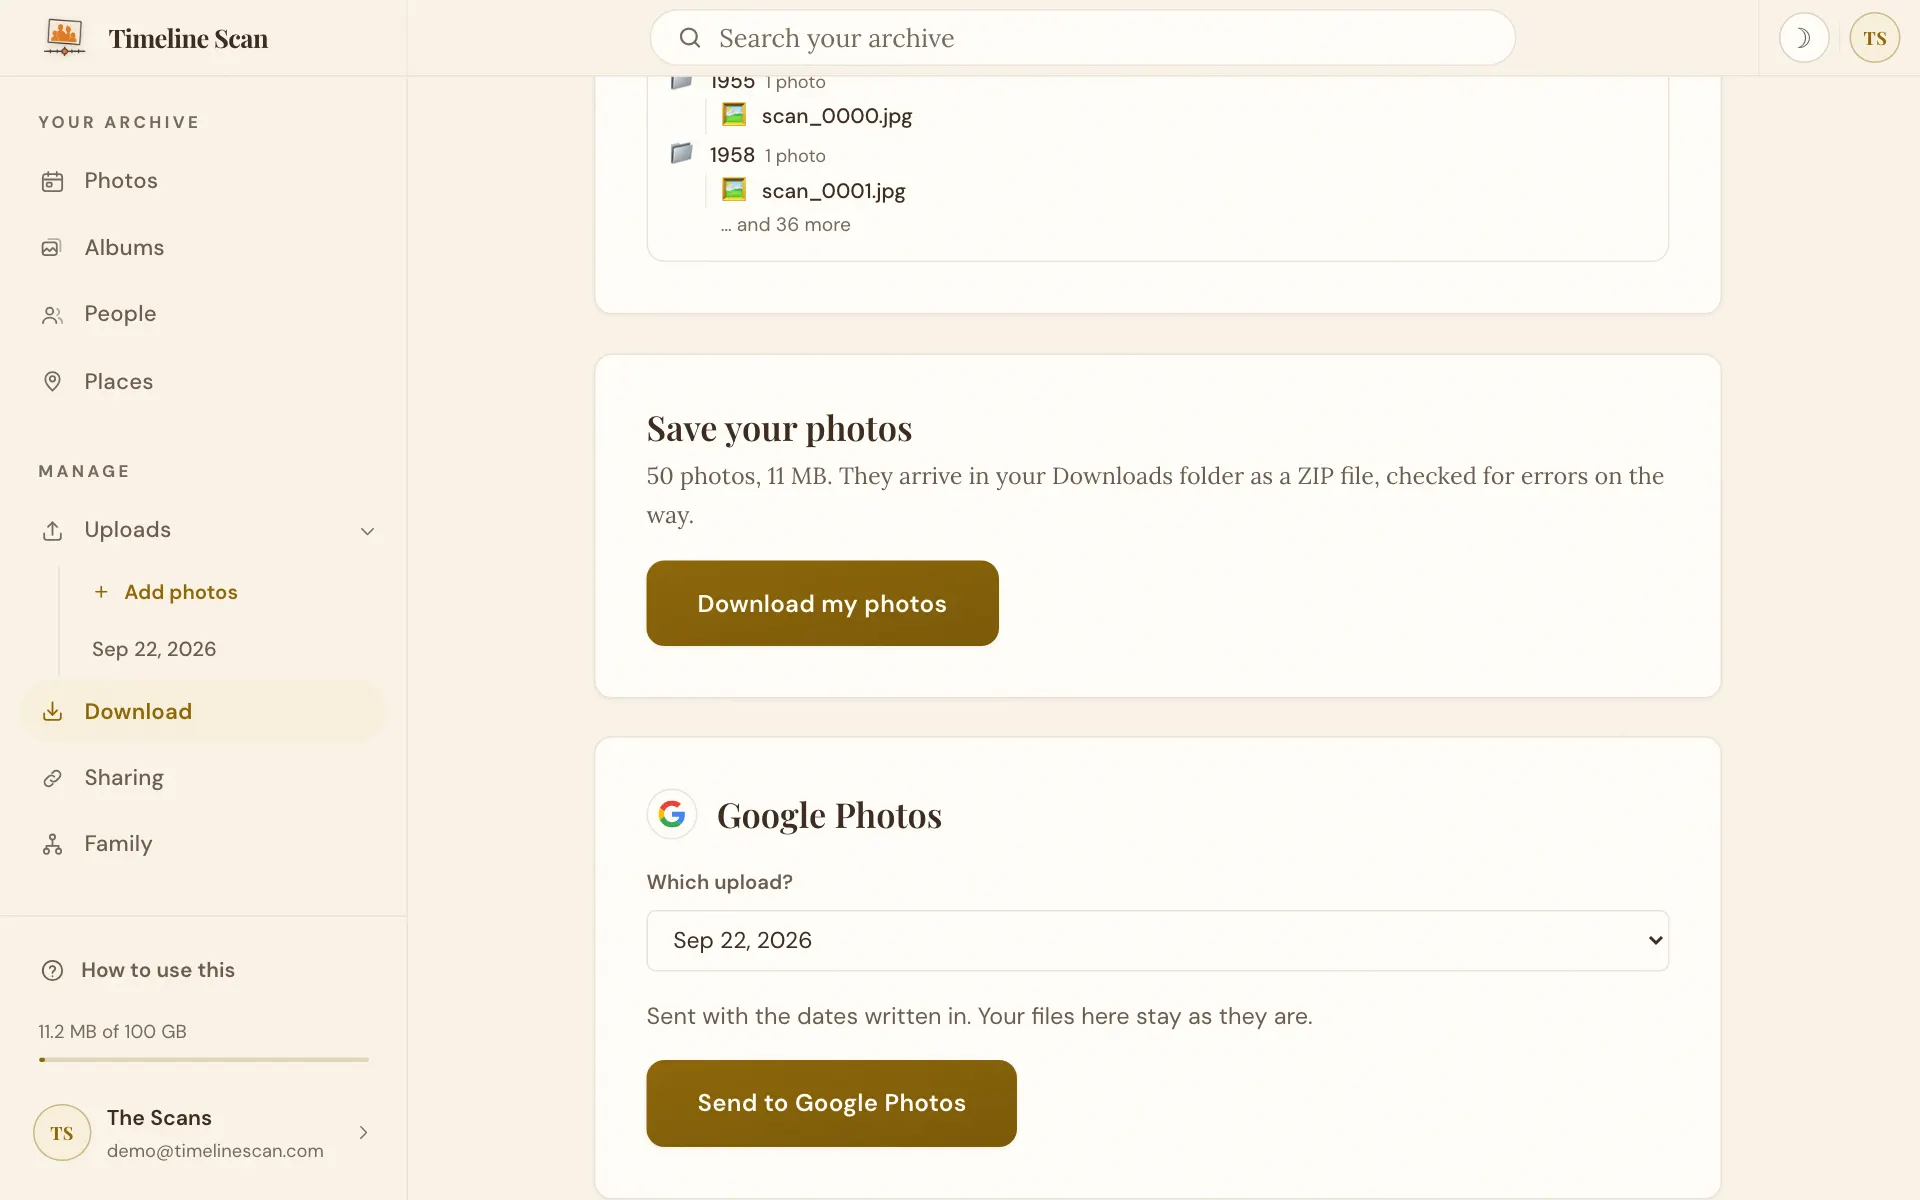
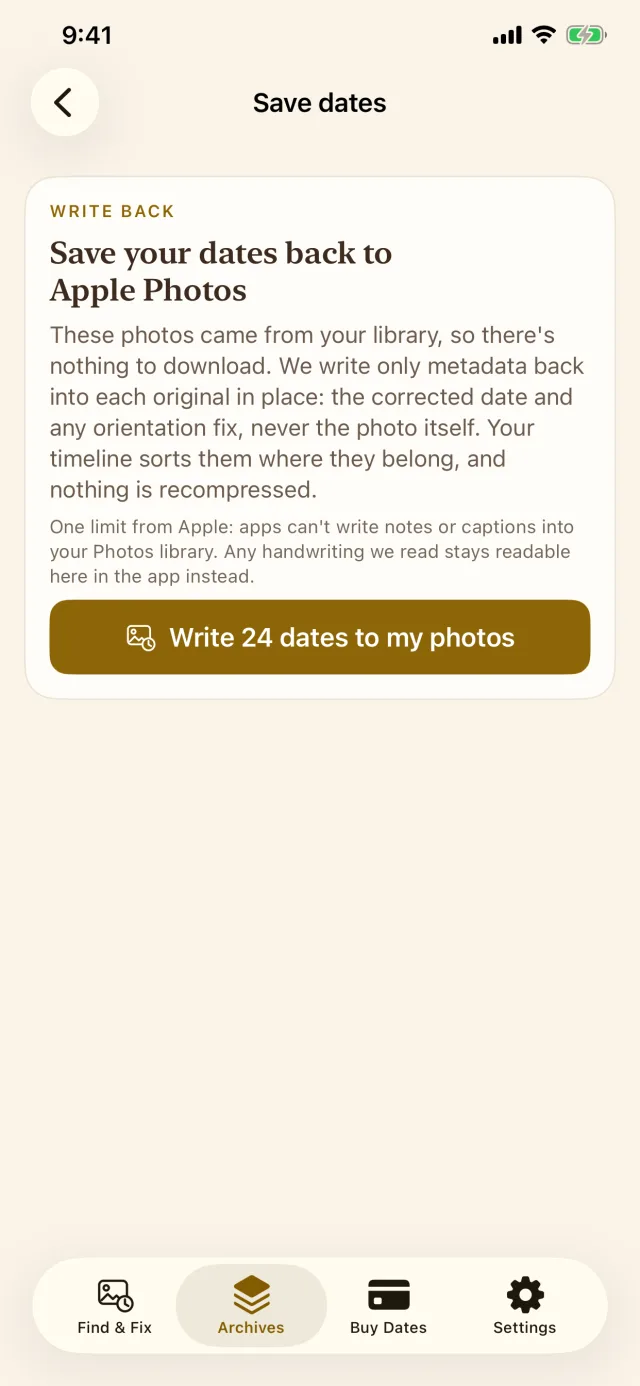
The Download page with its Prepare download button The folder layout picker offering year folders, month folders and person folders The Save your photos card with the photo count, the size and a Download my photos button The option that sends the finished photos straight to Google Photos

Photos

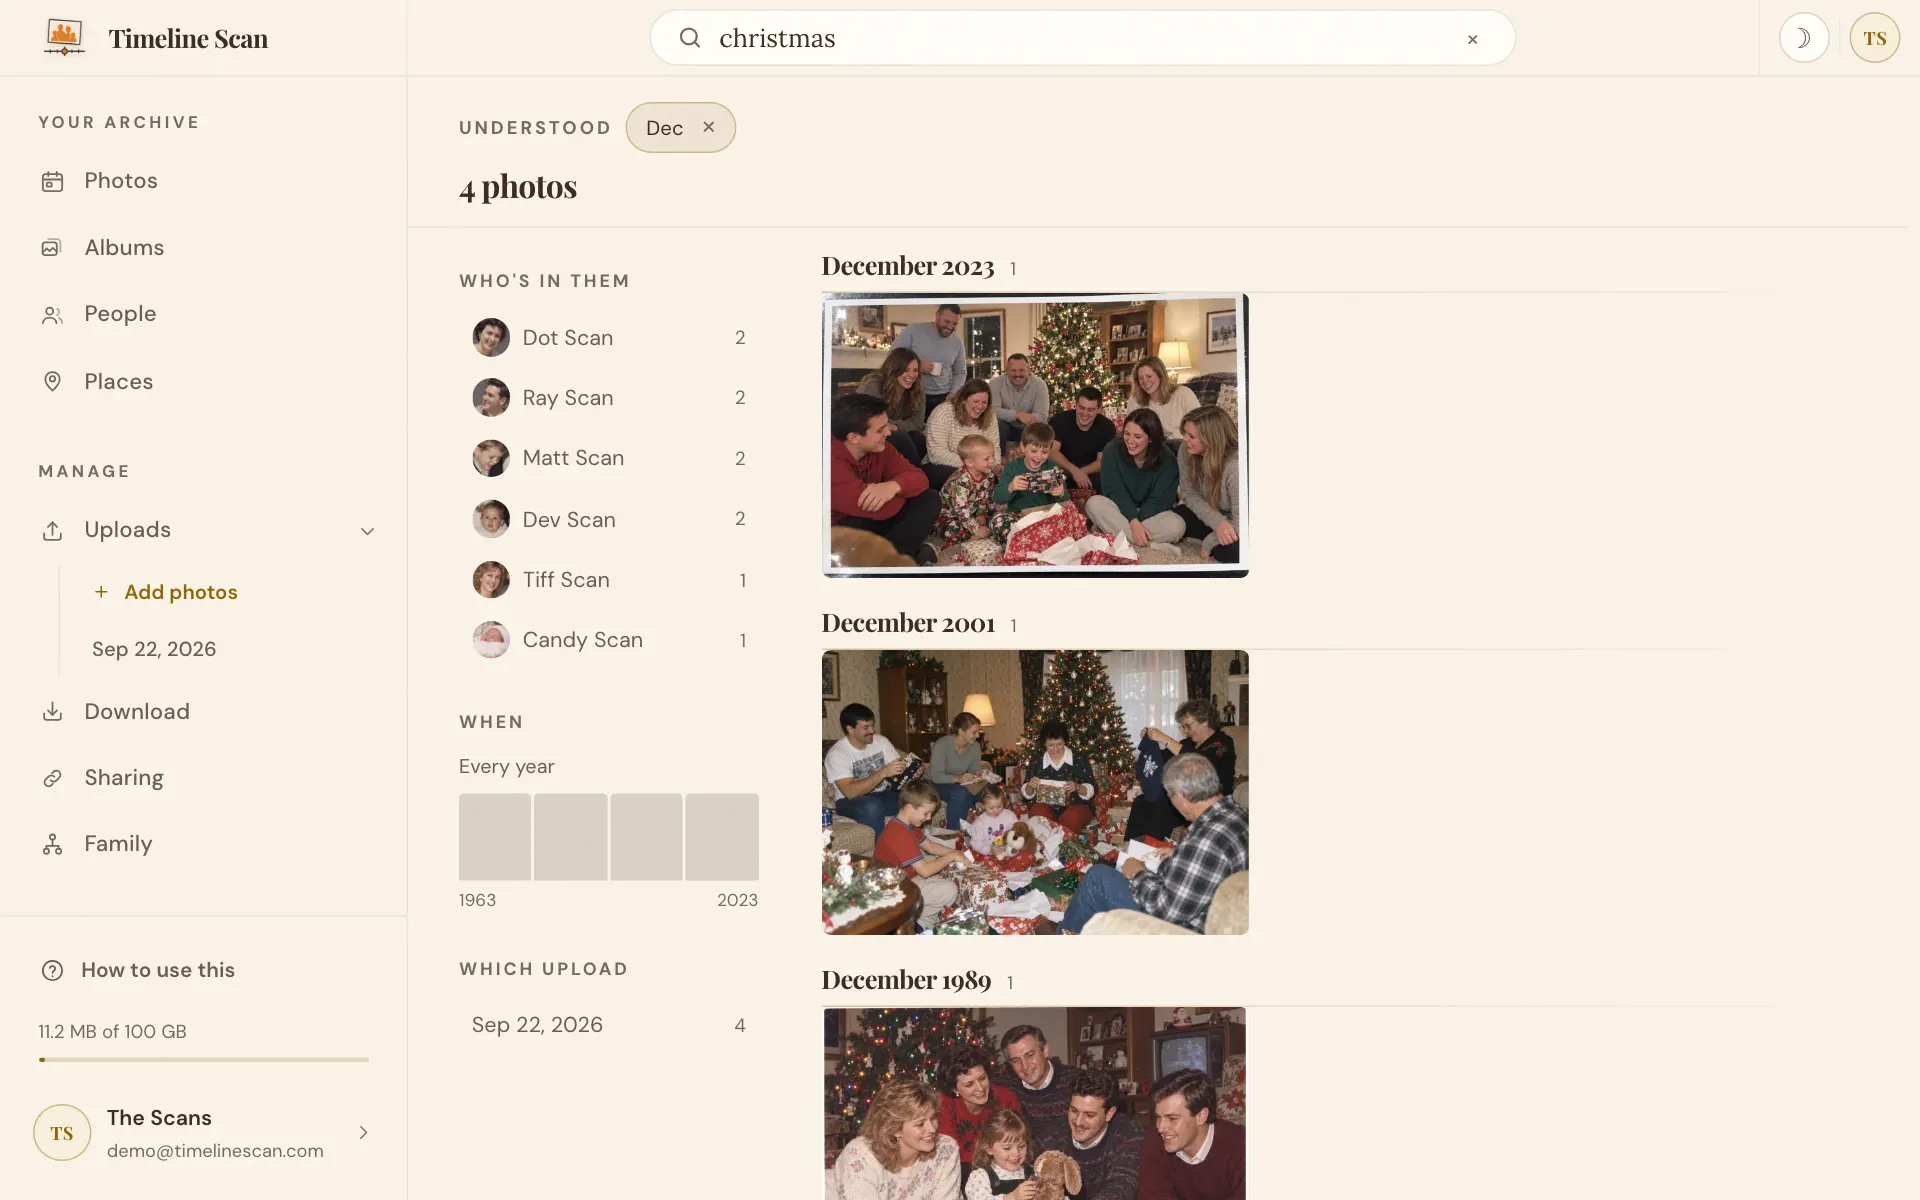
Browse, open, select, search.

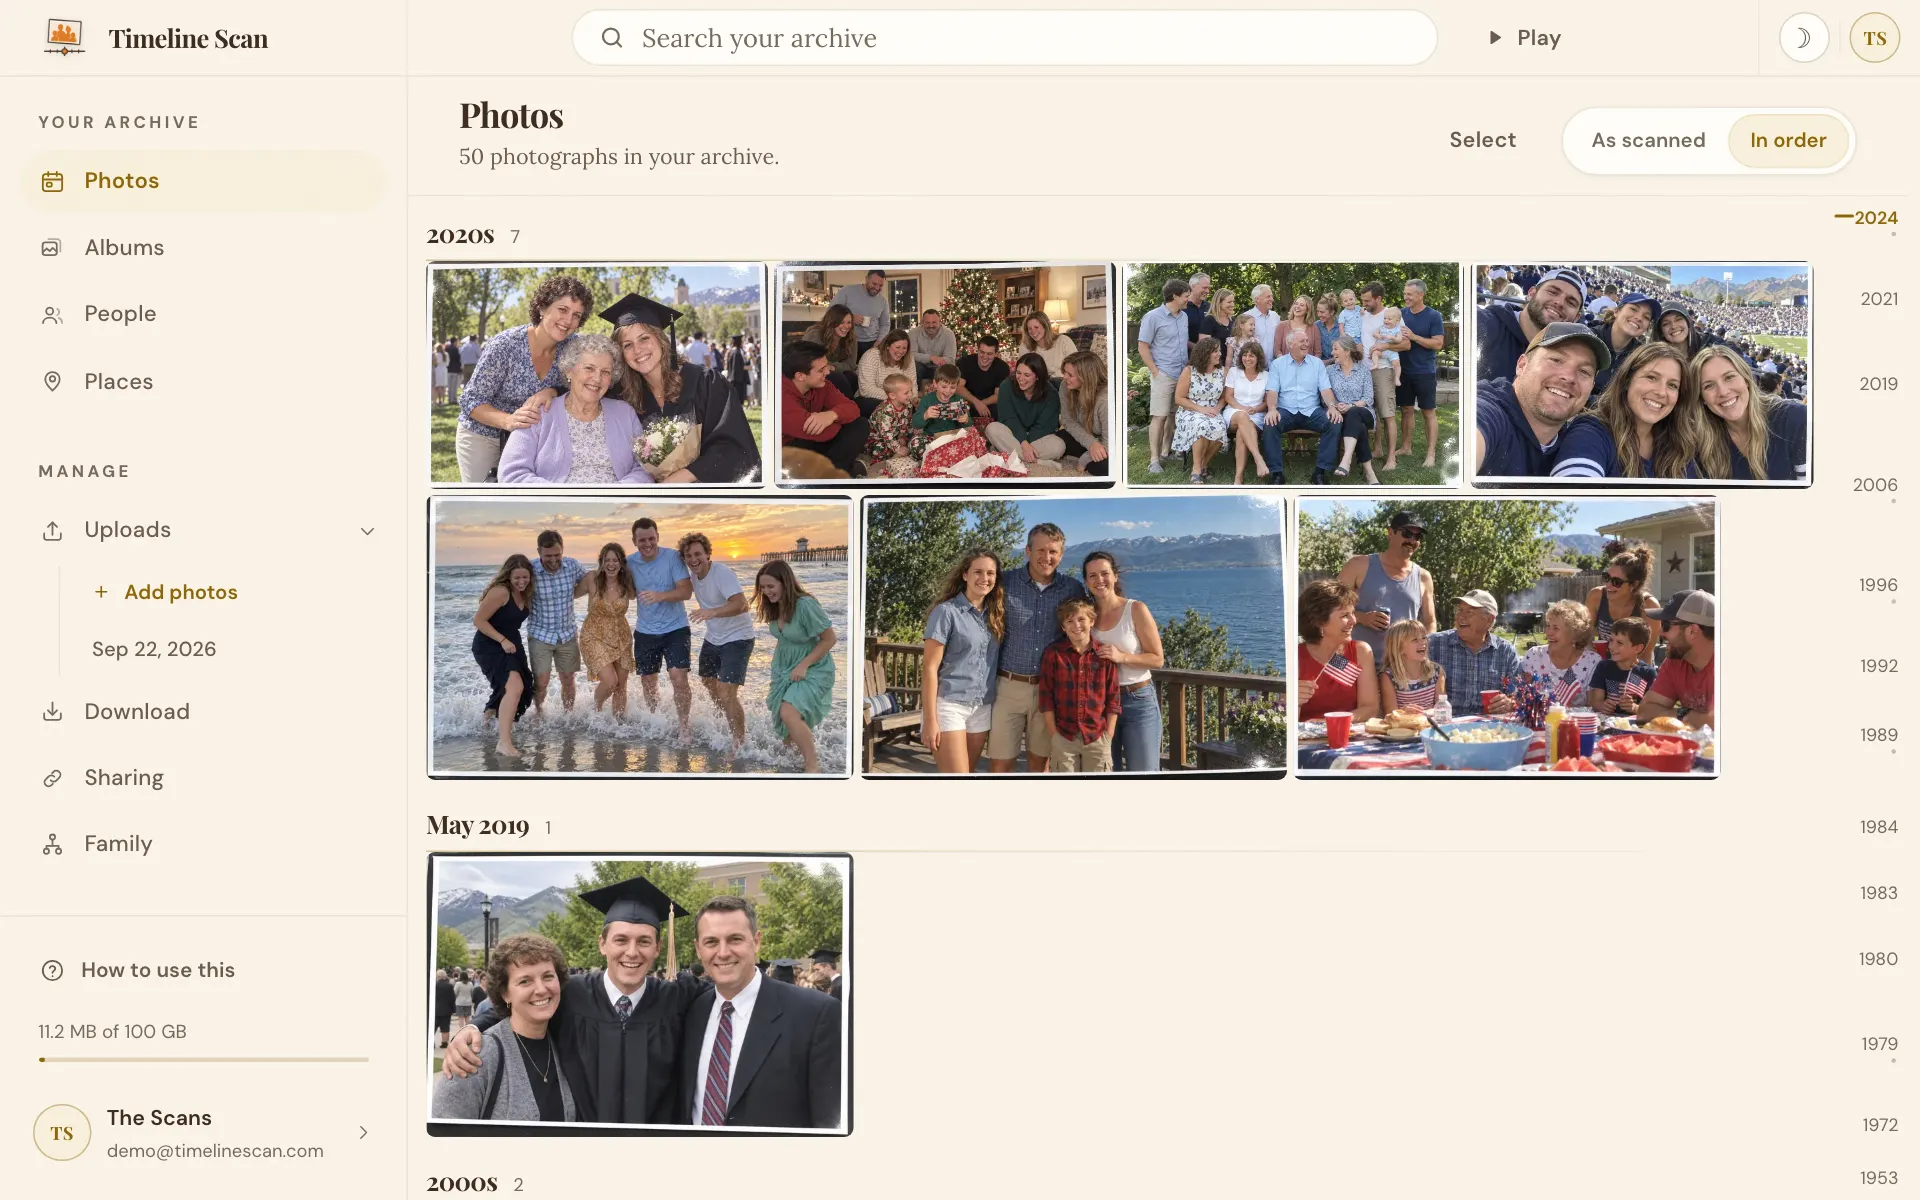
Move through the years

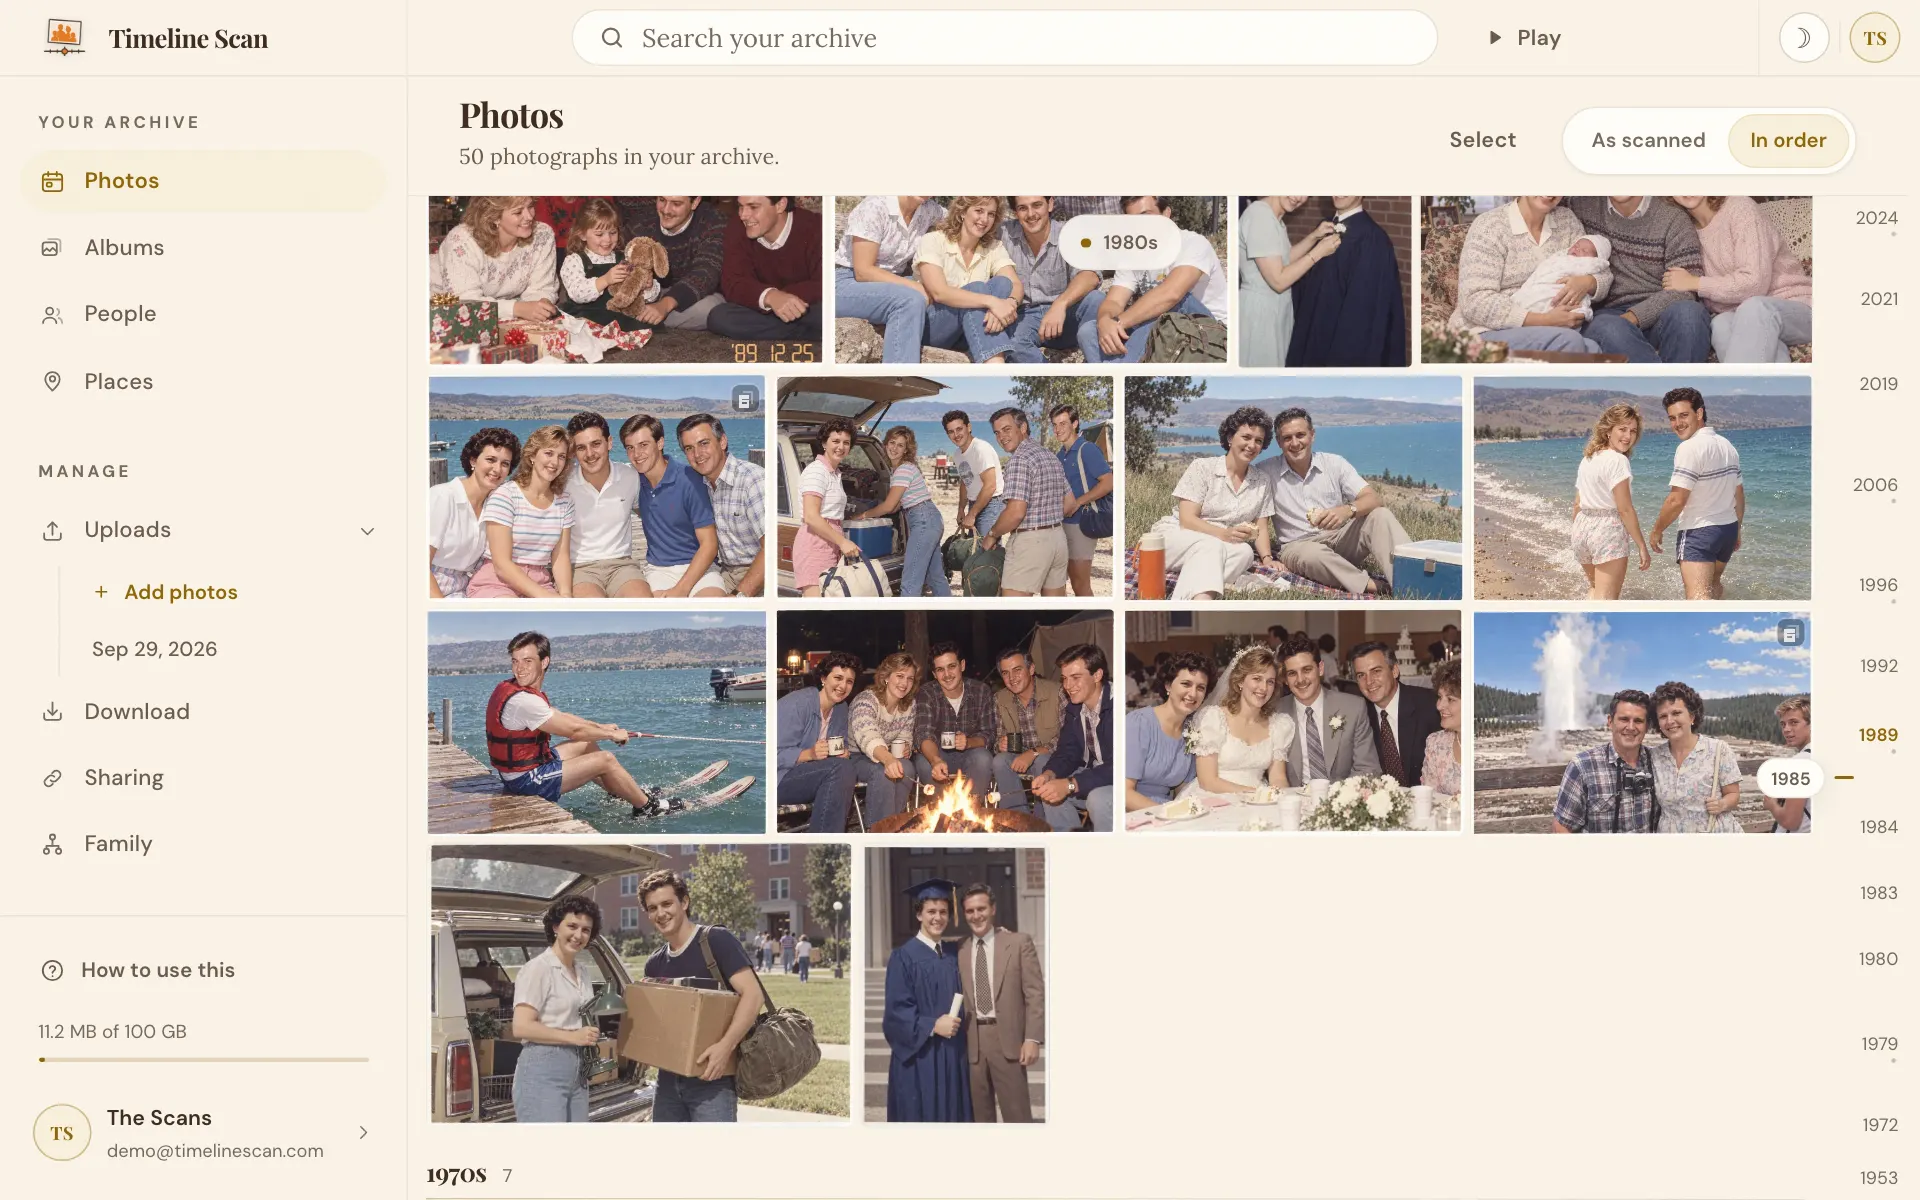
The year rail runs down the side.

The library timeline with the year rail down its right edge and one year on it ready to press The year rail being dragged, the photos scrolled to the 1980s and a small label beside the rail naming the year under the pointer

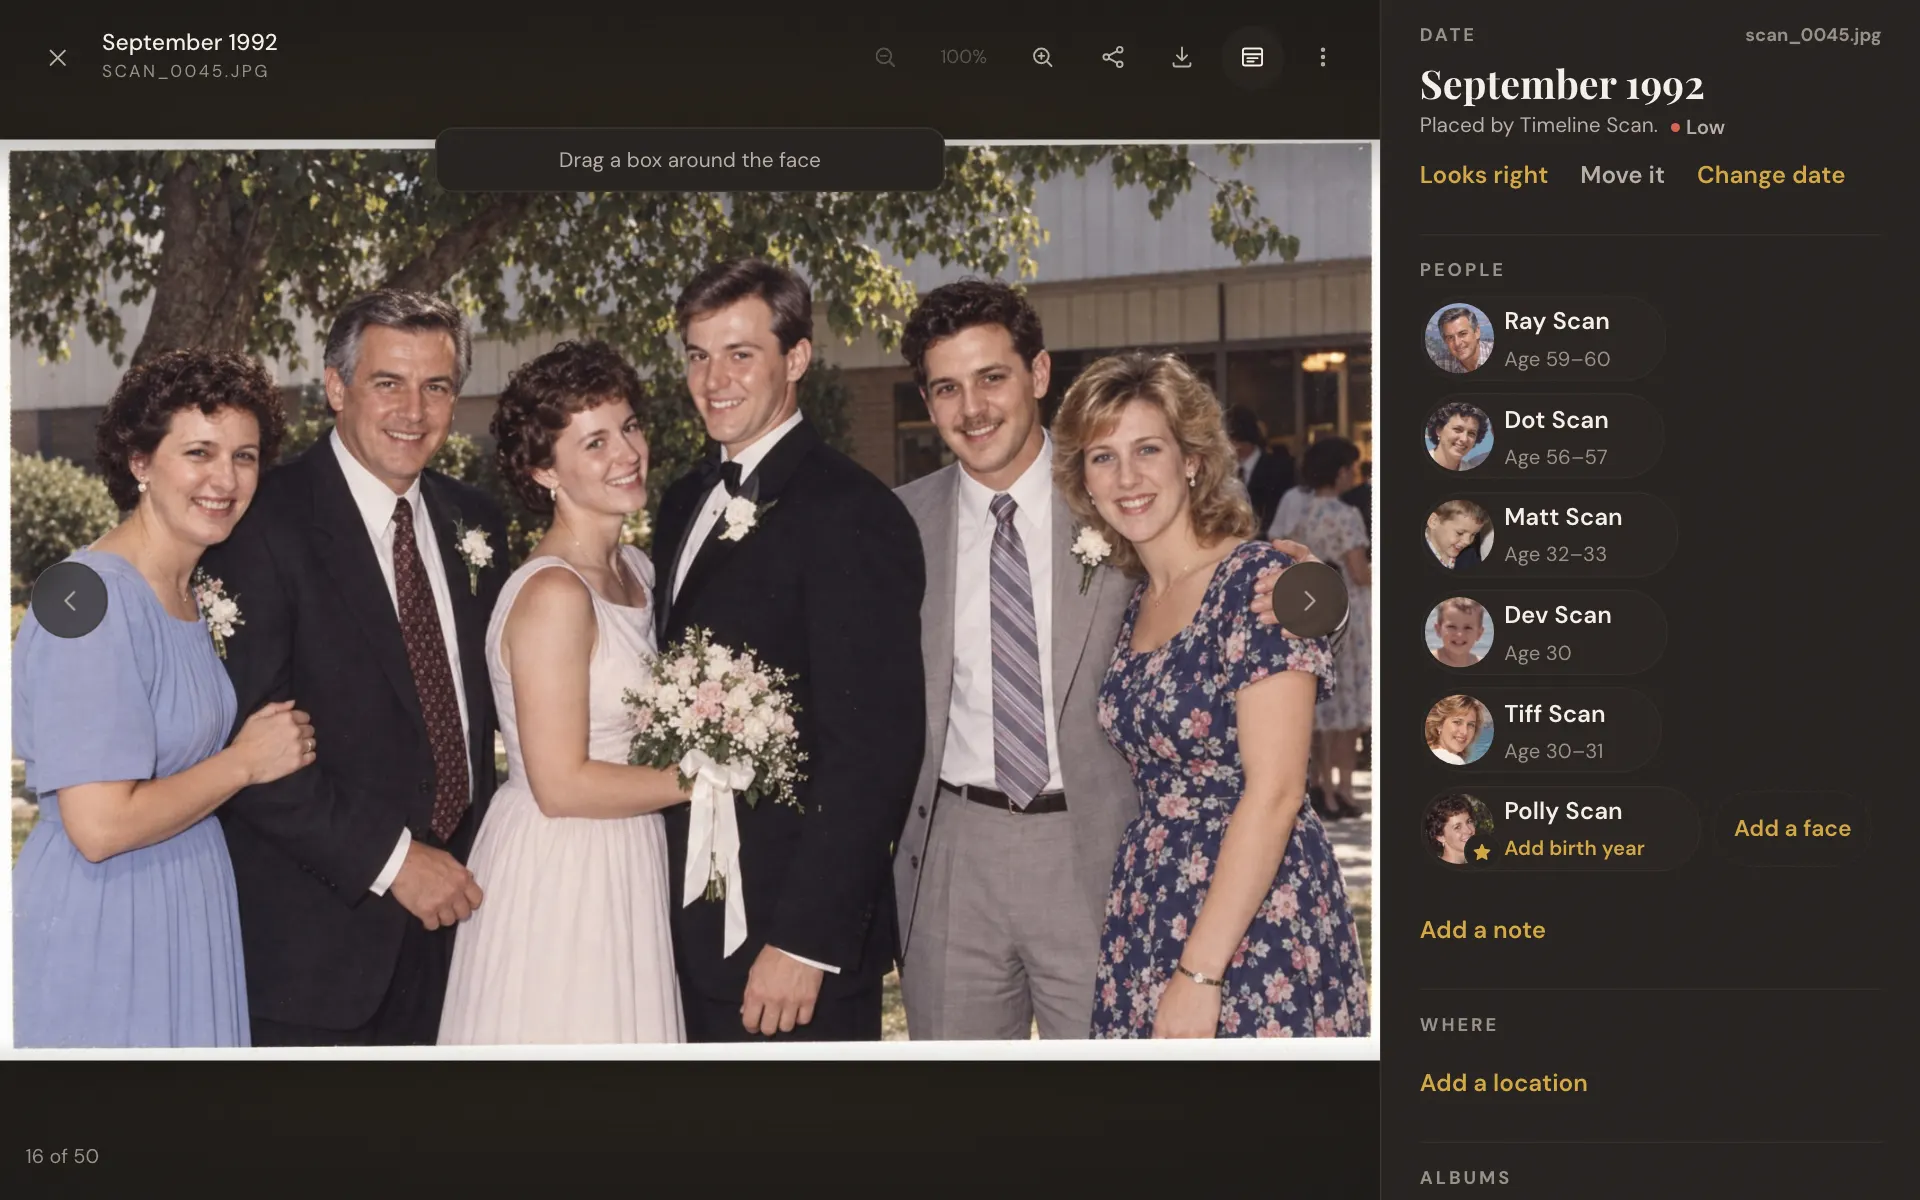
Look closer

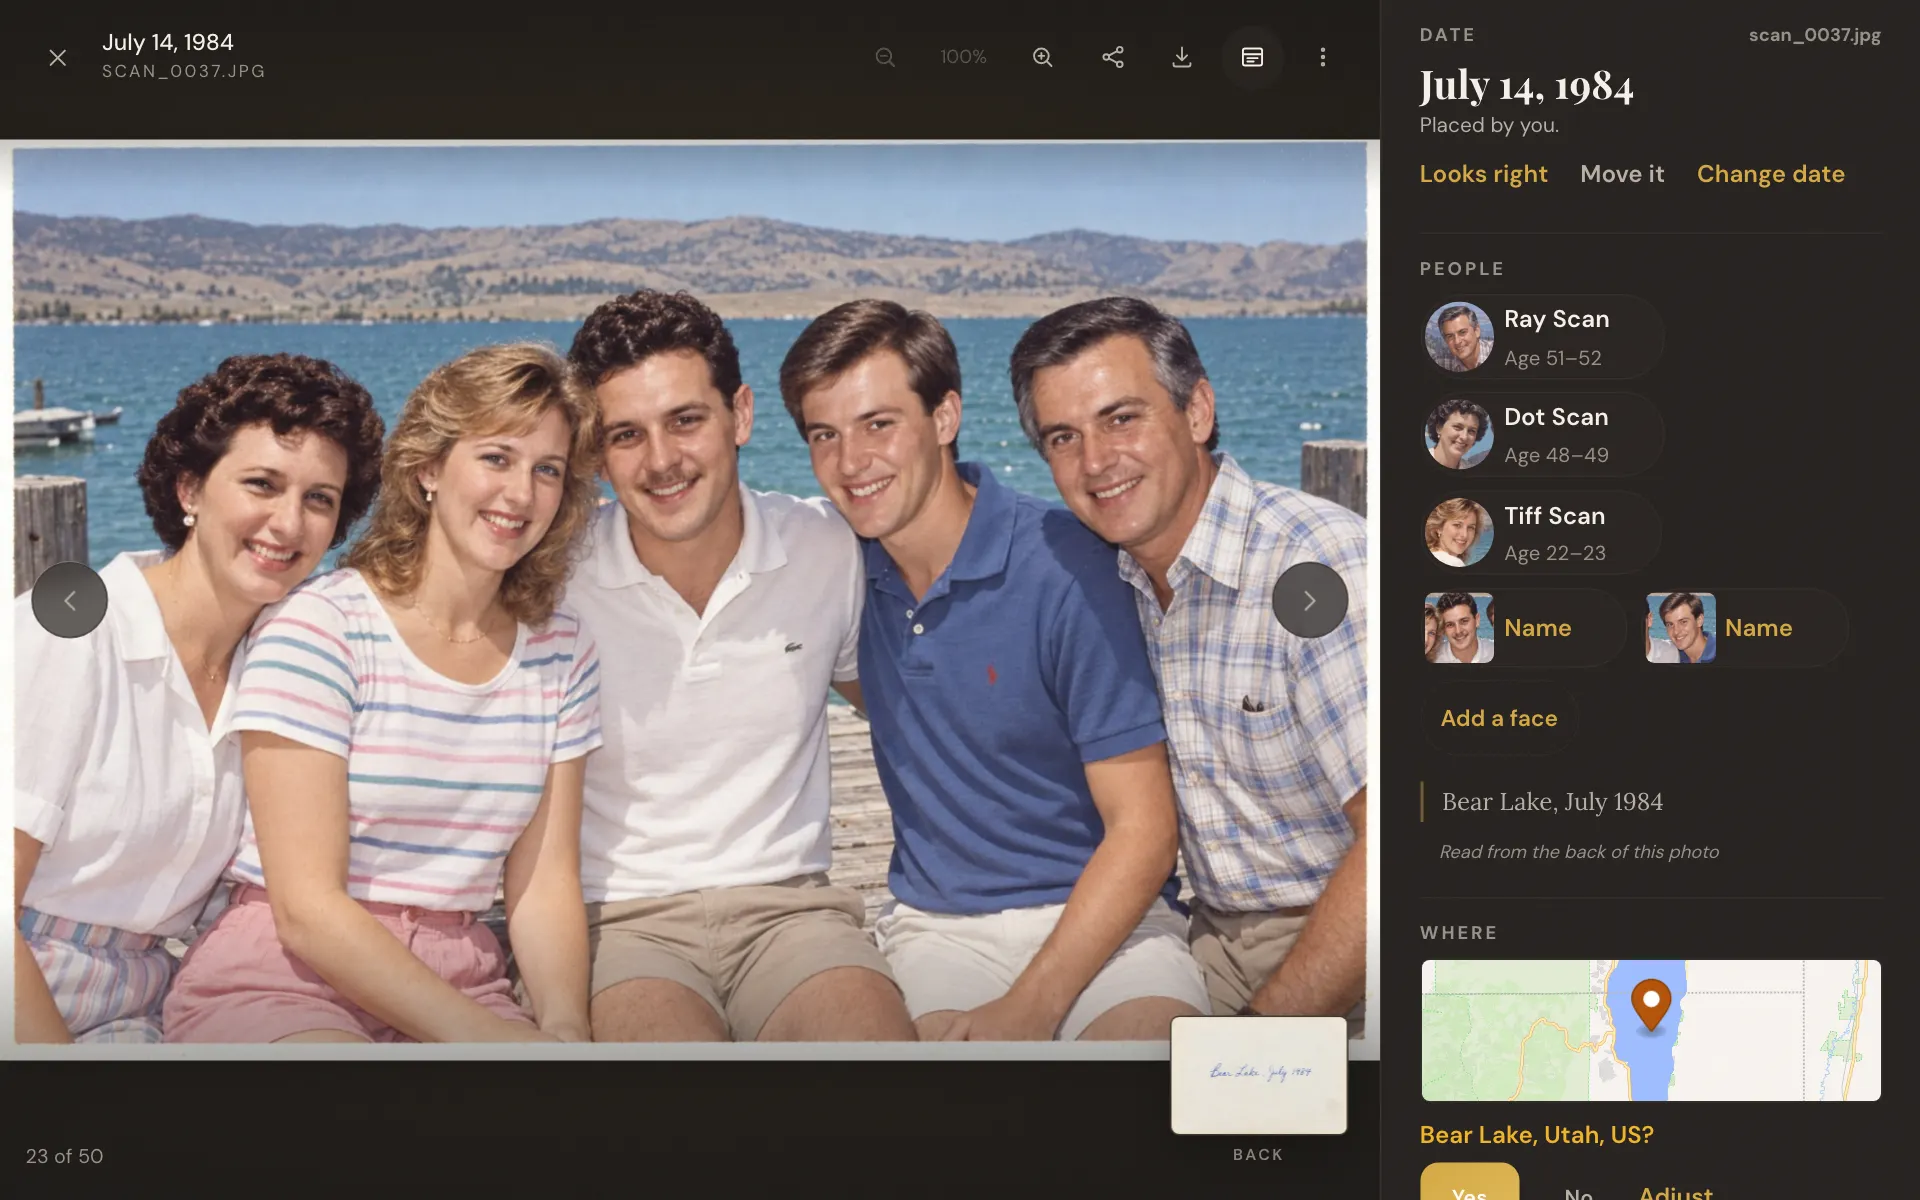
One photo, full size, with its details.
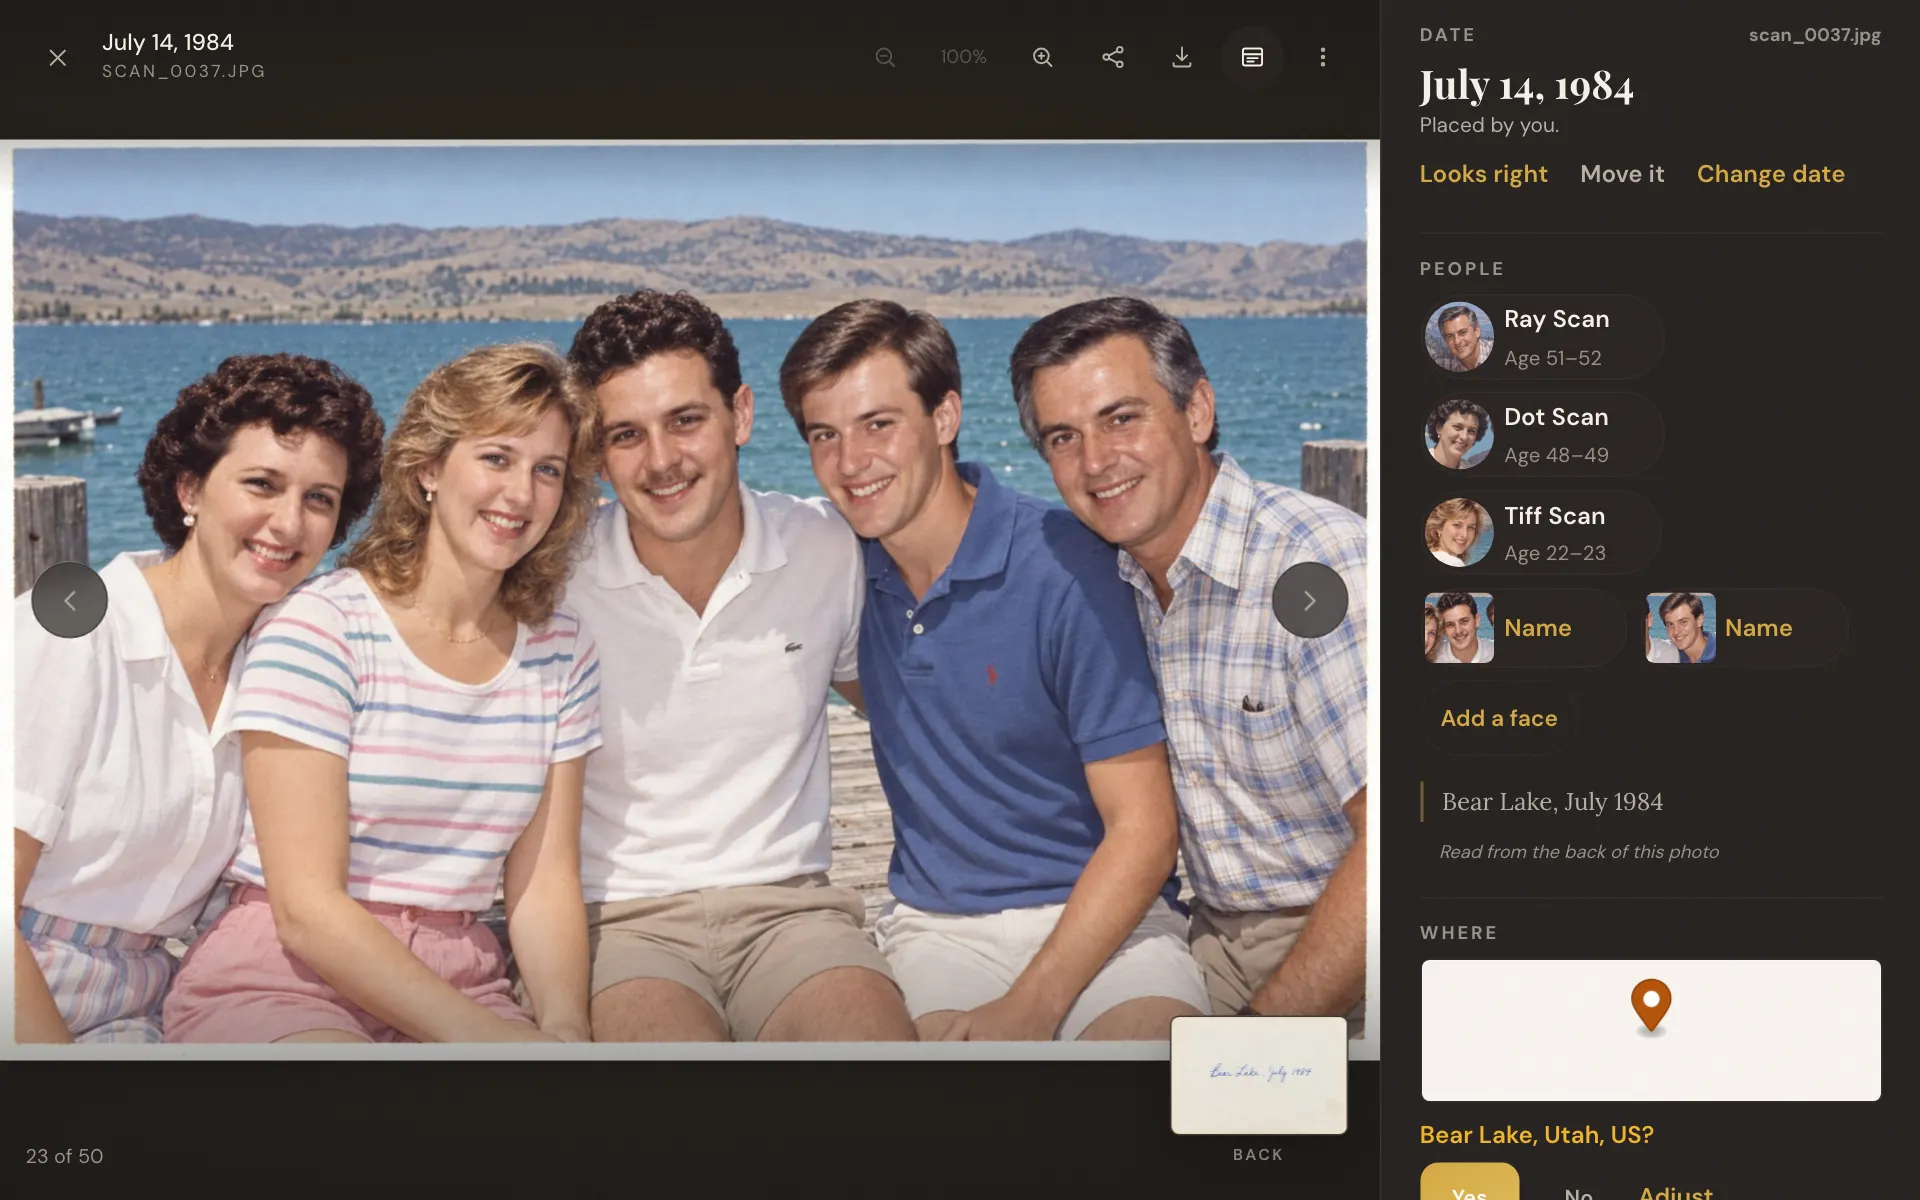
A photo open full size with the zoom control over it The details panel beside the photo, showing its date, place and people

Change many at once

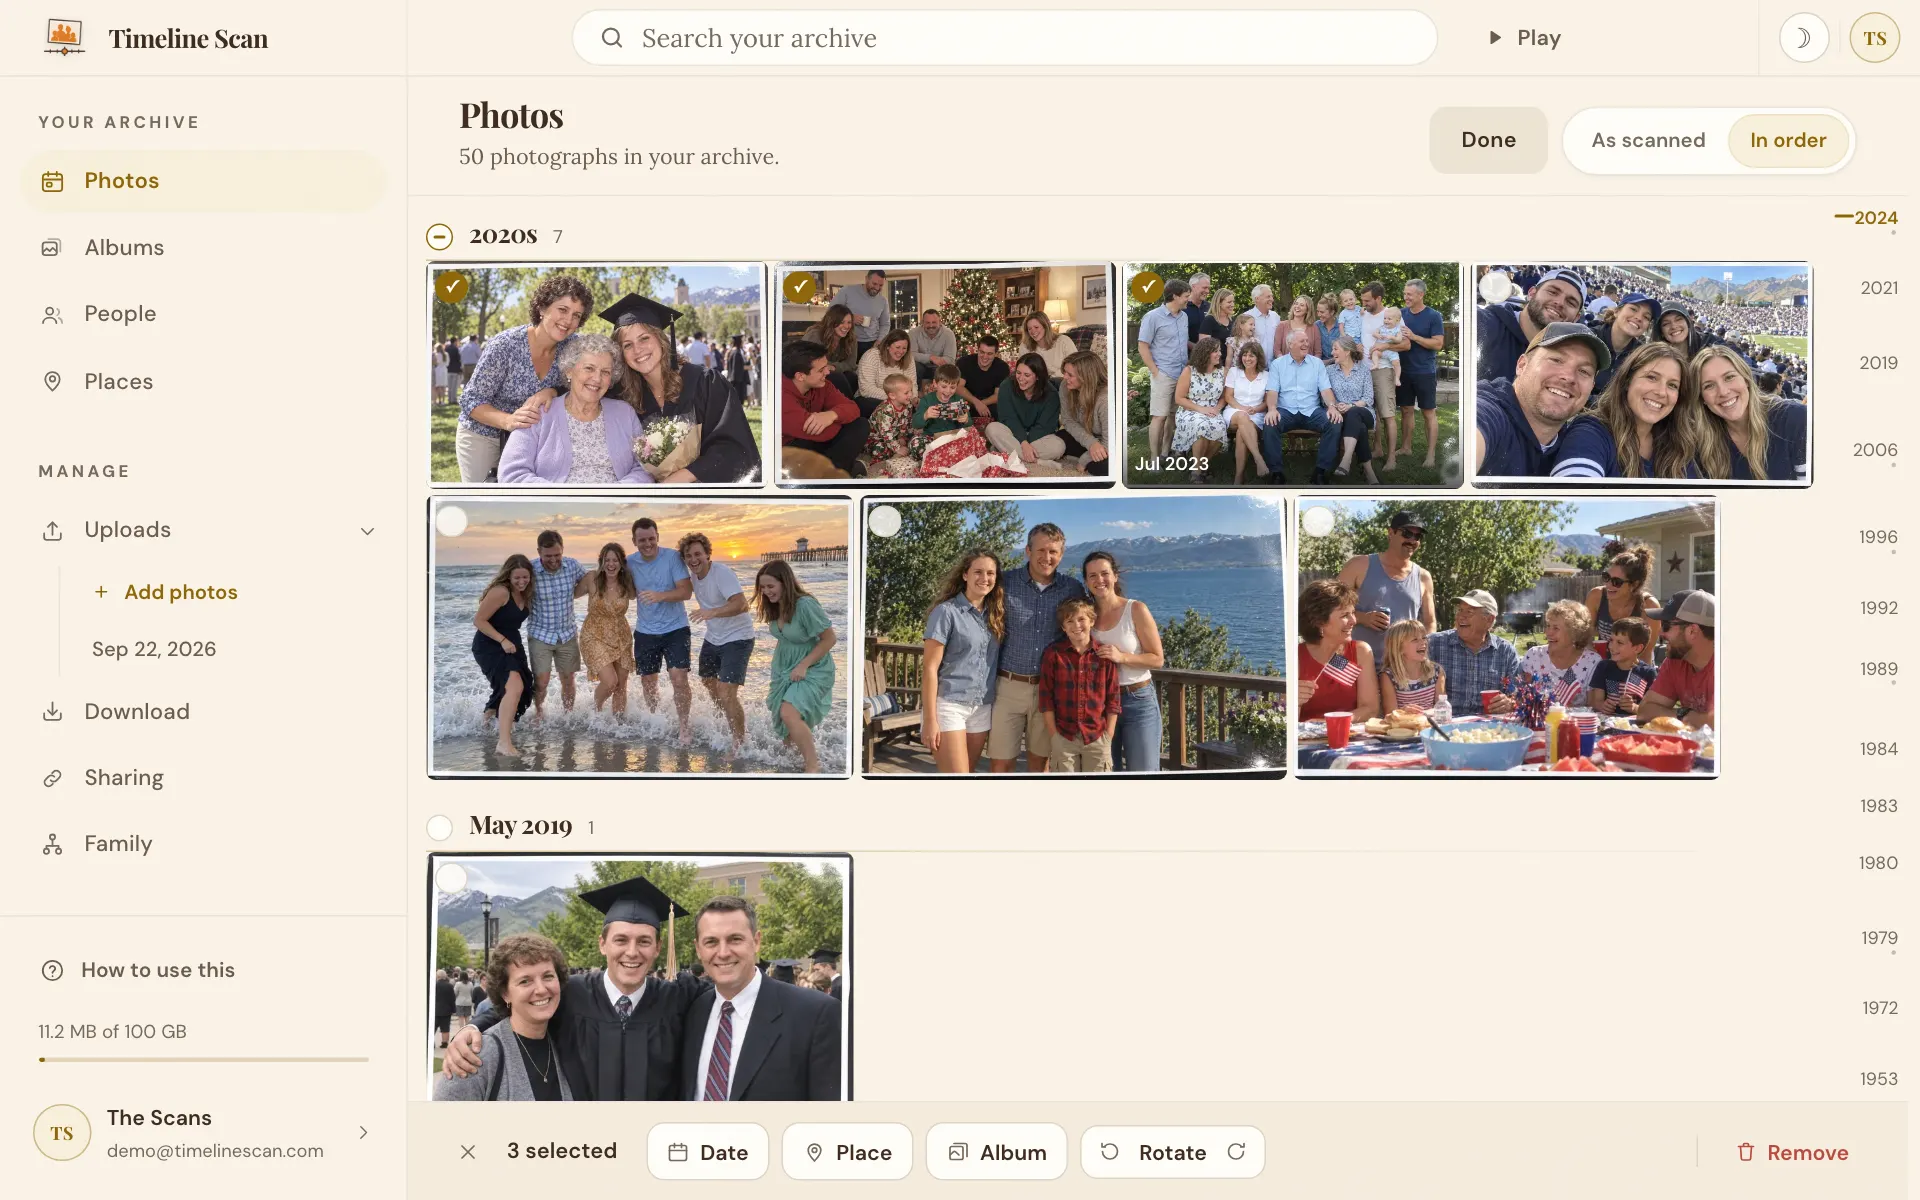
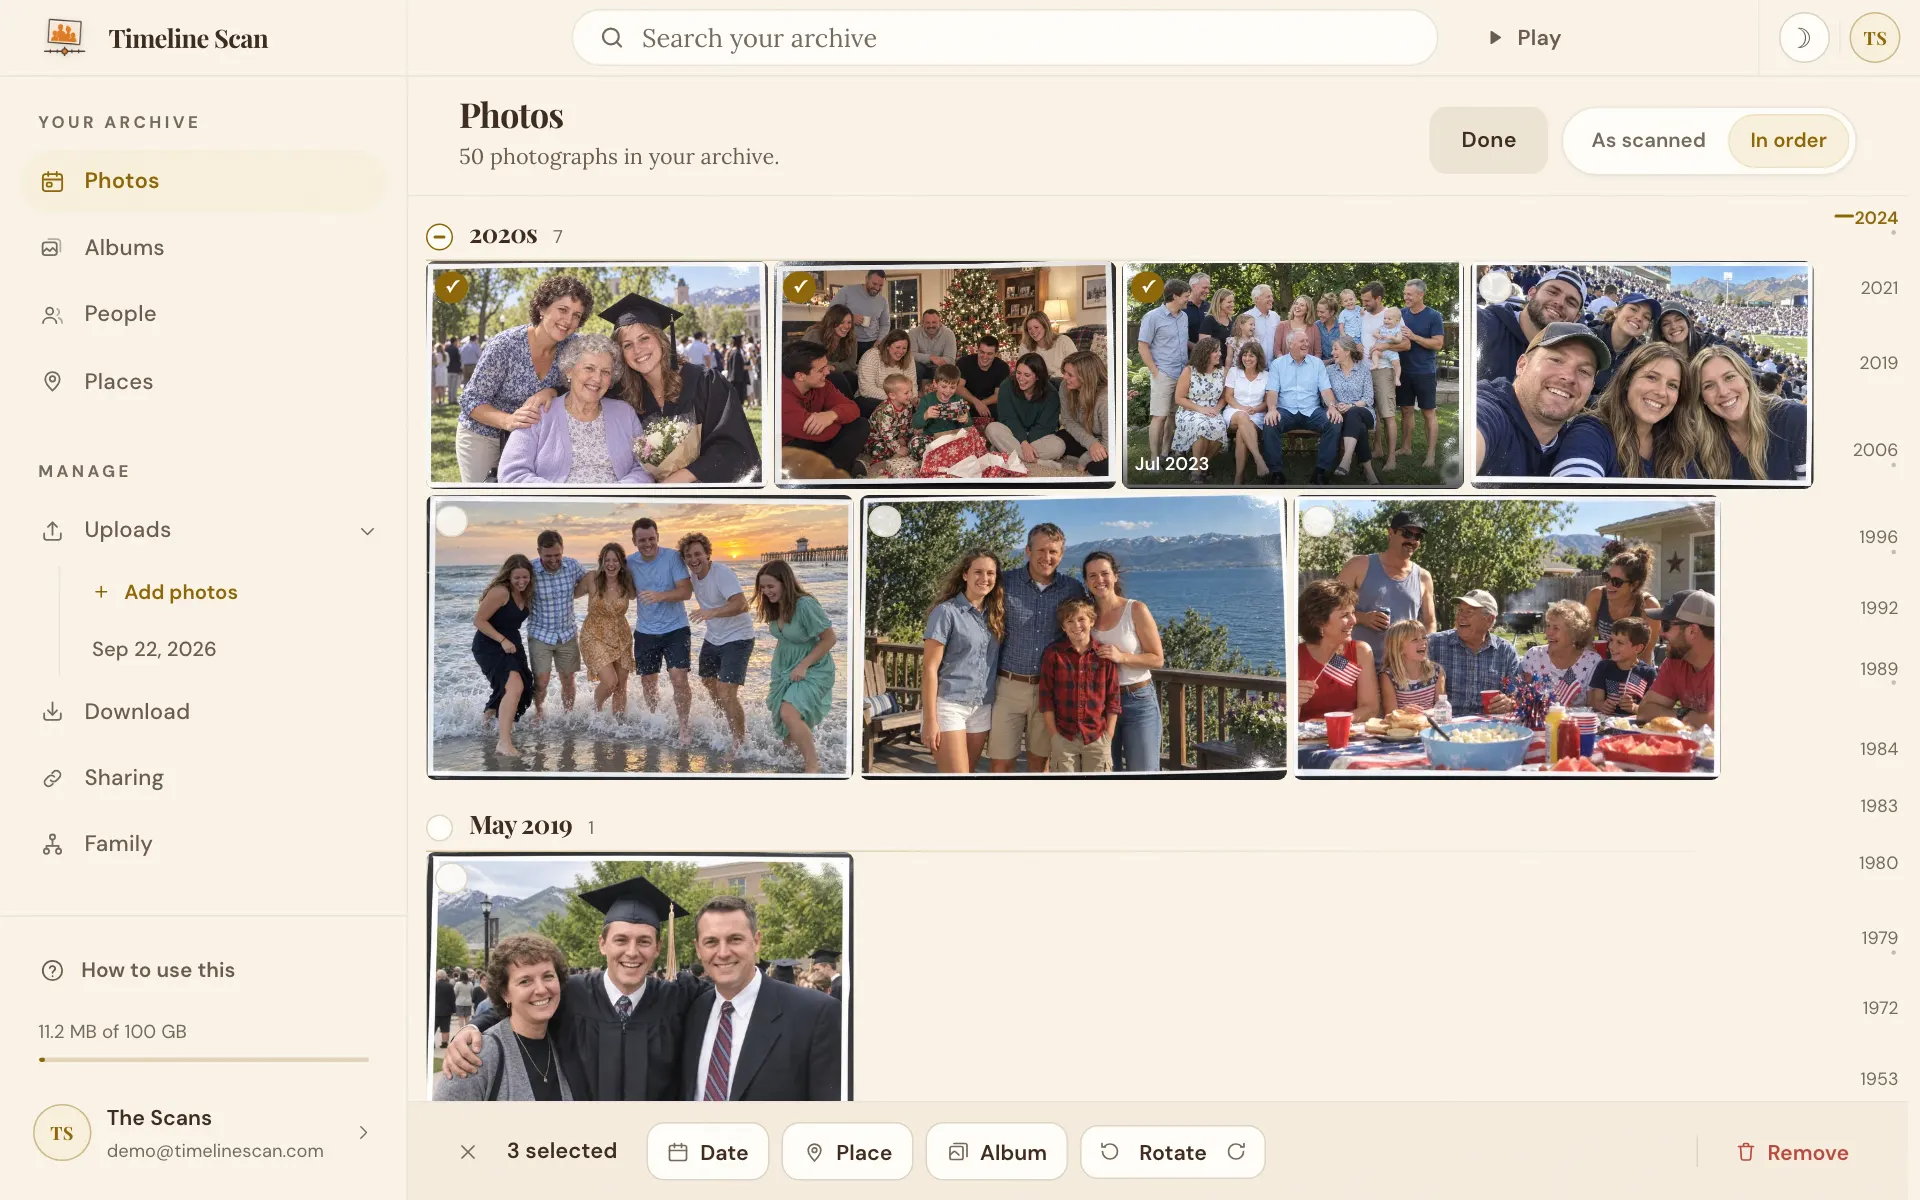
Pick several, then change them together.
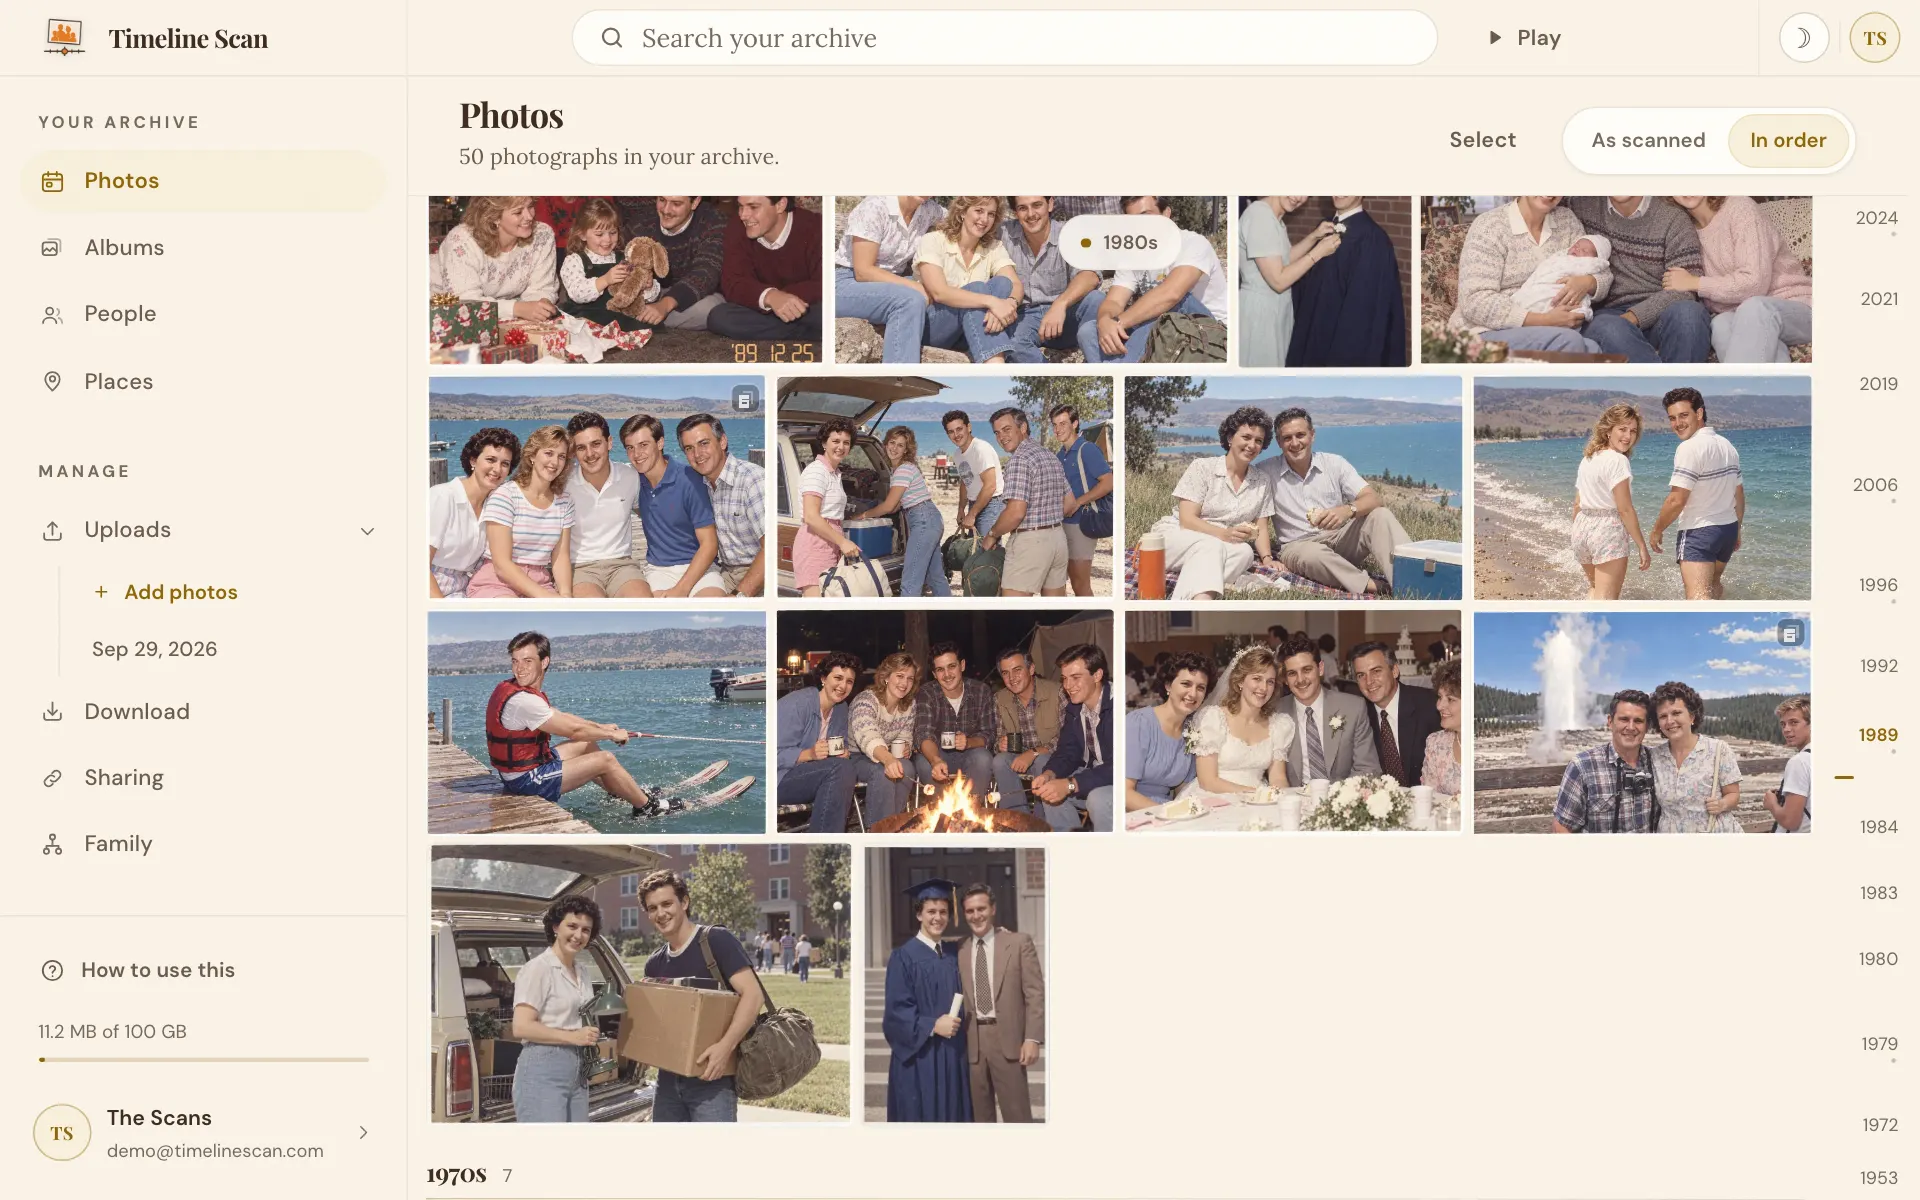
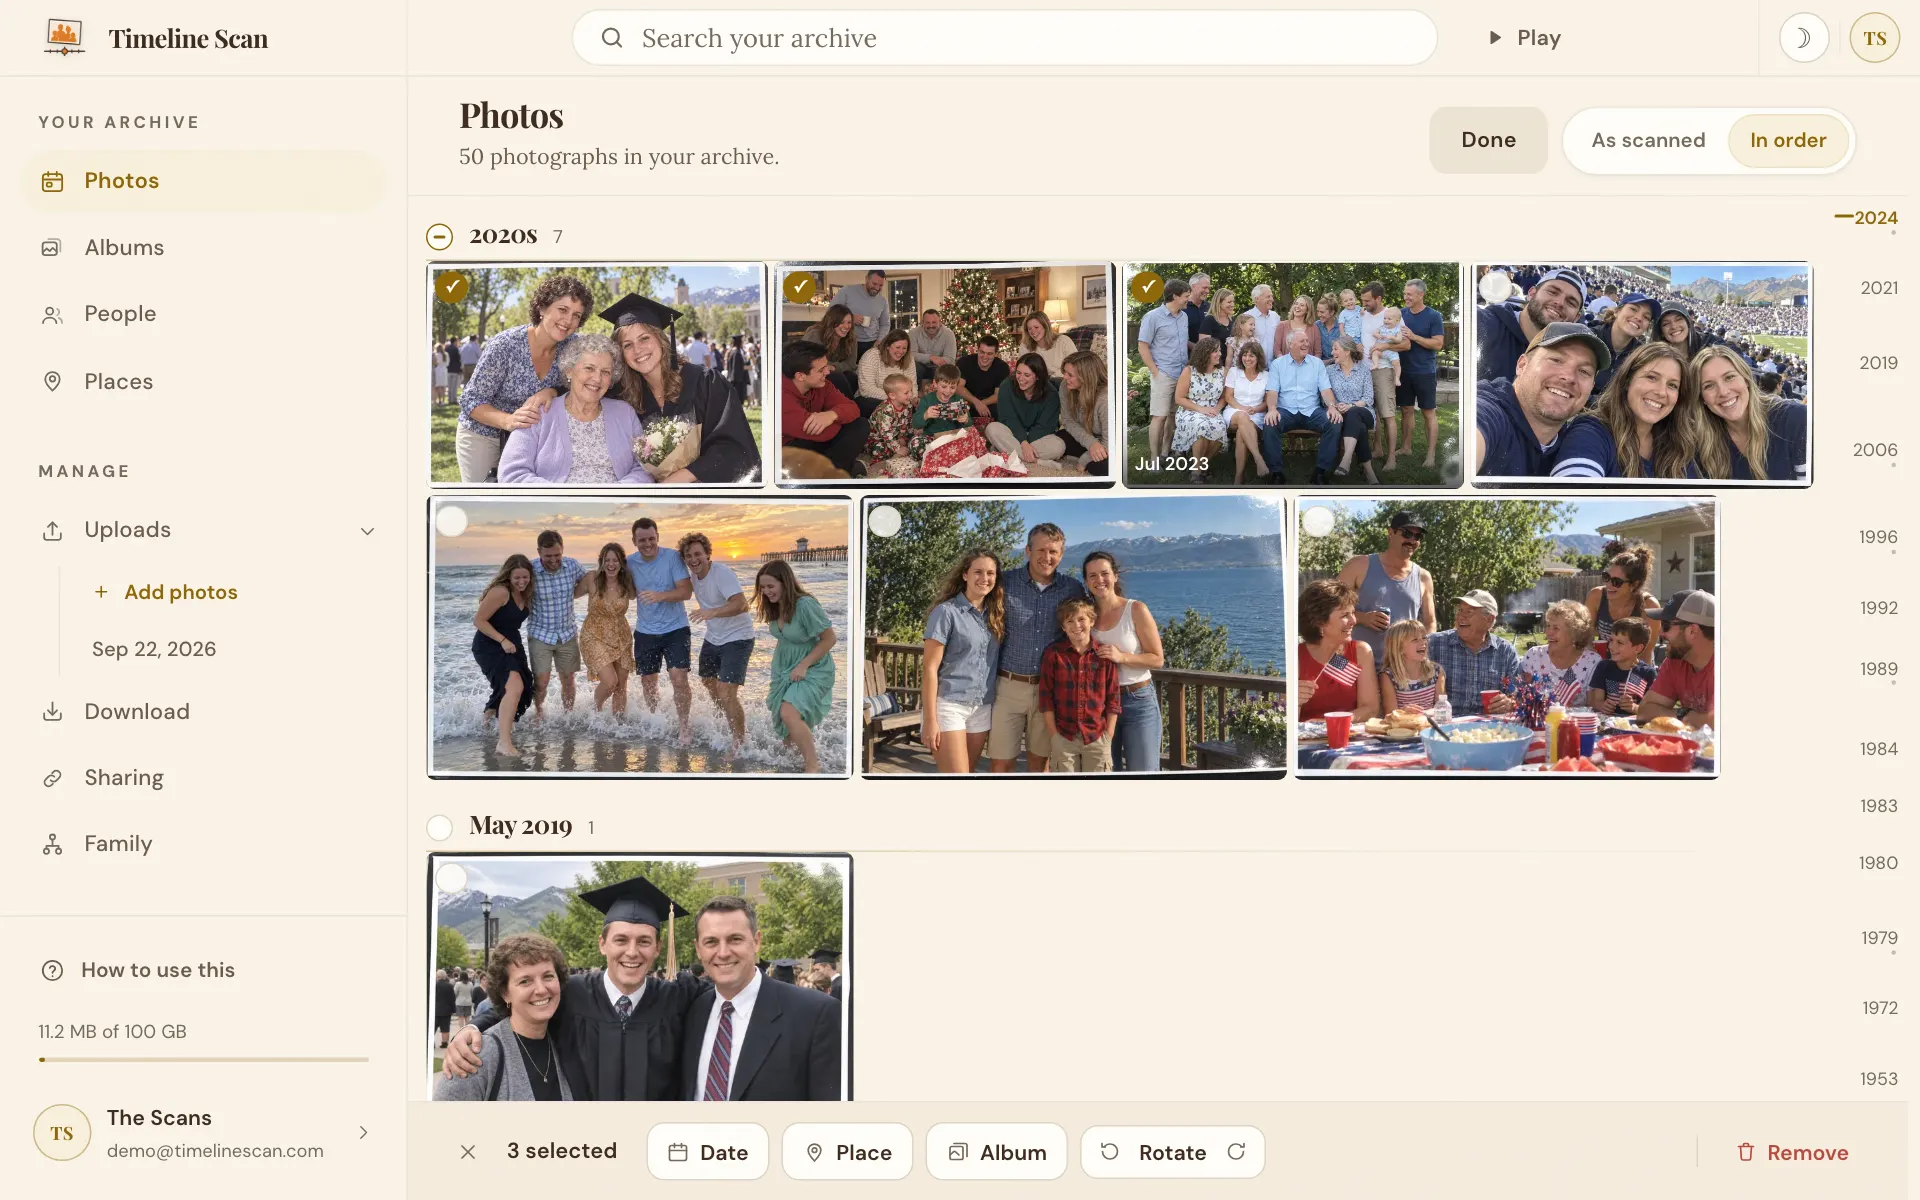
The library toolbar with its Select button Three photos ticked and a bar offering date, place, rotate and album

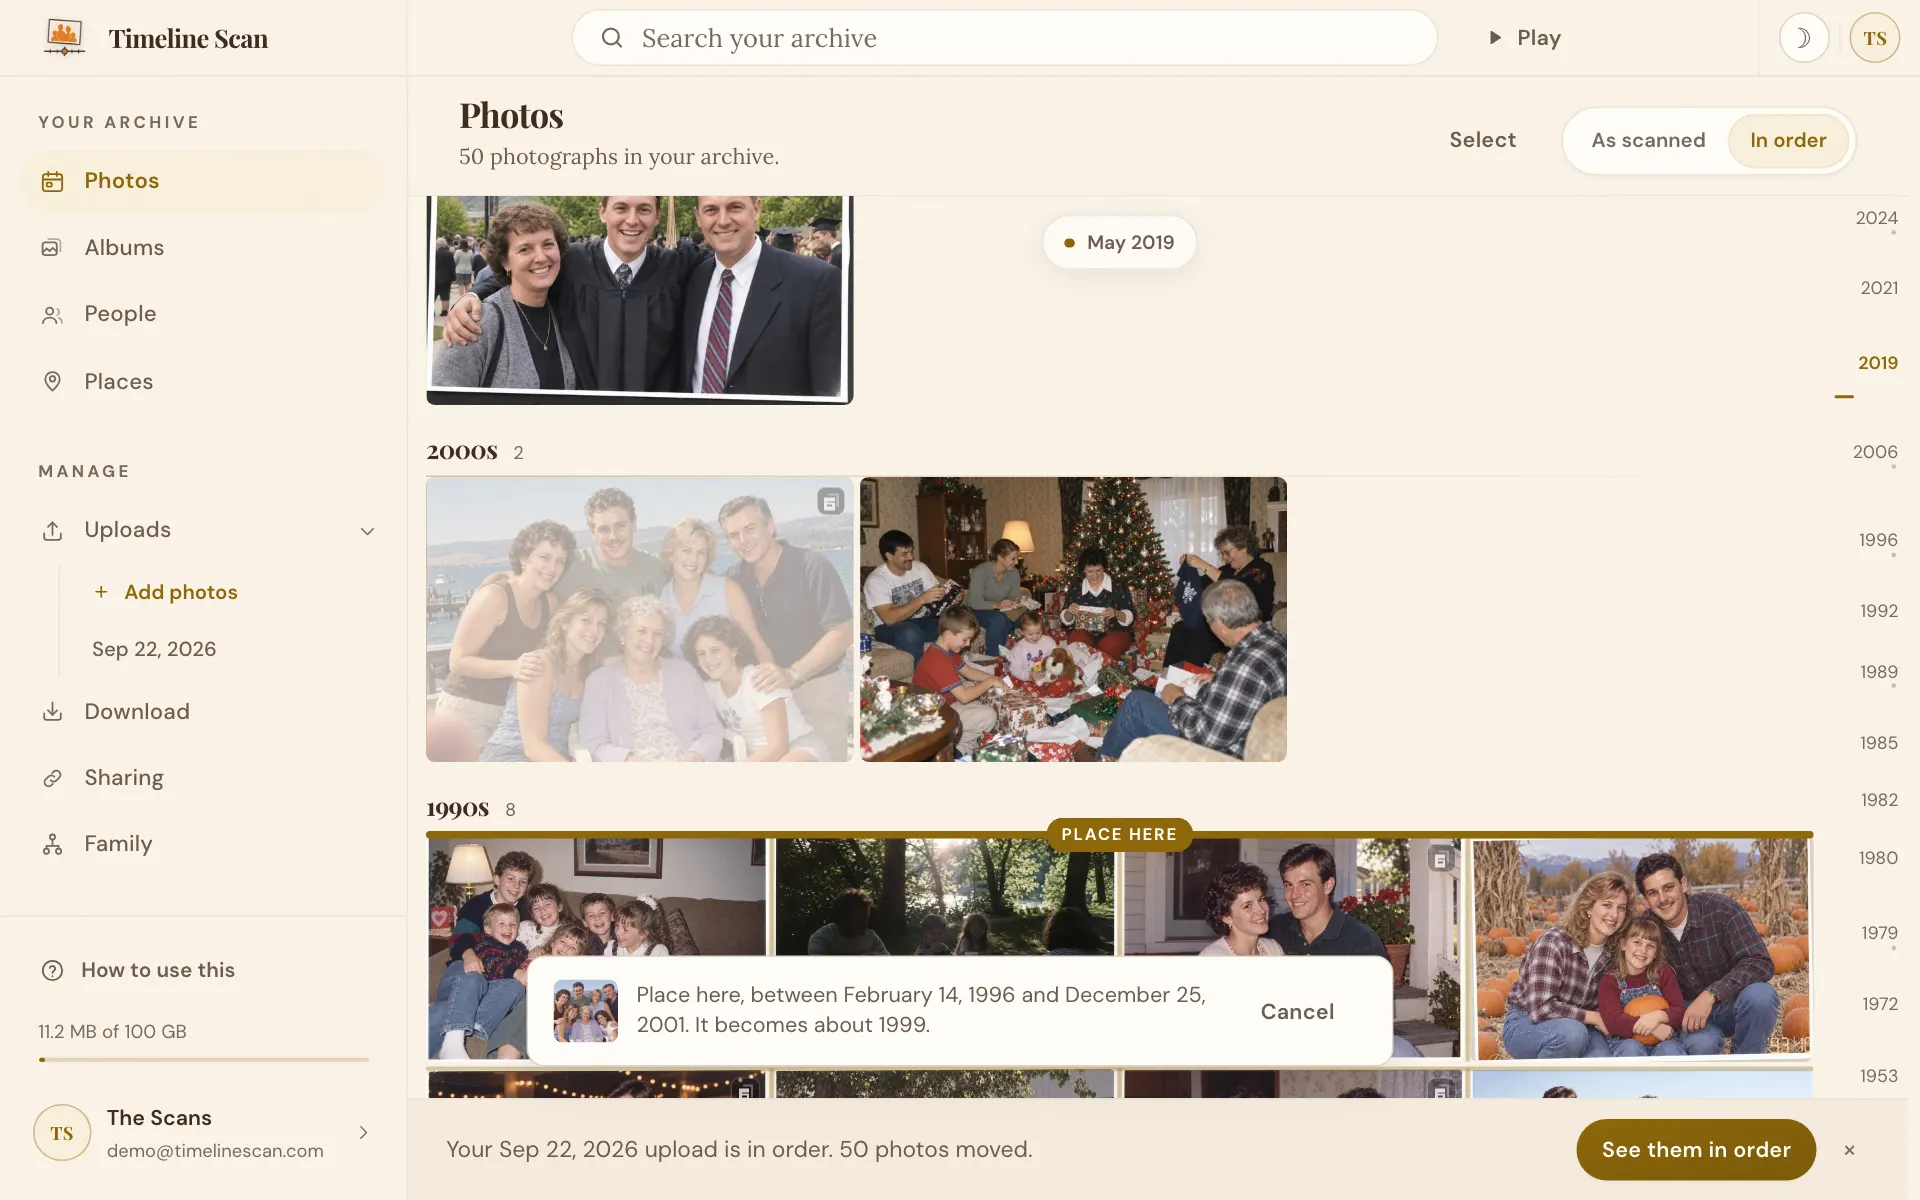
Move a photo by hand

For when you know it belongs between two others.
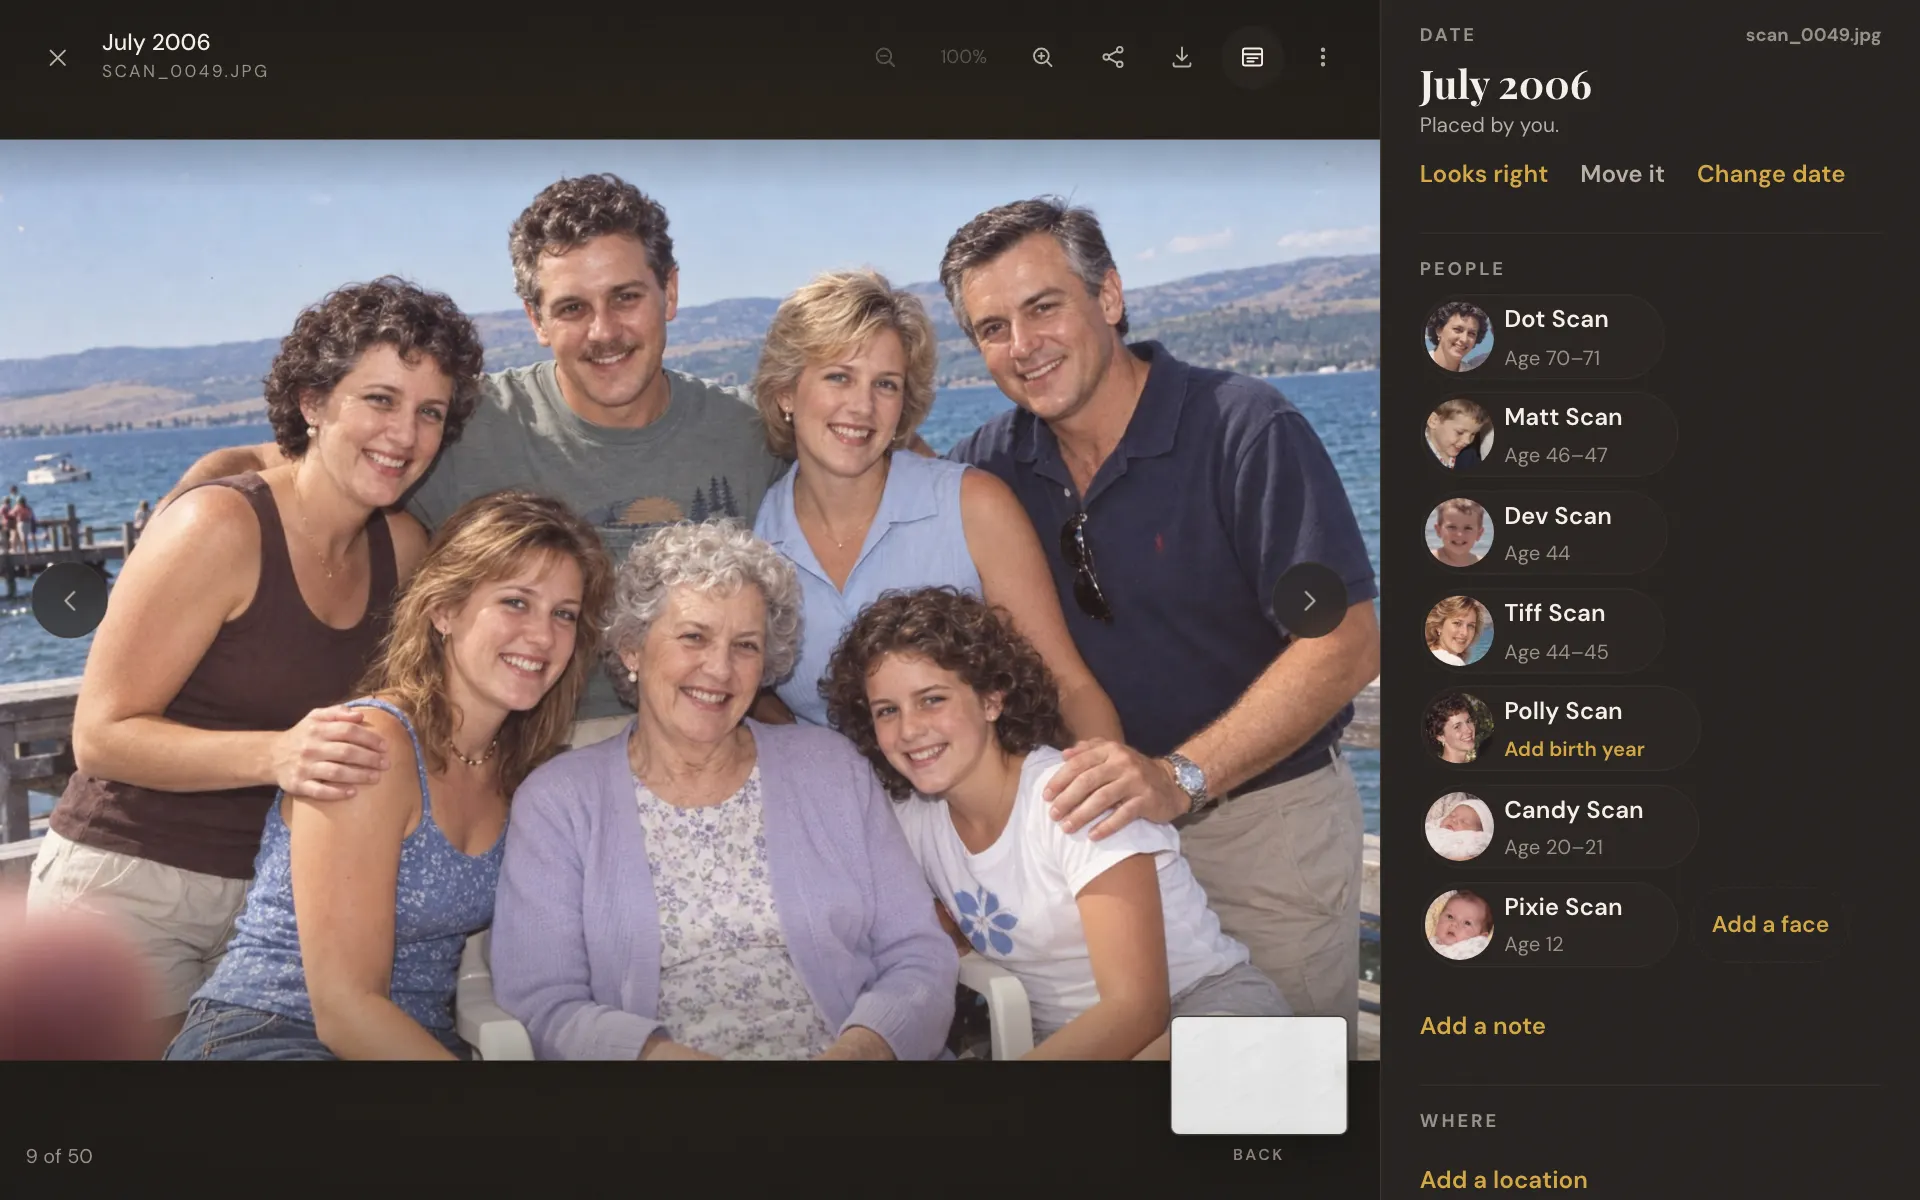
A photo open full size with Move it beside Change date The timeline with the photo picked up and a line between two rows reading Place here

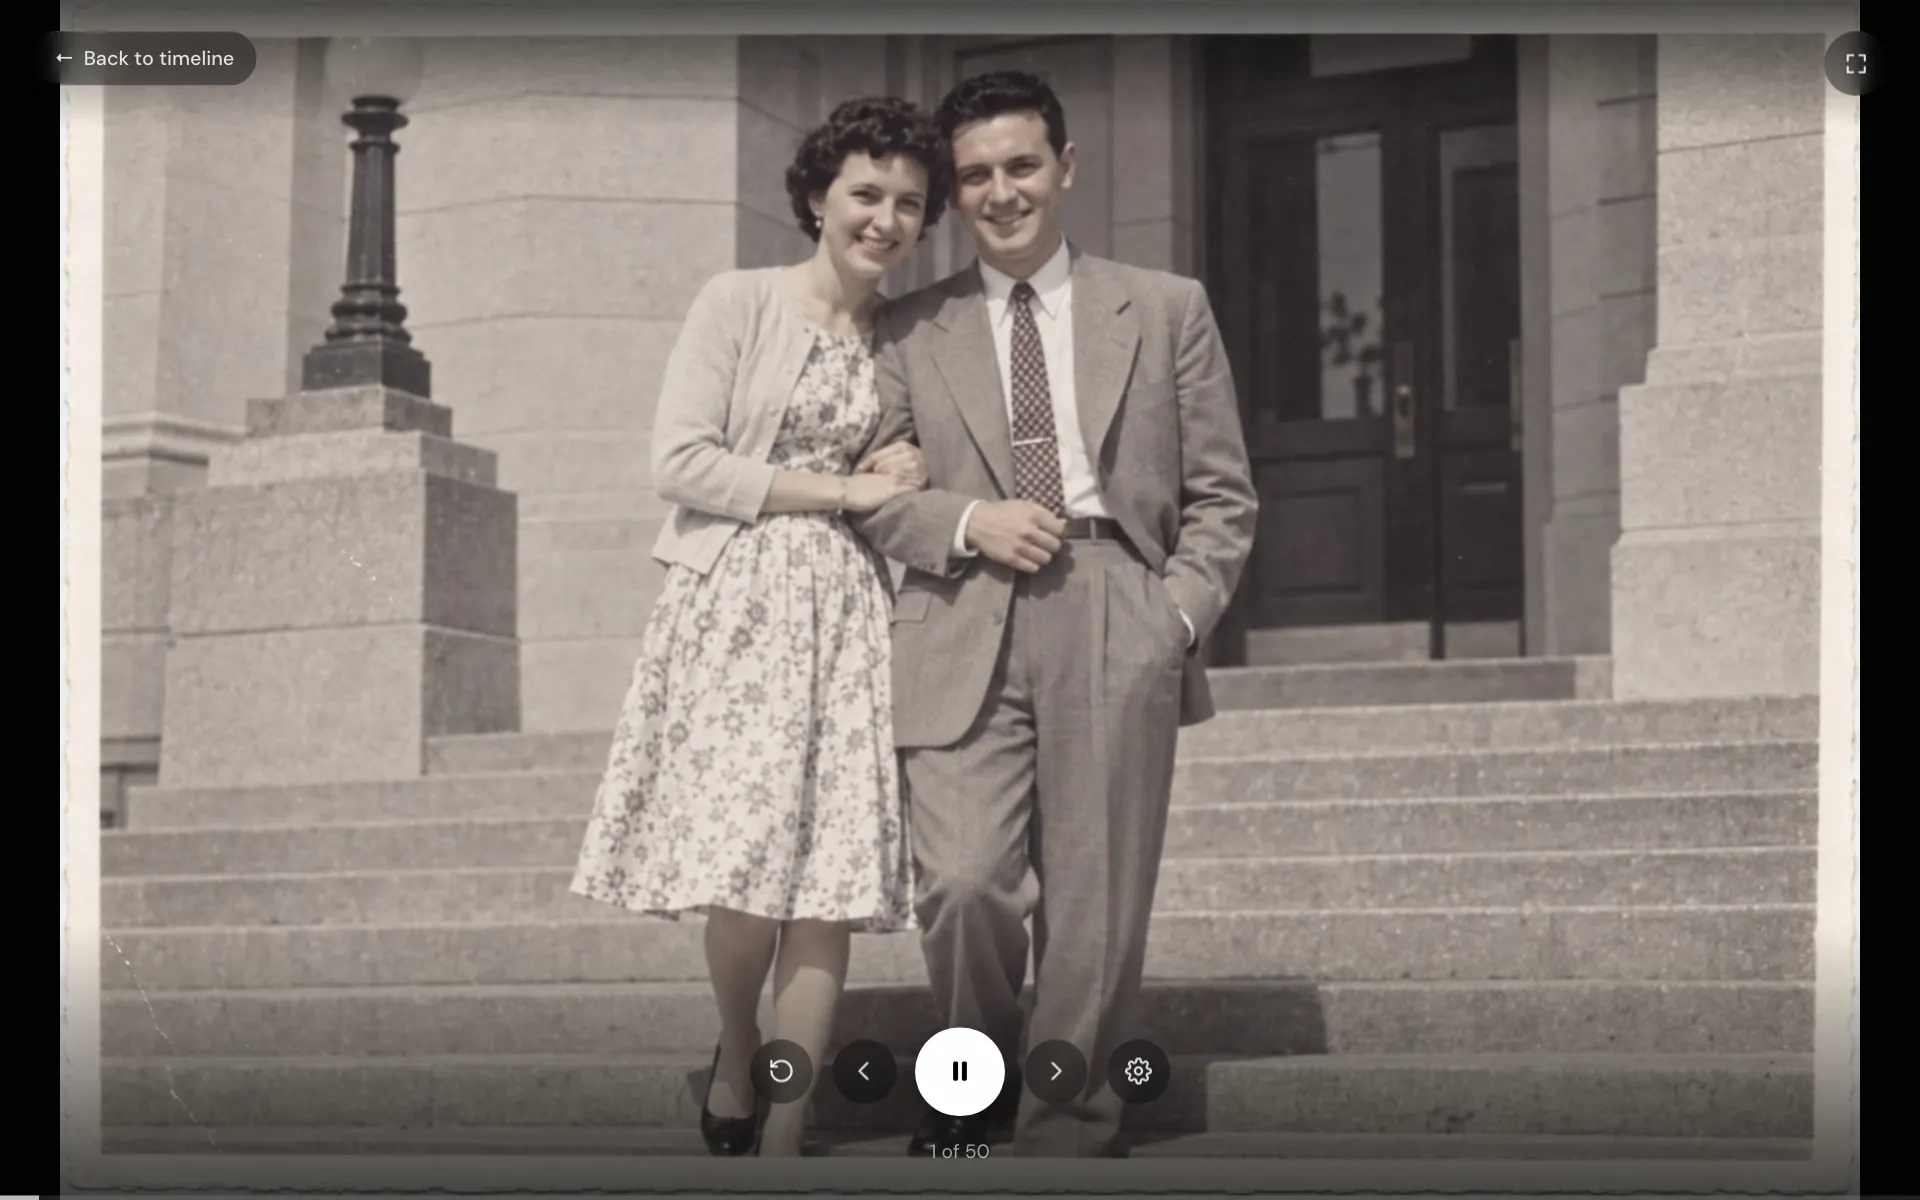
Play a slideshow

Full screen, in order.

The library's top bar with its Play button for the slideshow A photo filling the whole screen in slideshow mode with its controls under it

People

Faces gathered, named, corrected.

On the path

Say no to a wrong match

One press and it stops asking.

A suggestion card with its No button ready
  1. 1Not them? Say no.

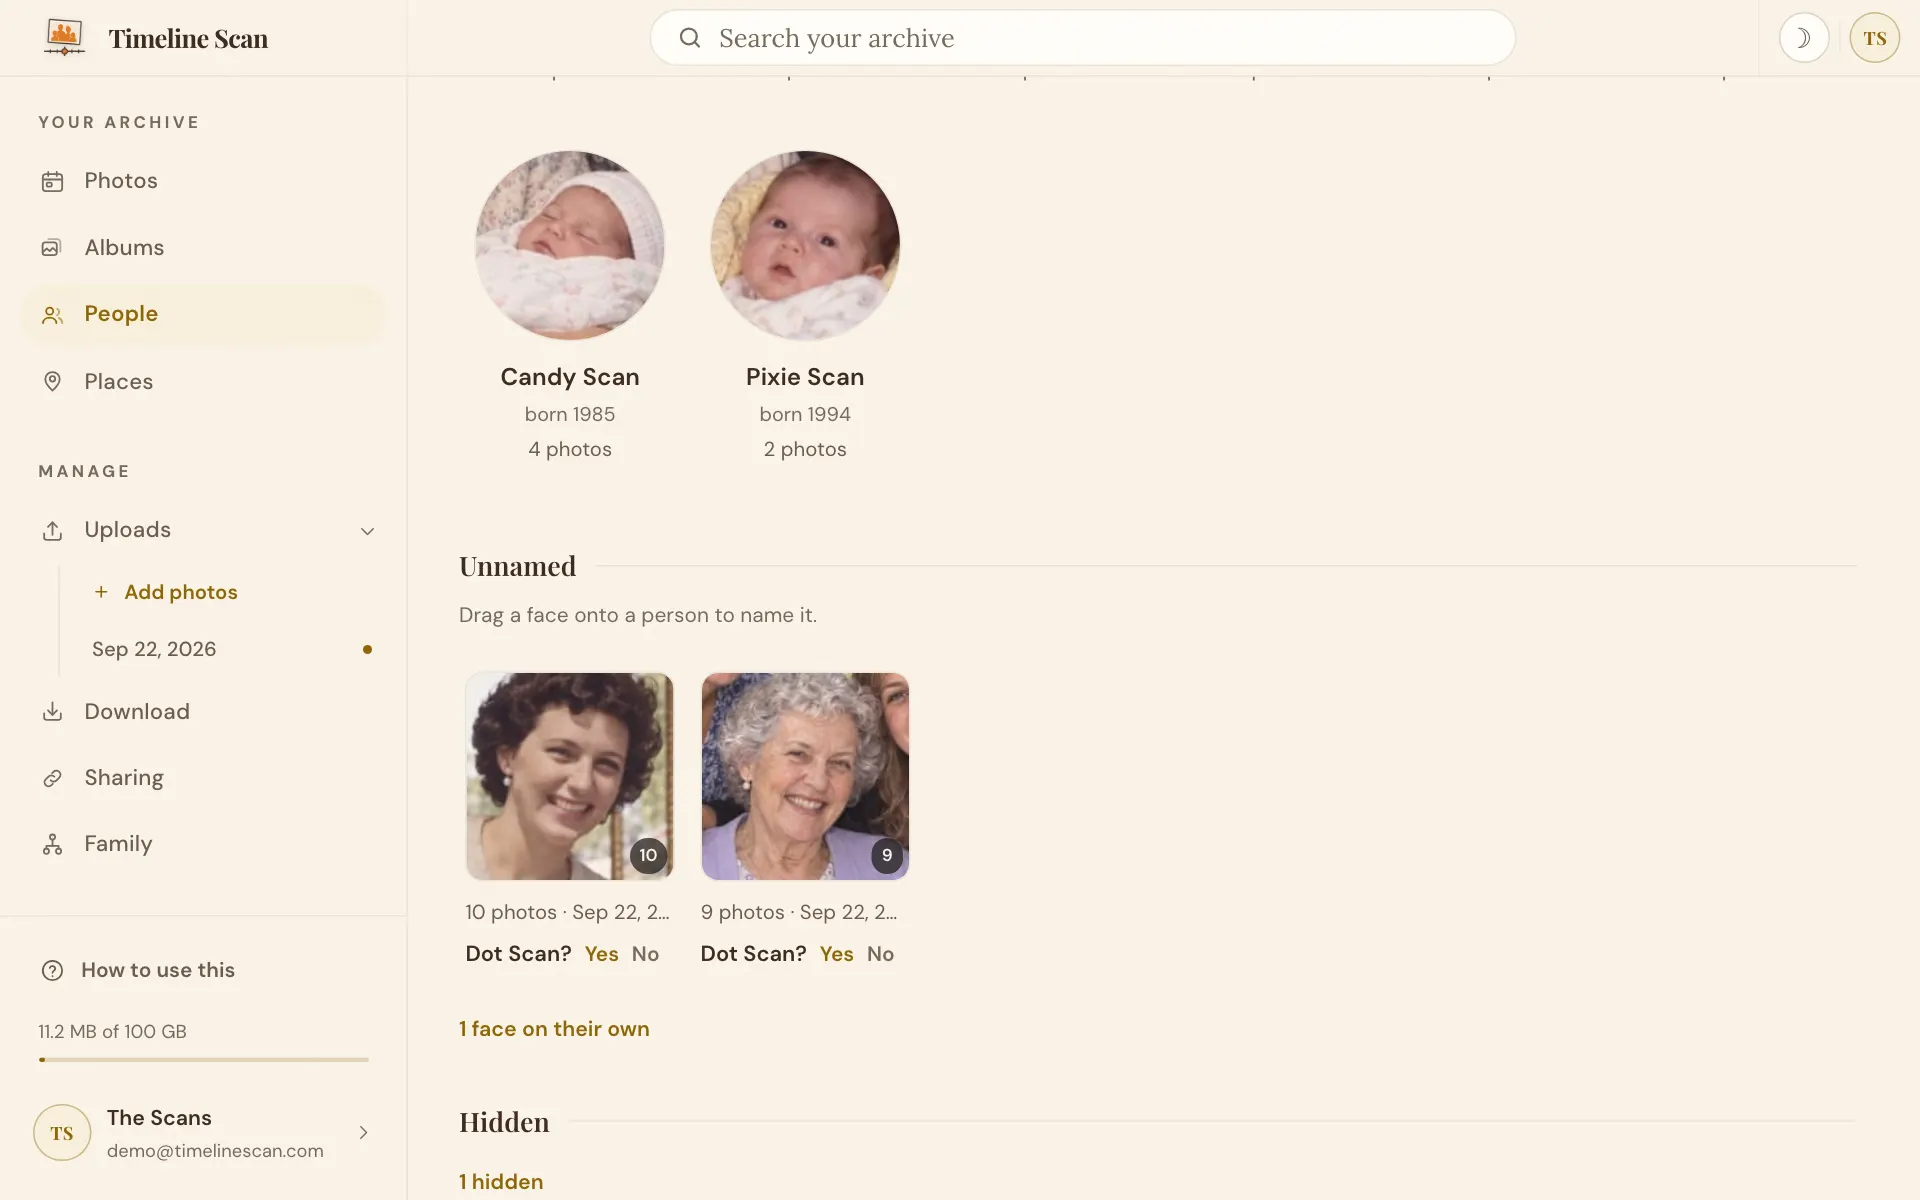
A face on its own

The ones that match nobody yet.

The People page with a link under the groups to the one face that matches nobody yet
  1. 1Open the faces on their own.

Draw a missed face

When we missed one, box it yourself.

A photo open full size with its Add a face button A box being dragged around somebody's face in the photo

Two people in one group

Split it, then name each one.

The People page with one group of faces that holds two different people The group's sheet asking who this is, with More than one person at its top

One person's page

Every photo of them, in order.

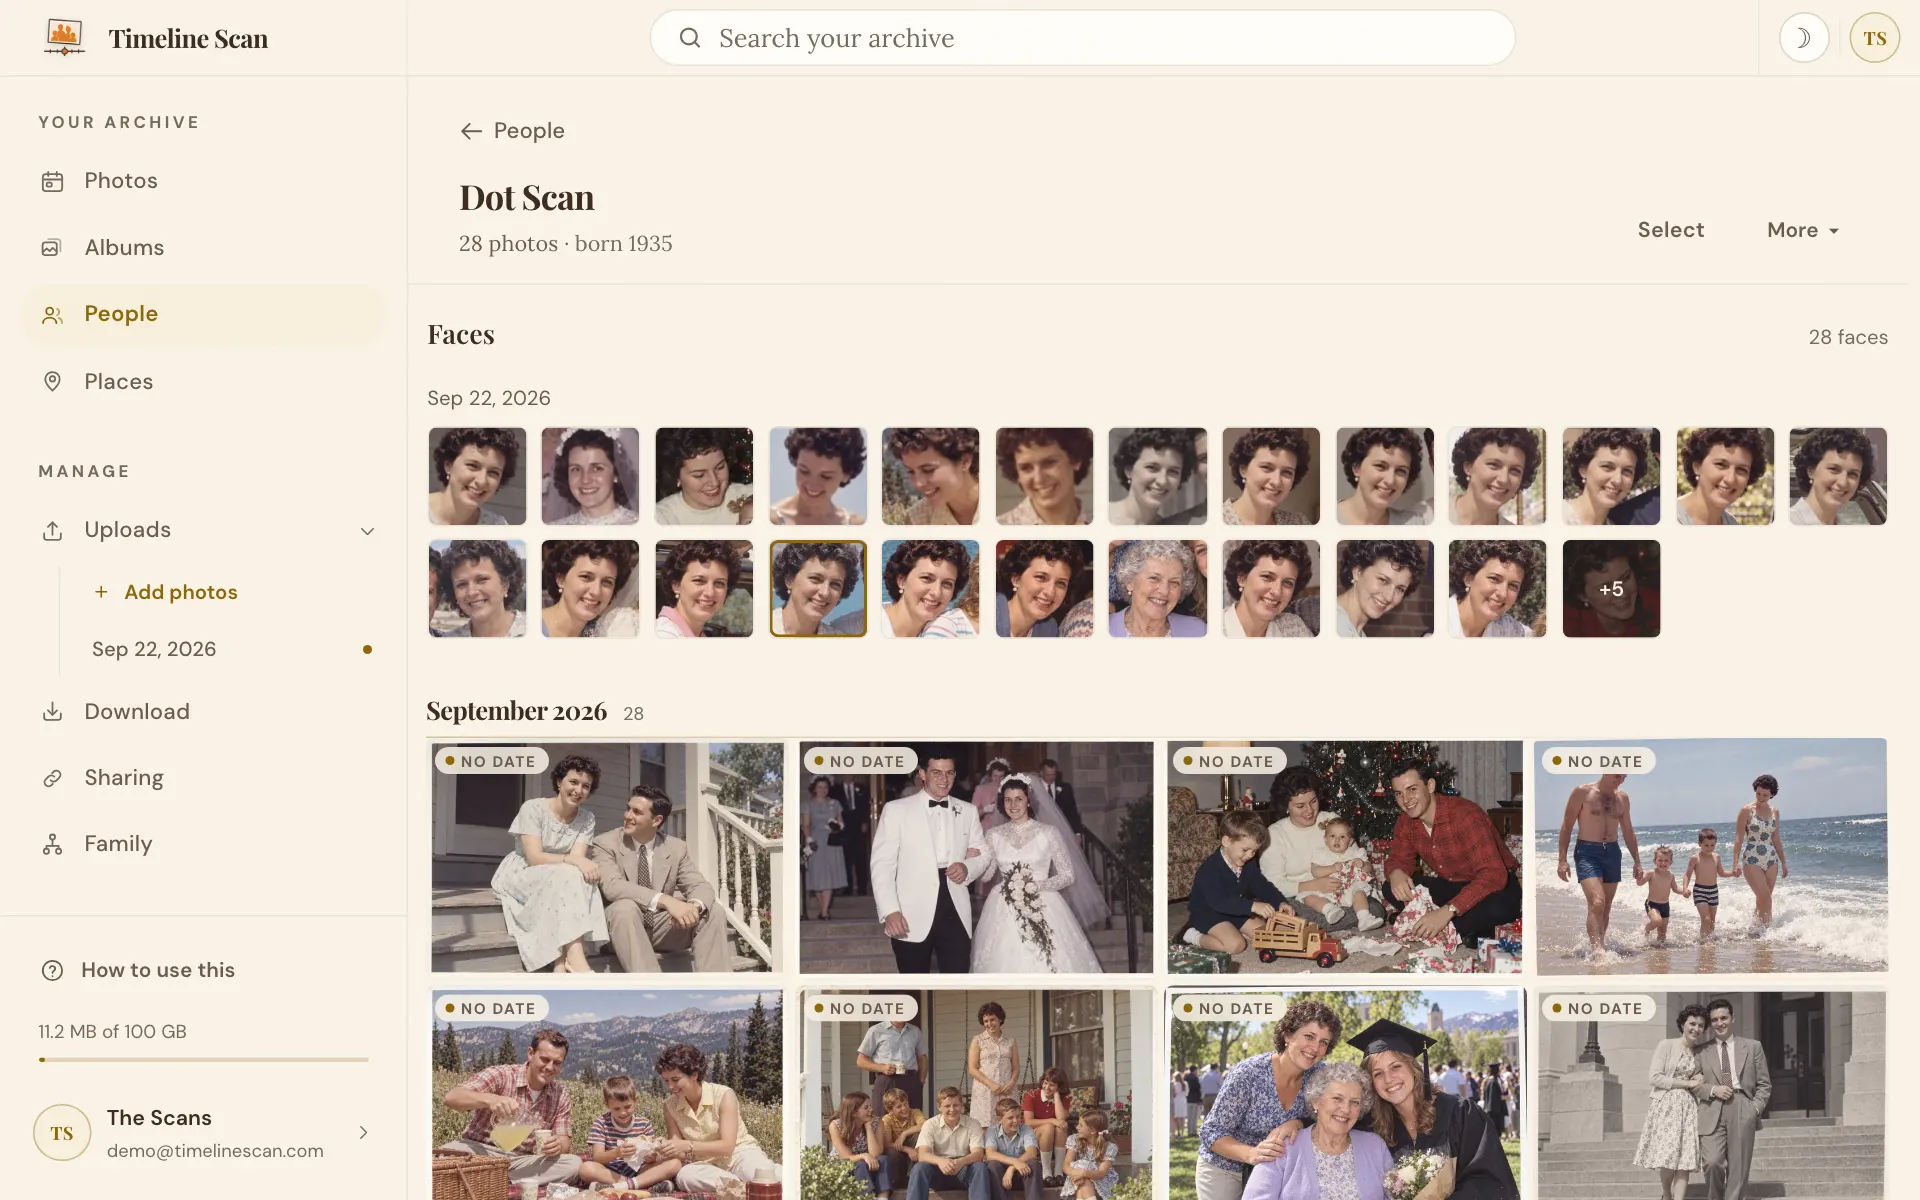
A person's page with their faces, their photos and the birth year beside their name The last face on a person's page dimmed under a number counting the faces not shown yet

Hide a group

Strangers and passers-by can wait.

The People page's Hidden row, with a link counting the groups you set aside
  1. 1Press hidden to see them again.

Places

A guessed place, confirmed by you.

On the path

Fix a place

Type the town you remember.

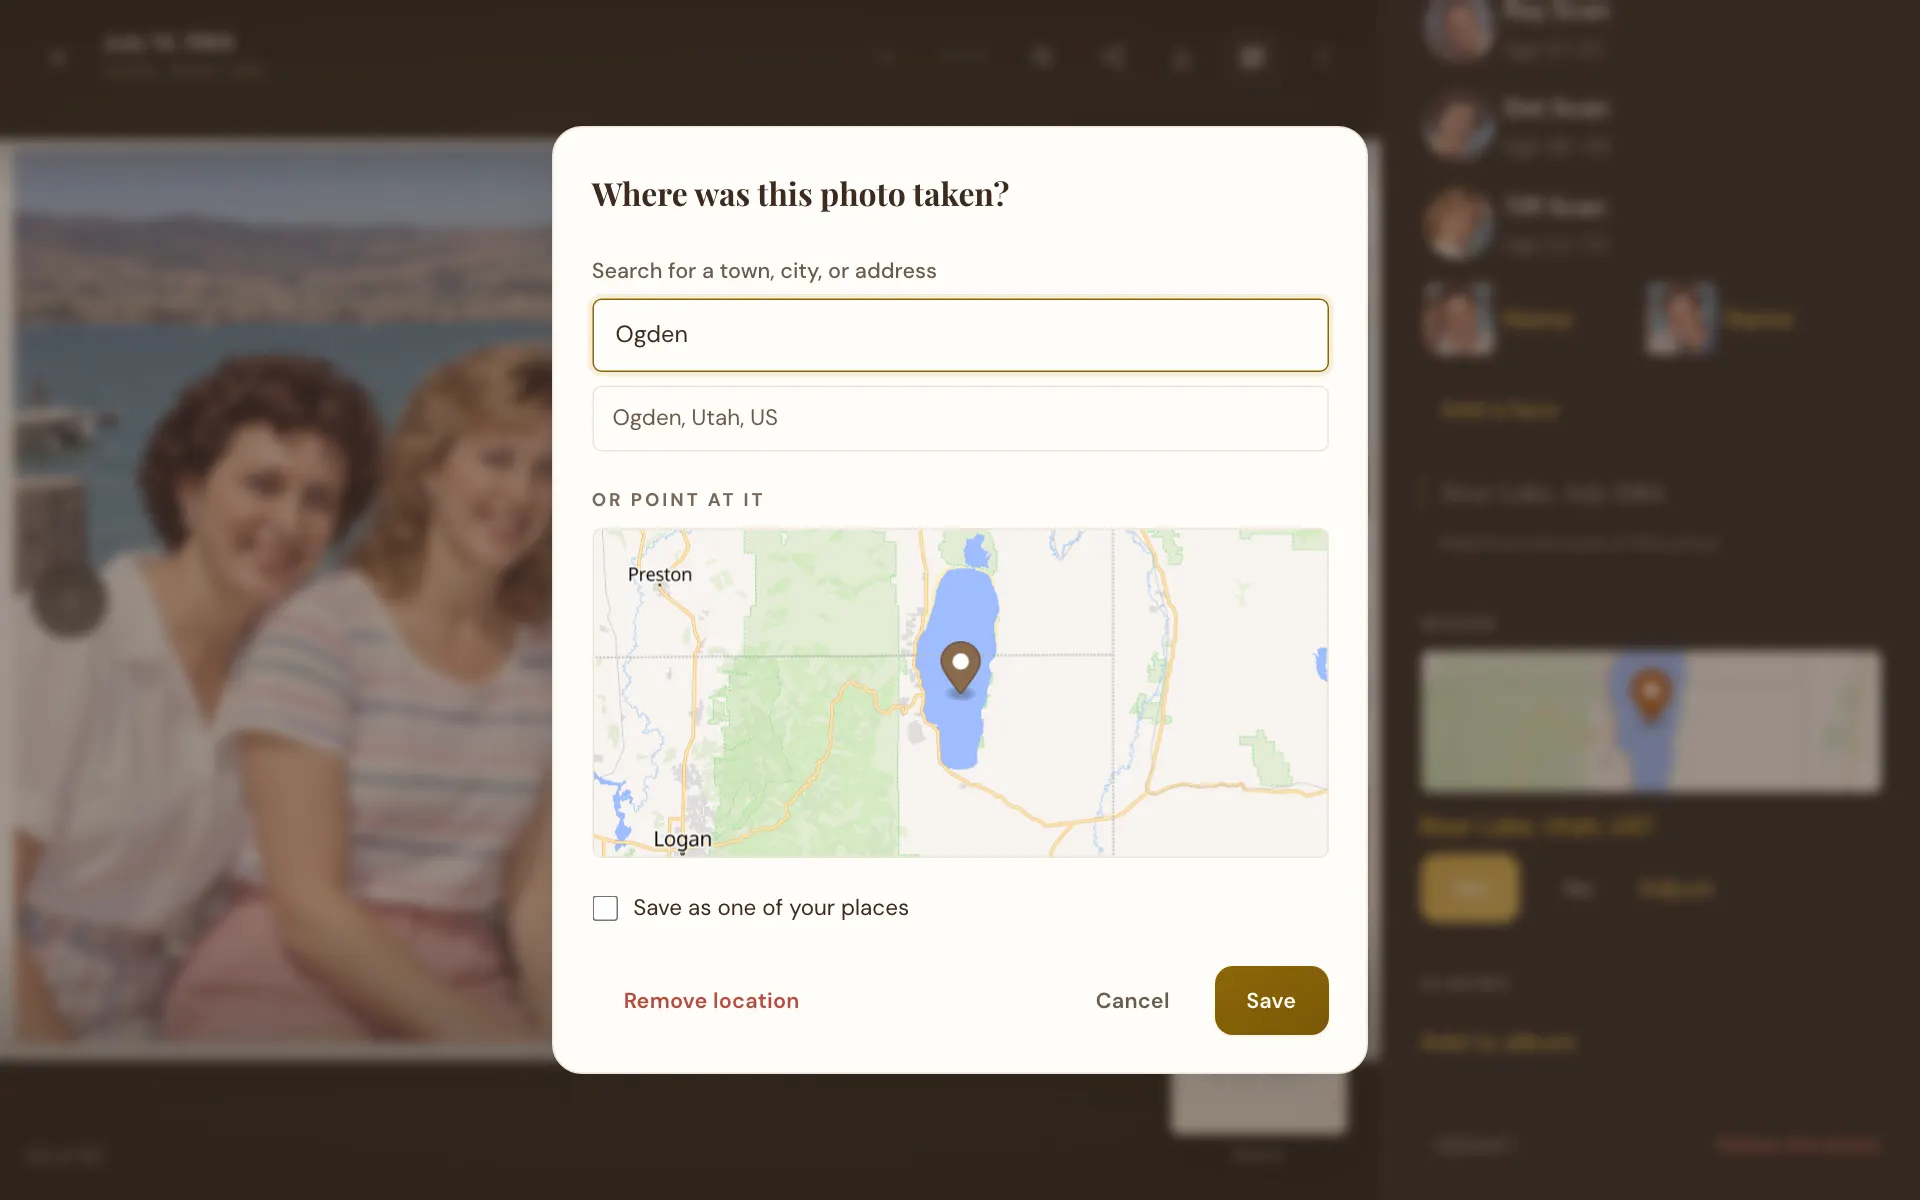
A photo's place row with its Adjust button The place picker with Ogden typed and the matching towns listed

One place for many photos

Same trip, same town, one press.

Three photos ticked with the Place button in the selection bar
  1. 1Select them, then Place.

Photos at one place

Everything taken there, together.

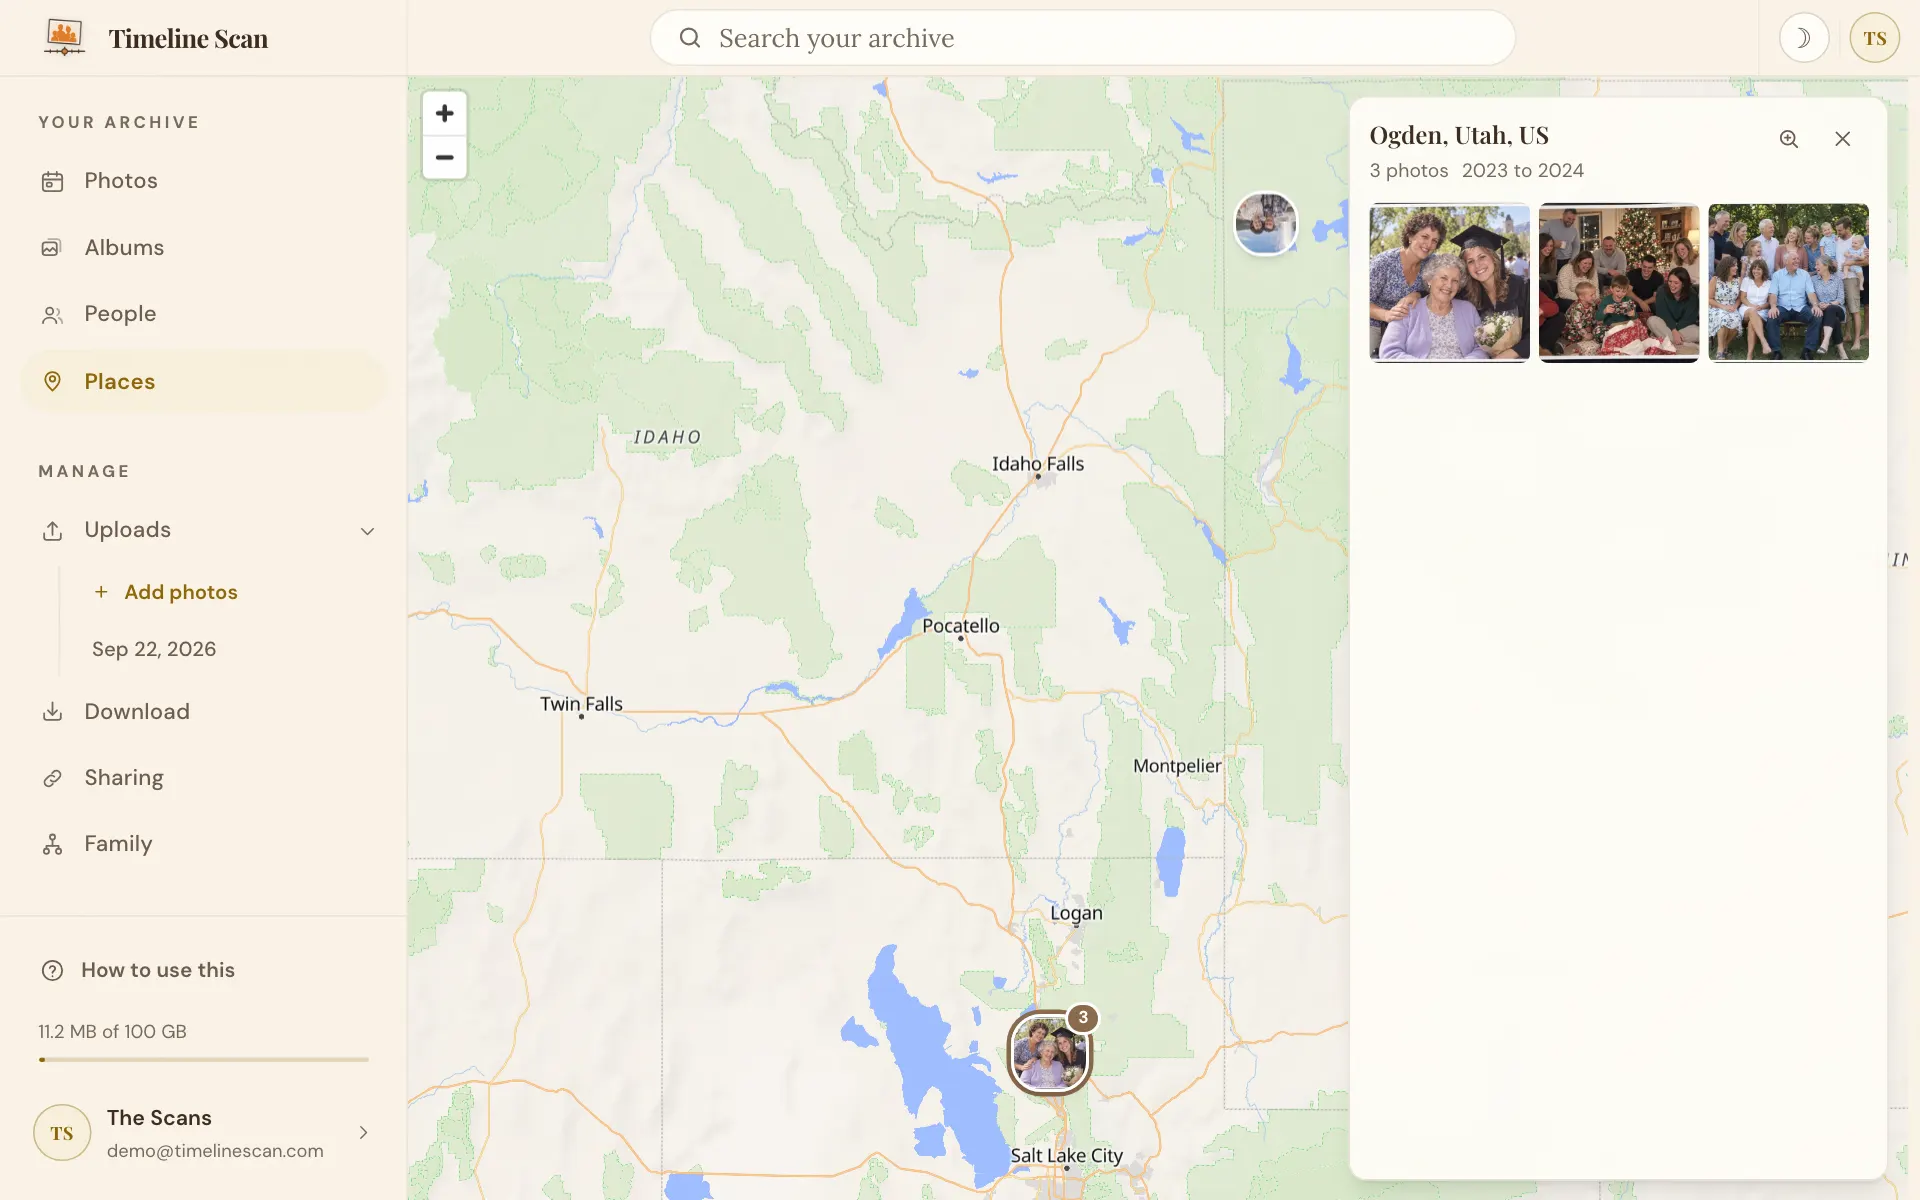
A map pin pressed, with the photos taken there listed beside it
  1. 1Press a pin.

Albums

Your own groupings, with a cover.

Make an album

A wedding, a trip, a person.

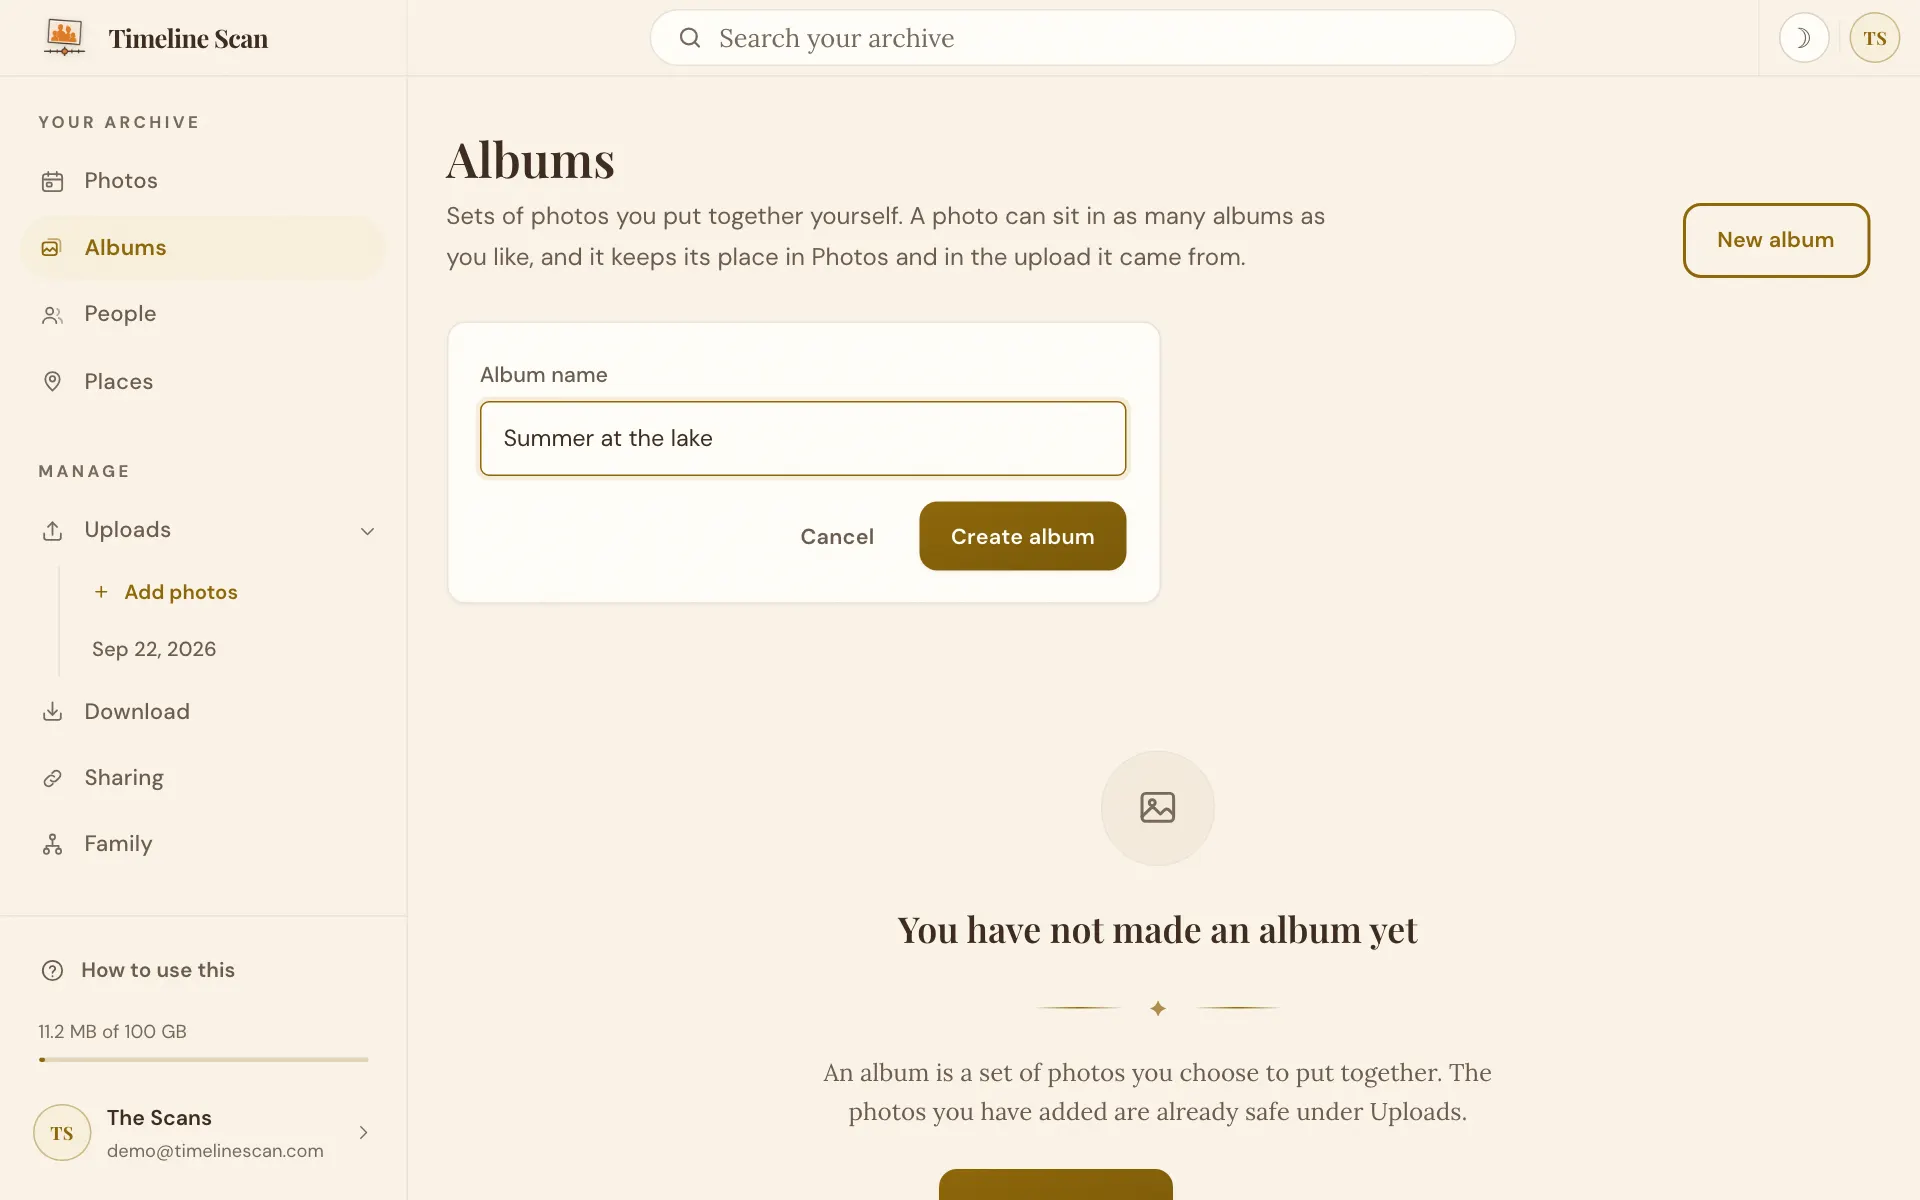
The new album form with Summer at the lake typed as its name
  1. 1Name it. Press Create album.

Put photos in it

Select, then Album.

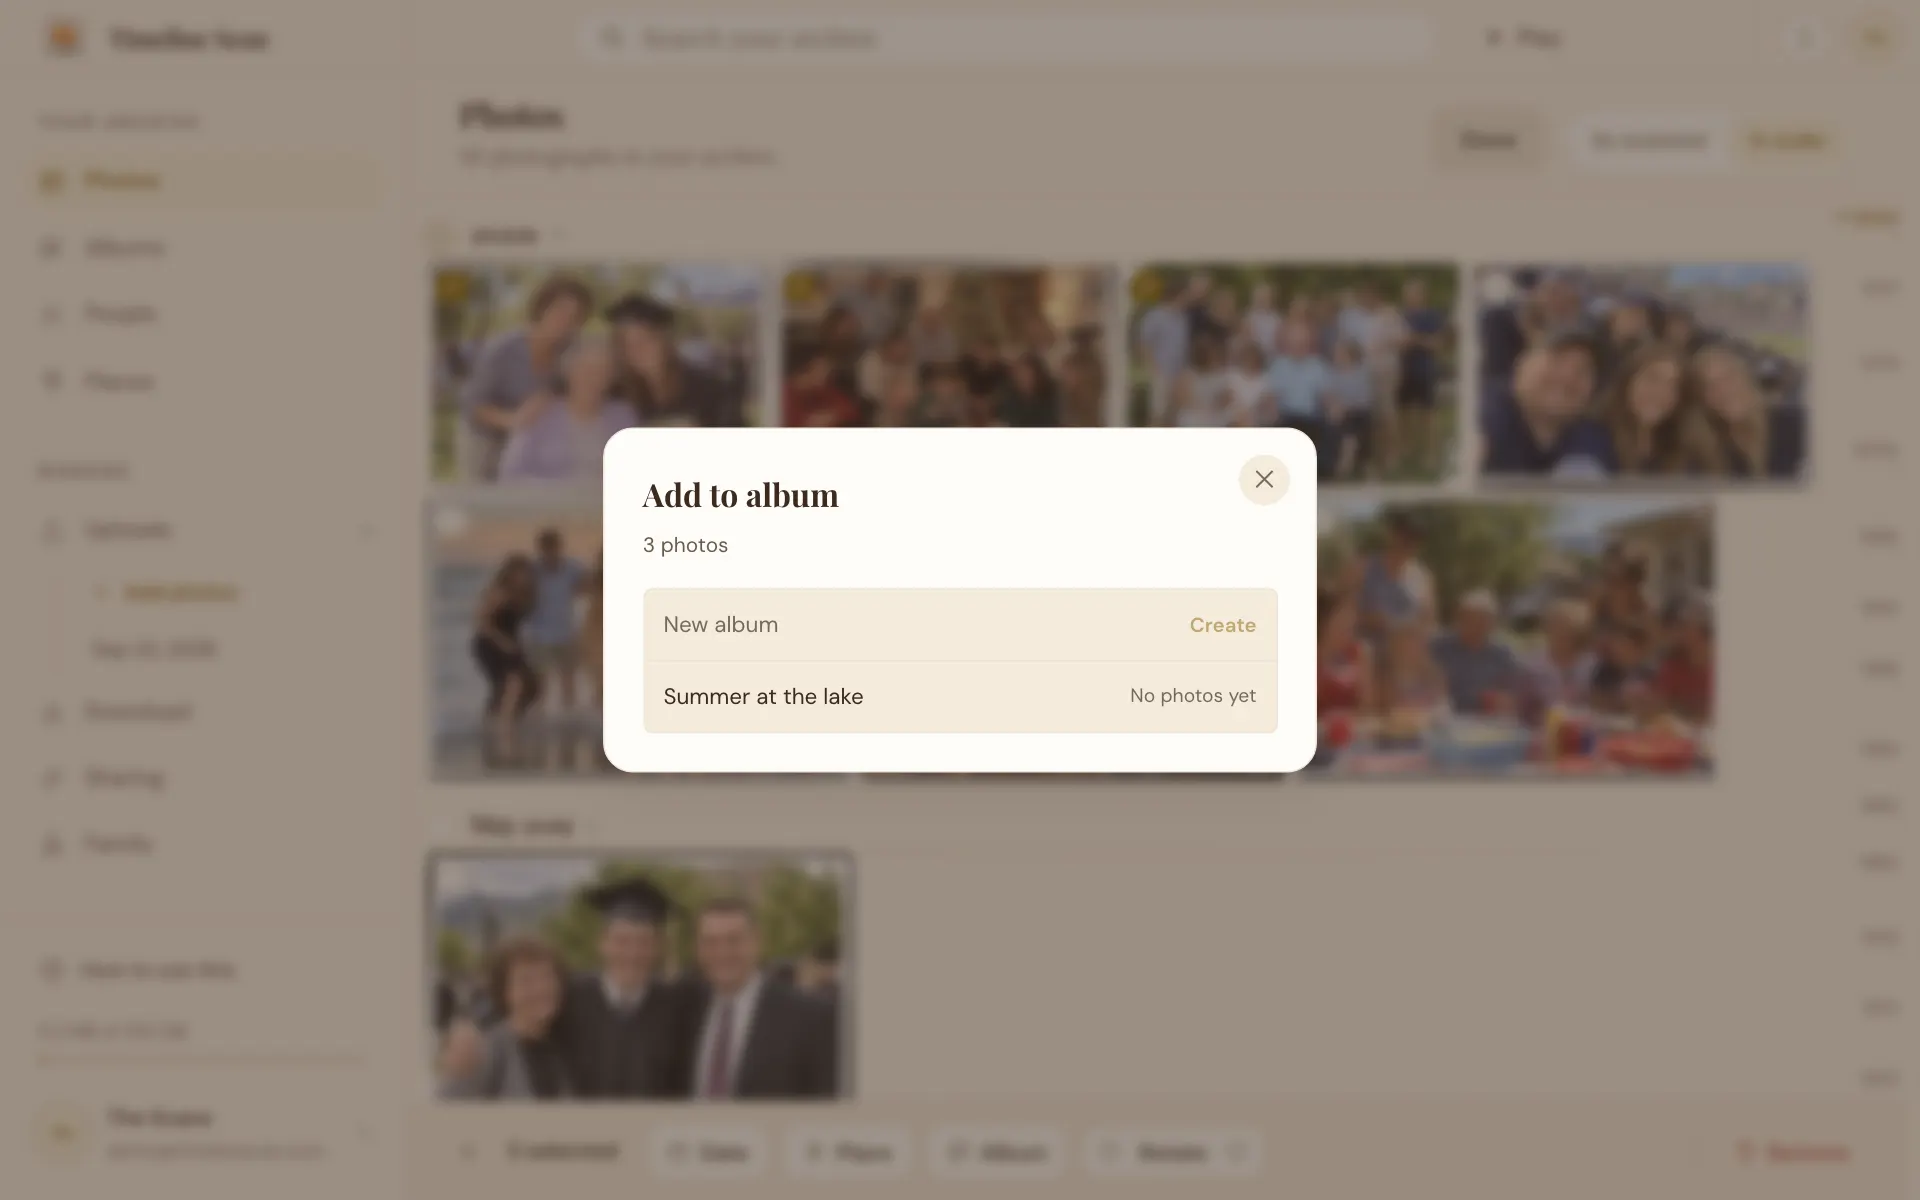
Photos ticked with the Album button in the selection bar A sheet listing the albums the photos can join

Choose the cover

The photo the album wears.

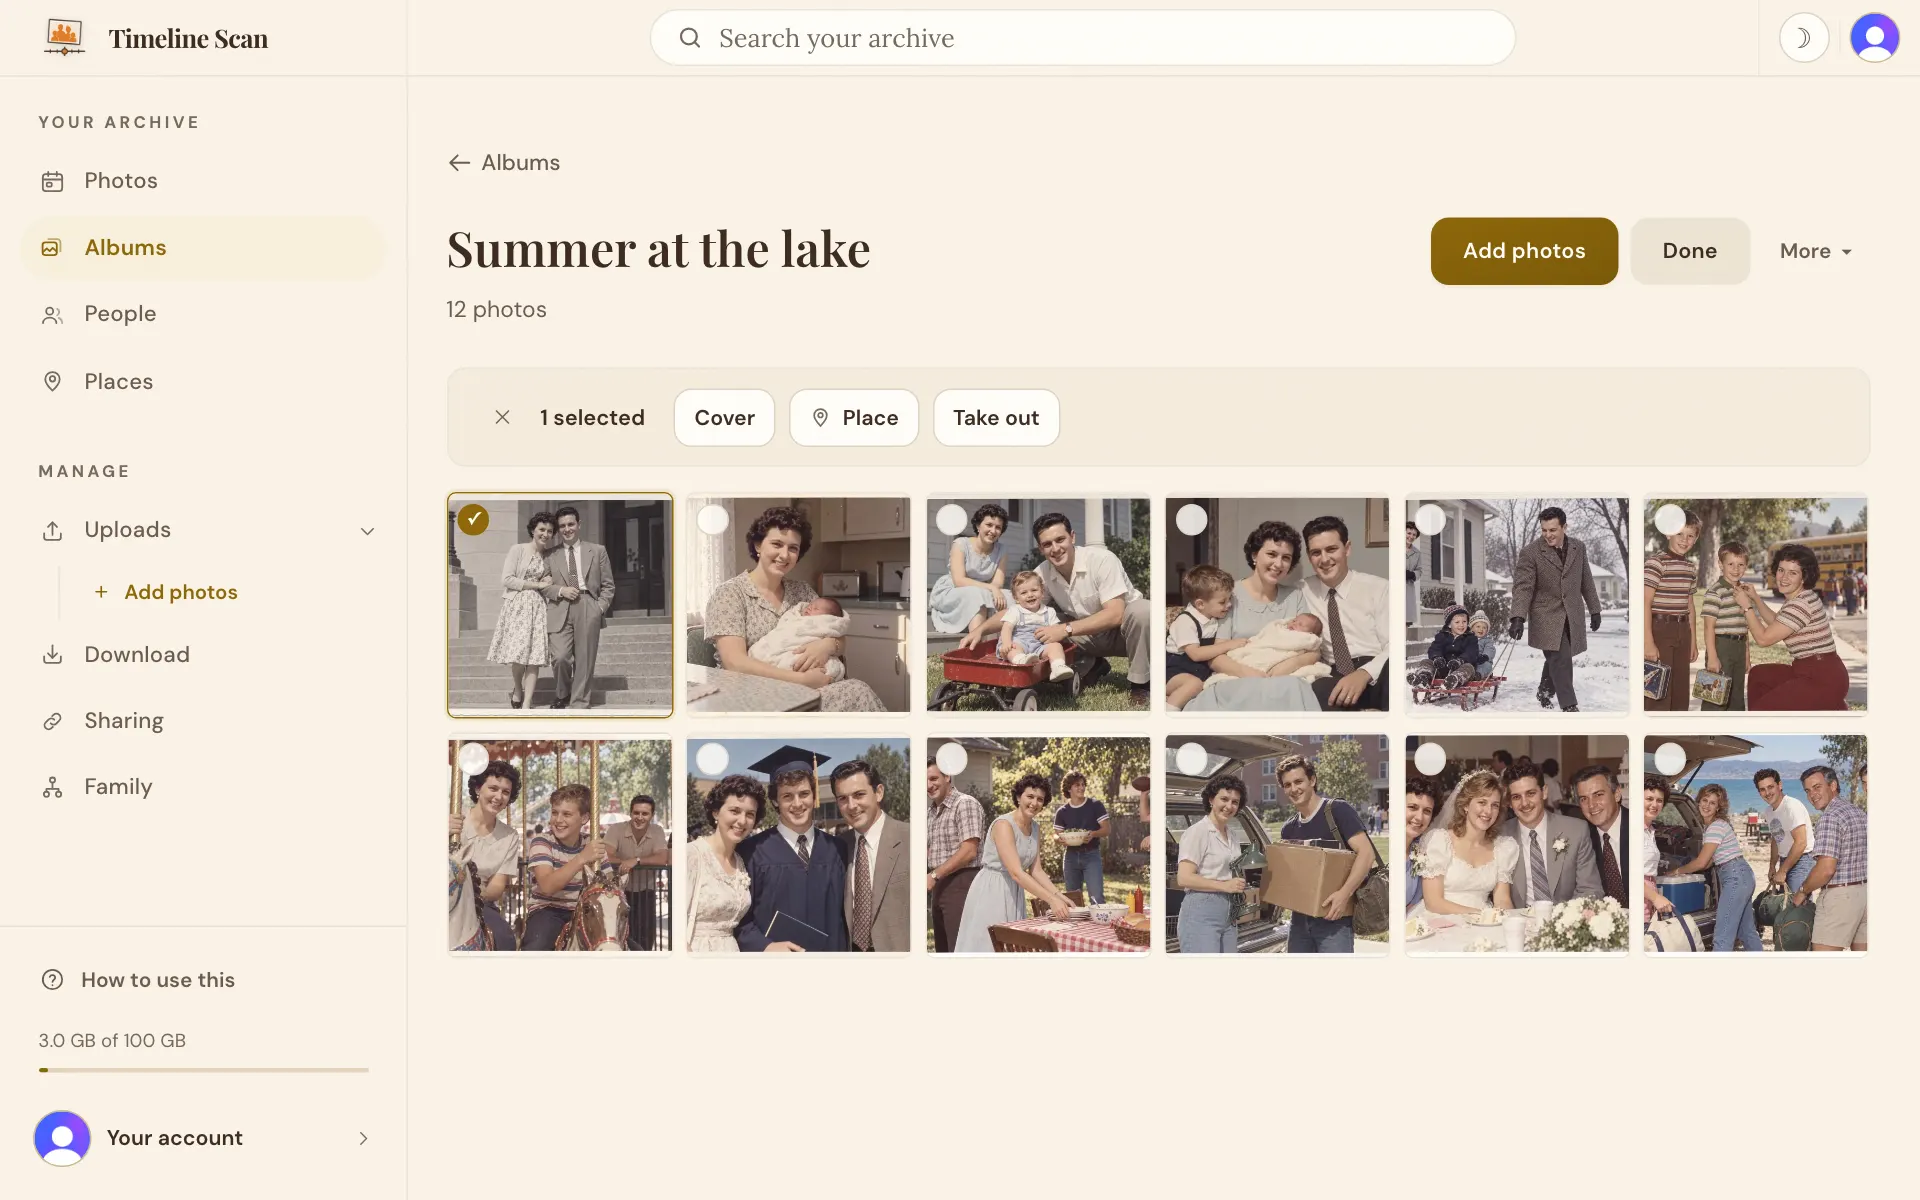
An album page with one photo ticked and Cover in the bar above the photos
  1. 1Pick one photo. Press Cover.

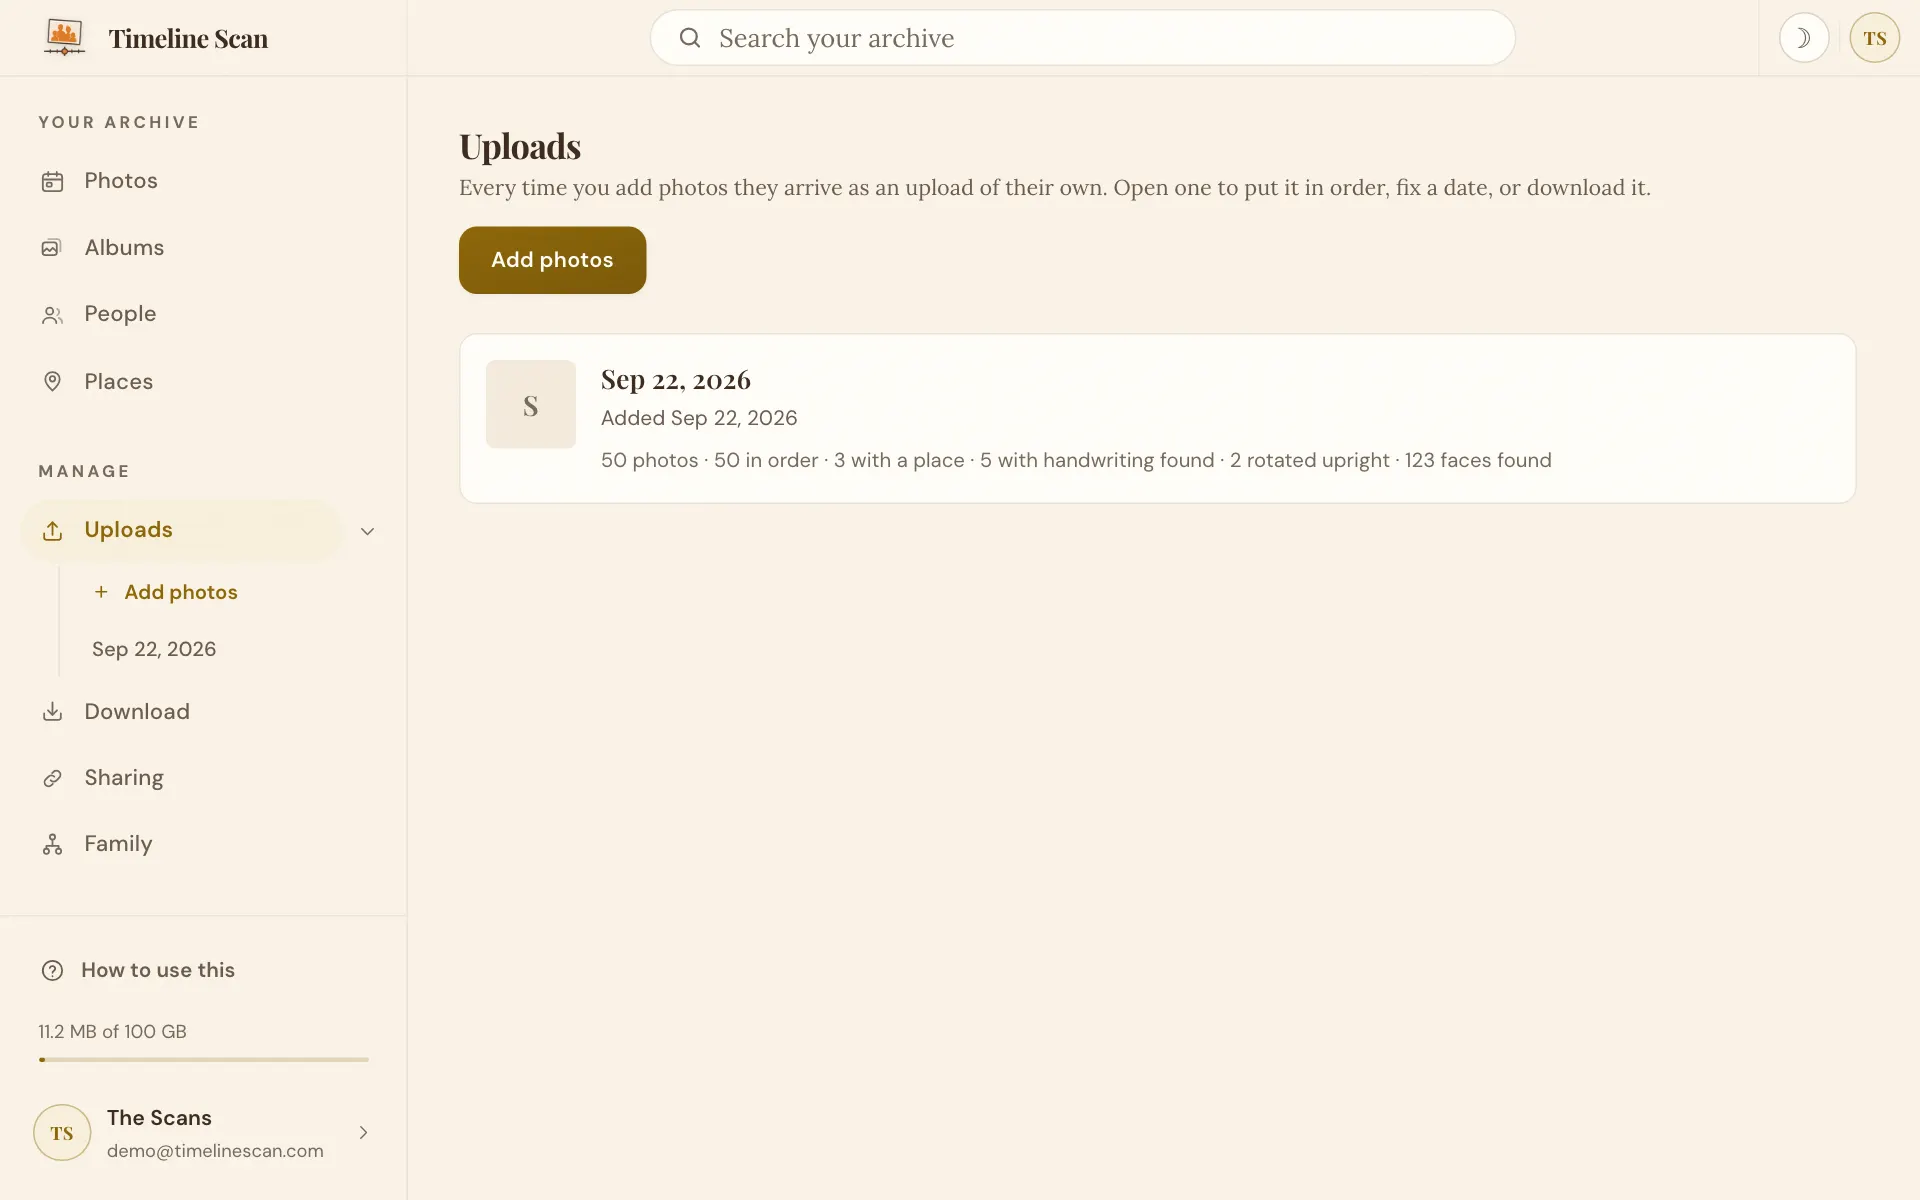
Uploads

Every box you added, and how it is doing.

Every box you added

One row per upload.

The Uploads page listing each box with how many photos it holds
  1. 1Read one row per upload.

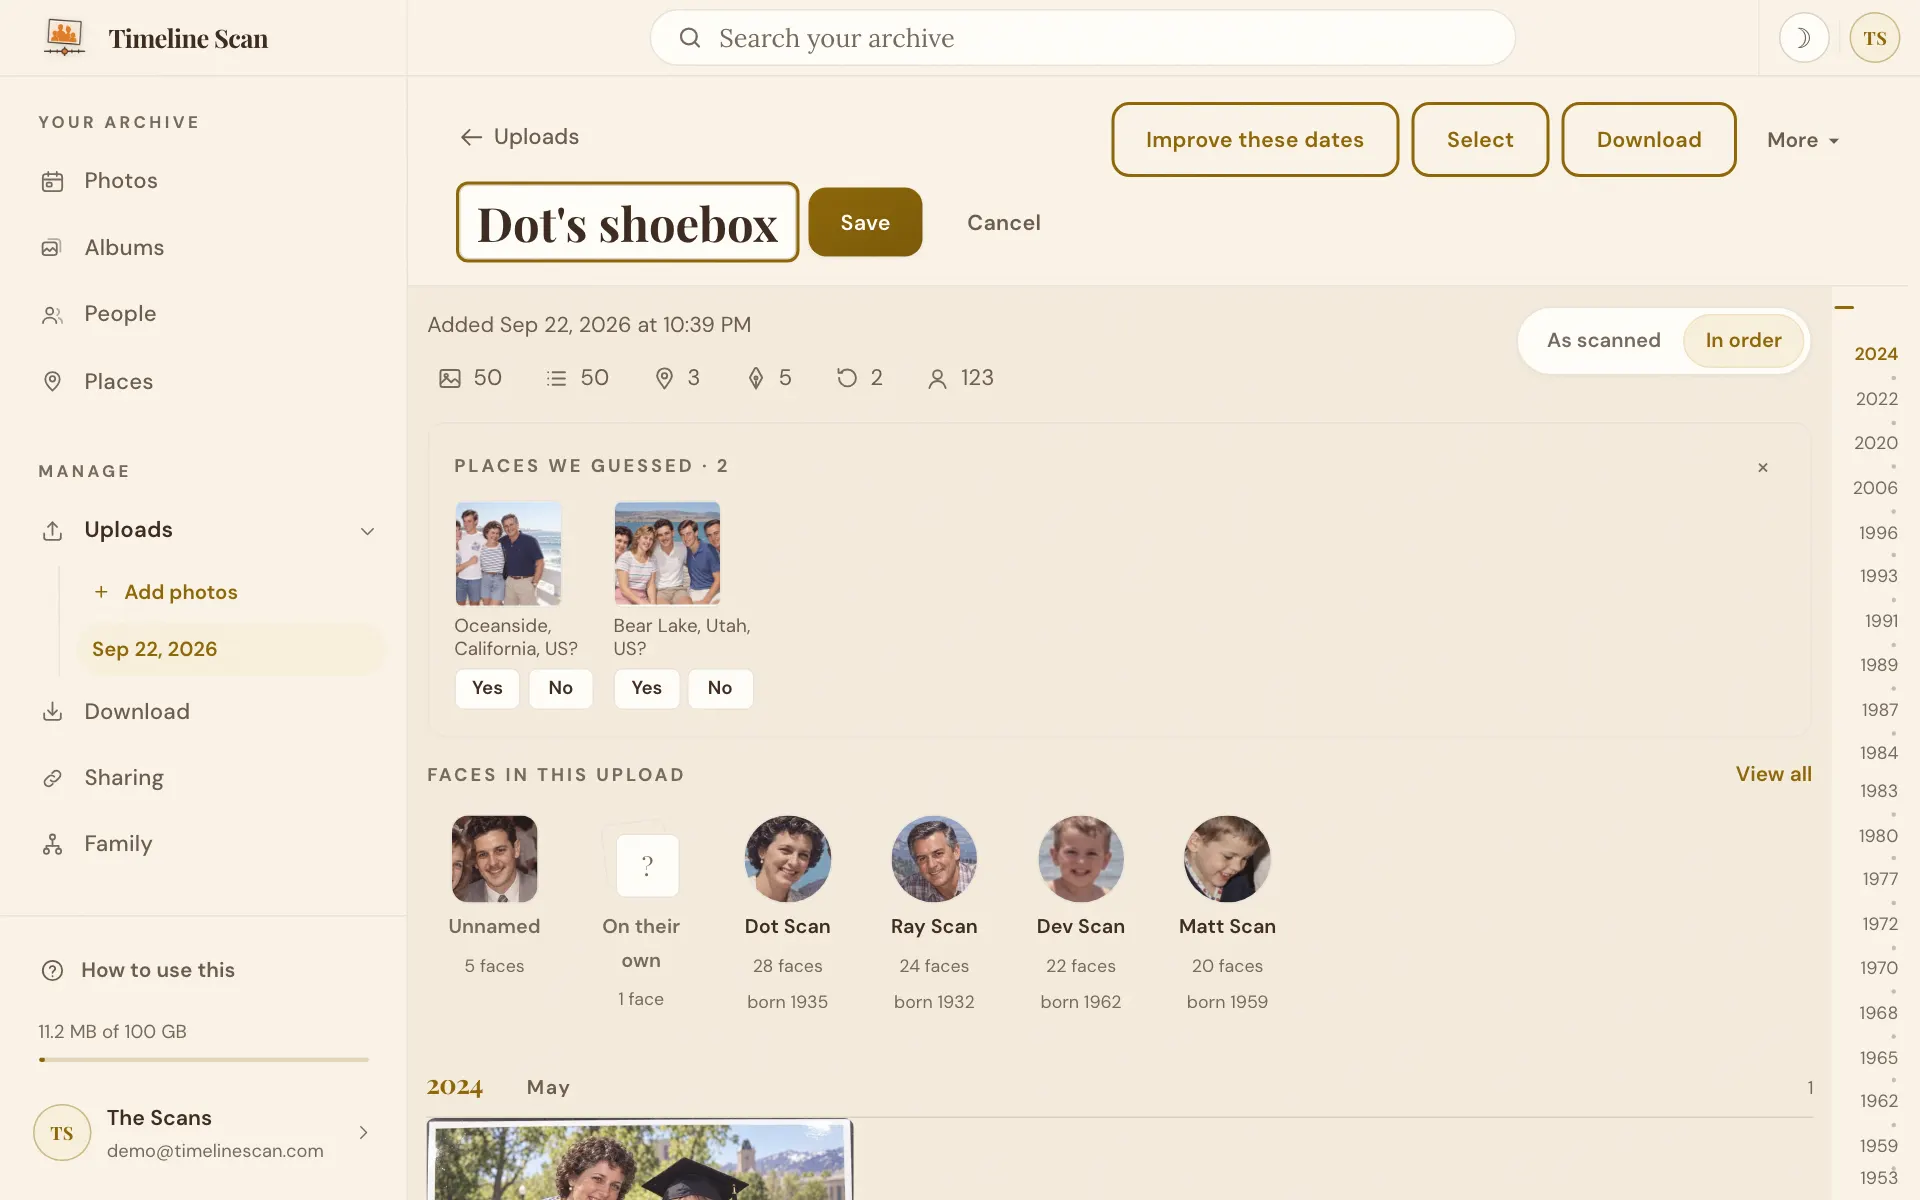
Name an upload

Call it what the box was called.

An upload's title with a pencil button beside it The title field holding Dot's shoebox with a Save button

Add more to a box

A box is never closed.

An upload page with its Add more button
  1. 1Add more, any time.

Backs pair by name

The back of a print rides with its front.
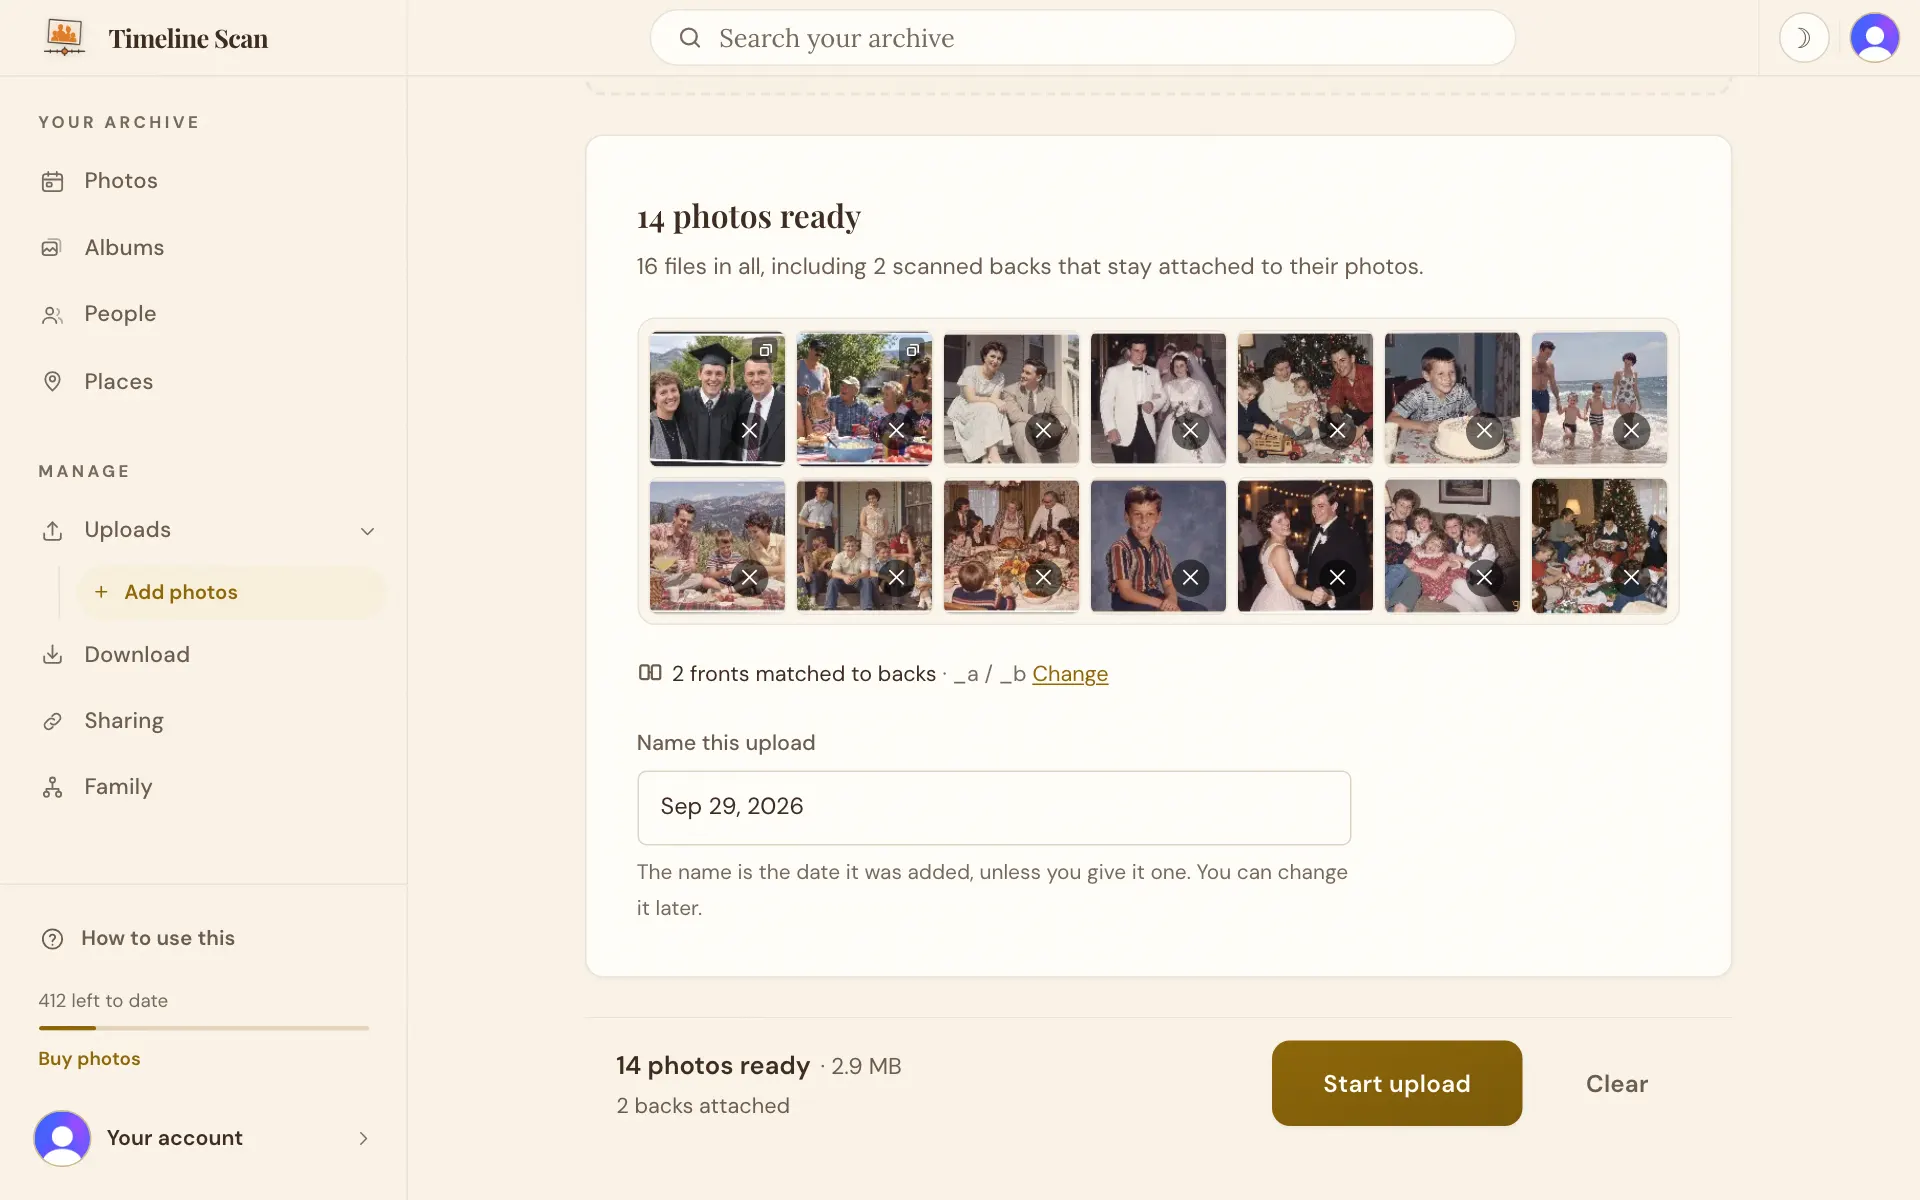
The staged grid showing each front paired with the back that shares its name
  1. 1Name the back photo_b.jpg. We pair it.

Take a photo out

Before you press Start upload.

A staged photo with its back attached and the × in its corner that takes both out
  1. 1Press × on it. Its back goes too.

Get an email when done

For a box that takes hours.

The sheet that puts the photos in order, with its Email me when it's done switch turned on
  1. 1Turn on Email me when it's done.

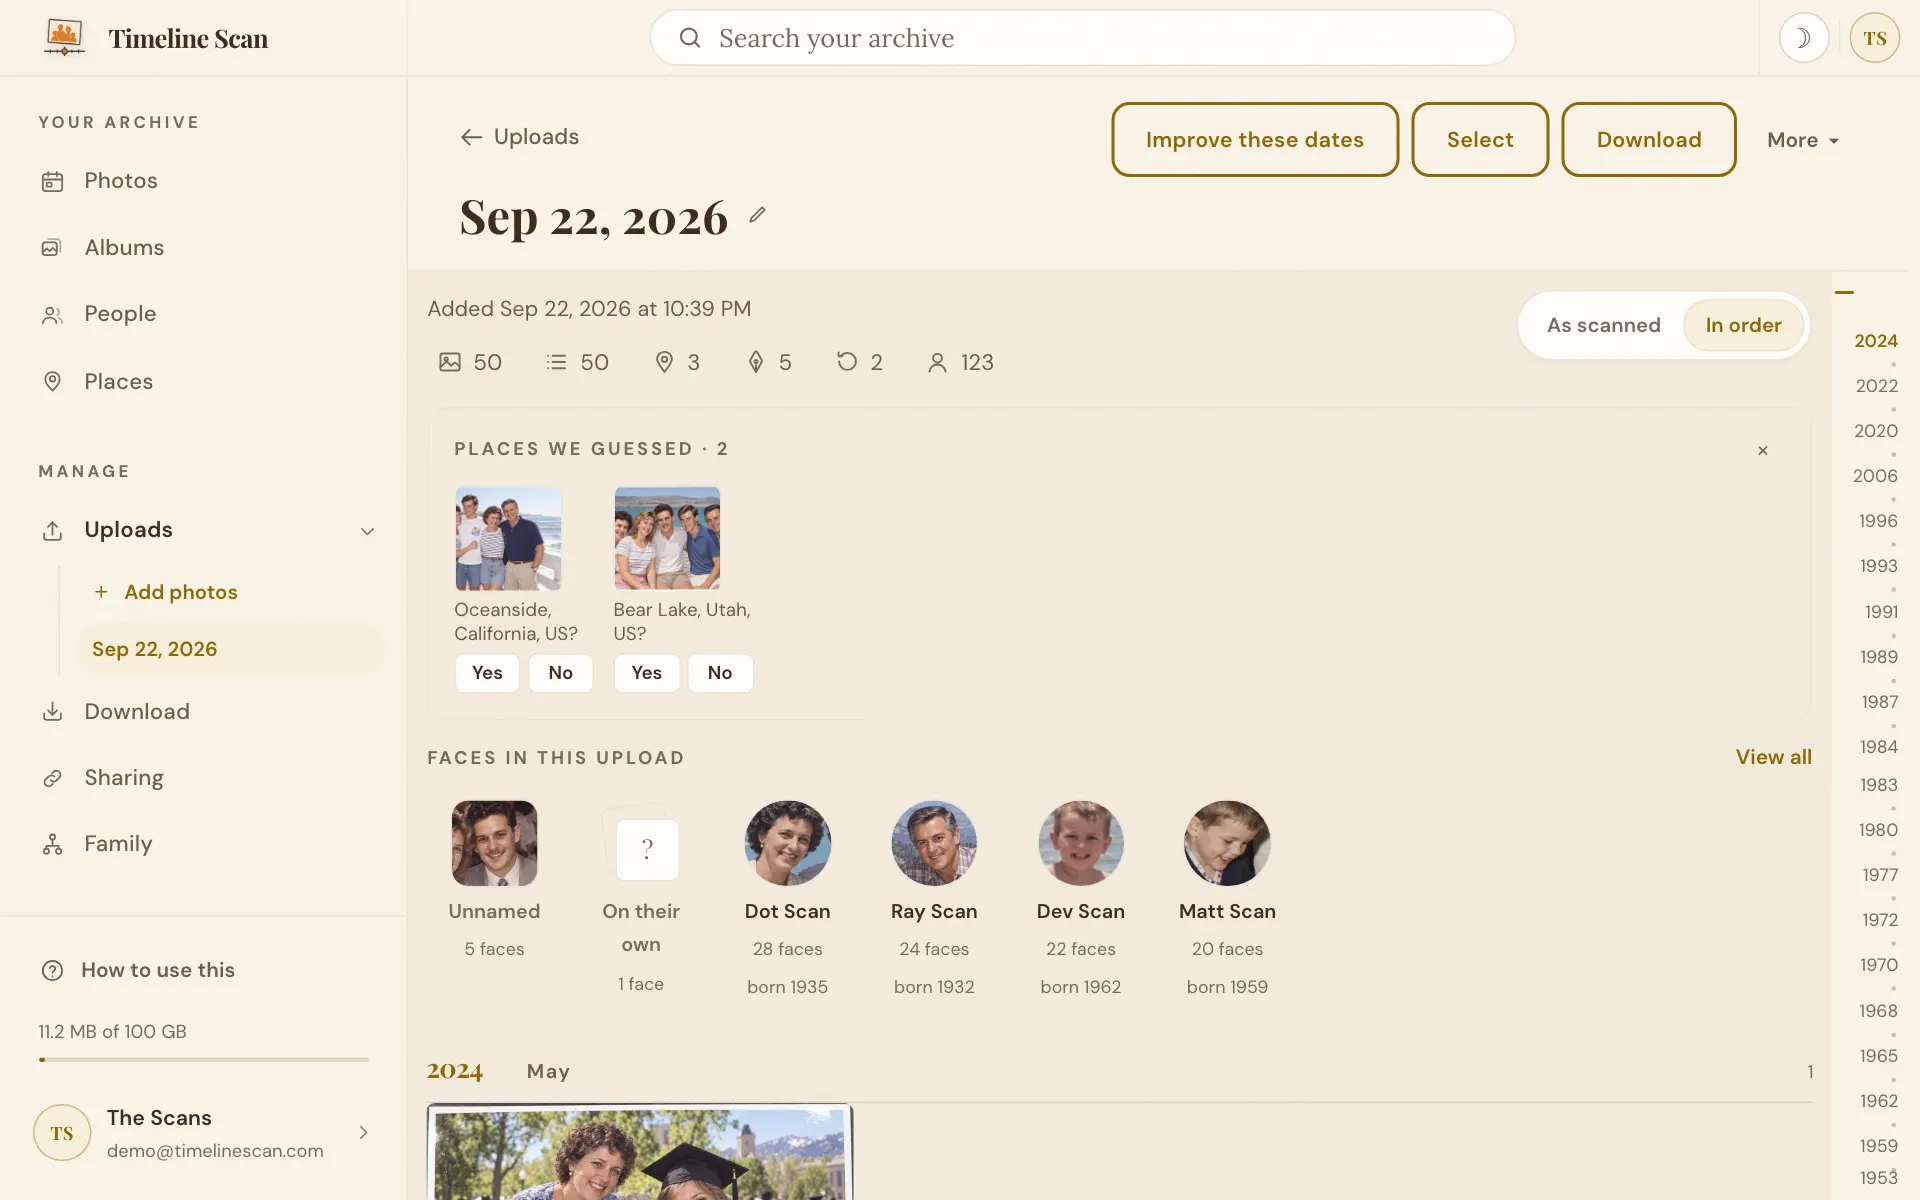
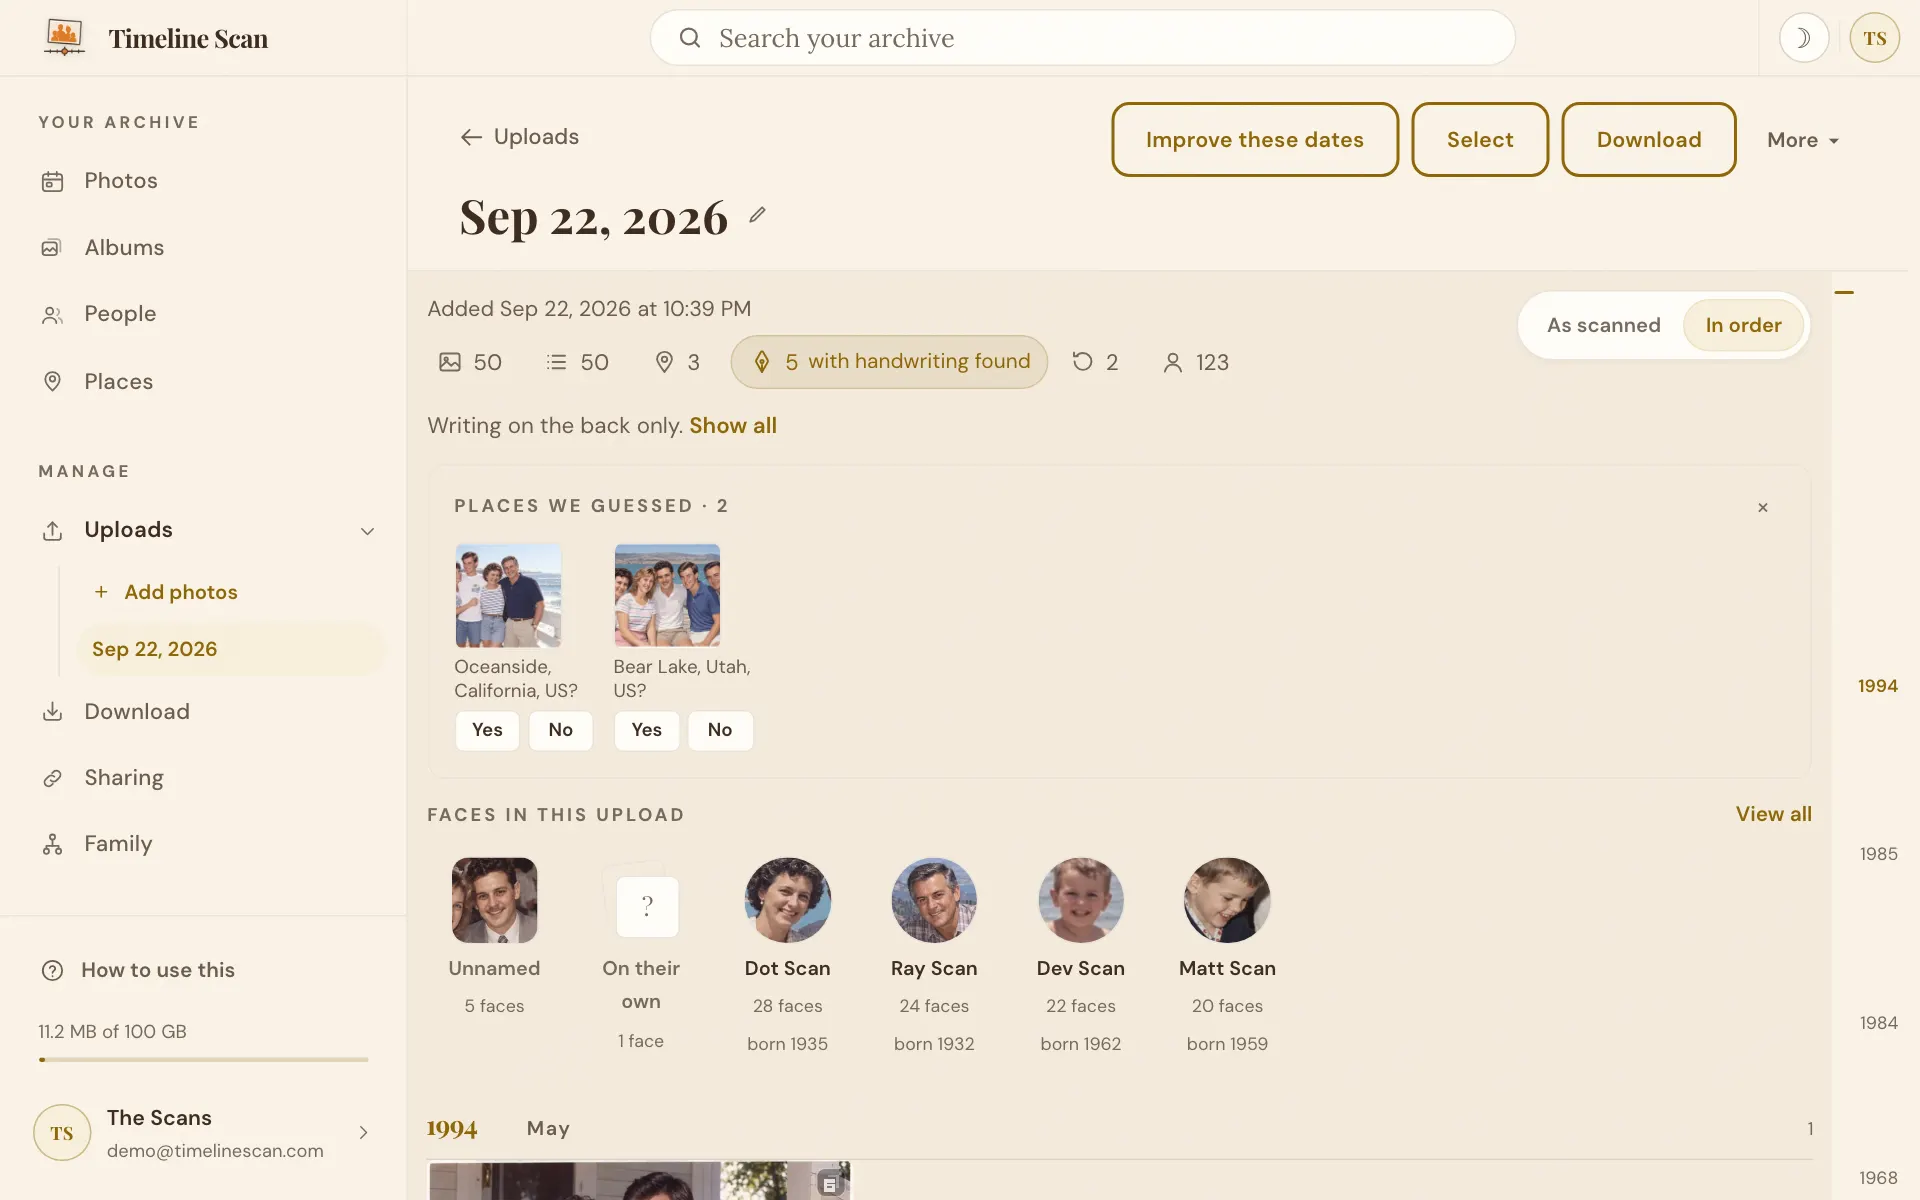
See what we found

Each number under the name opens its photos.
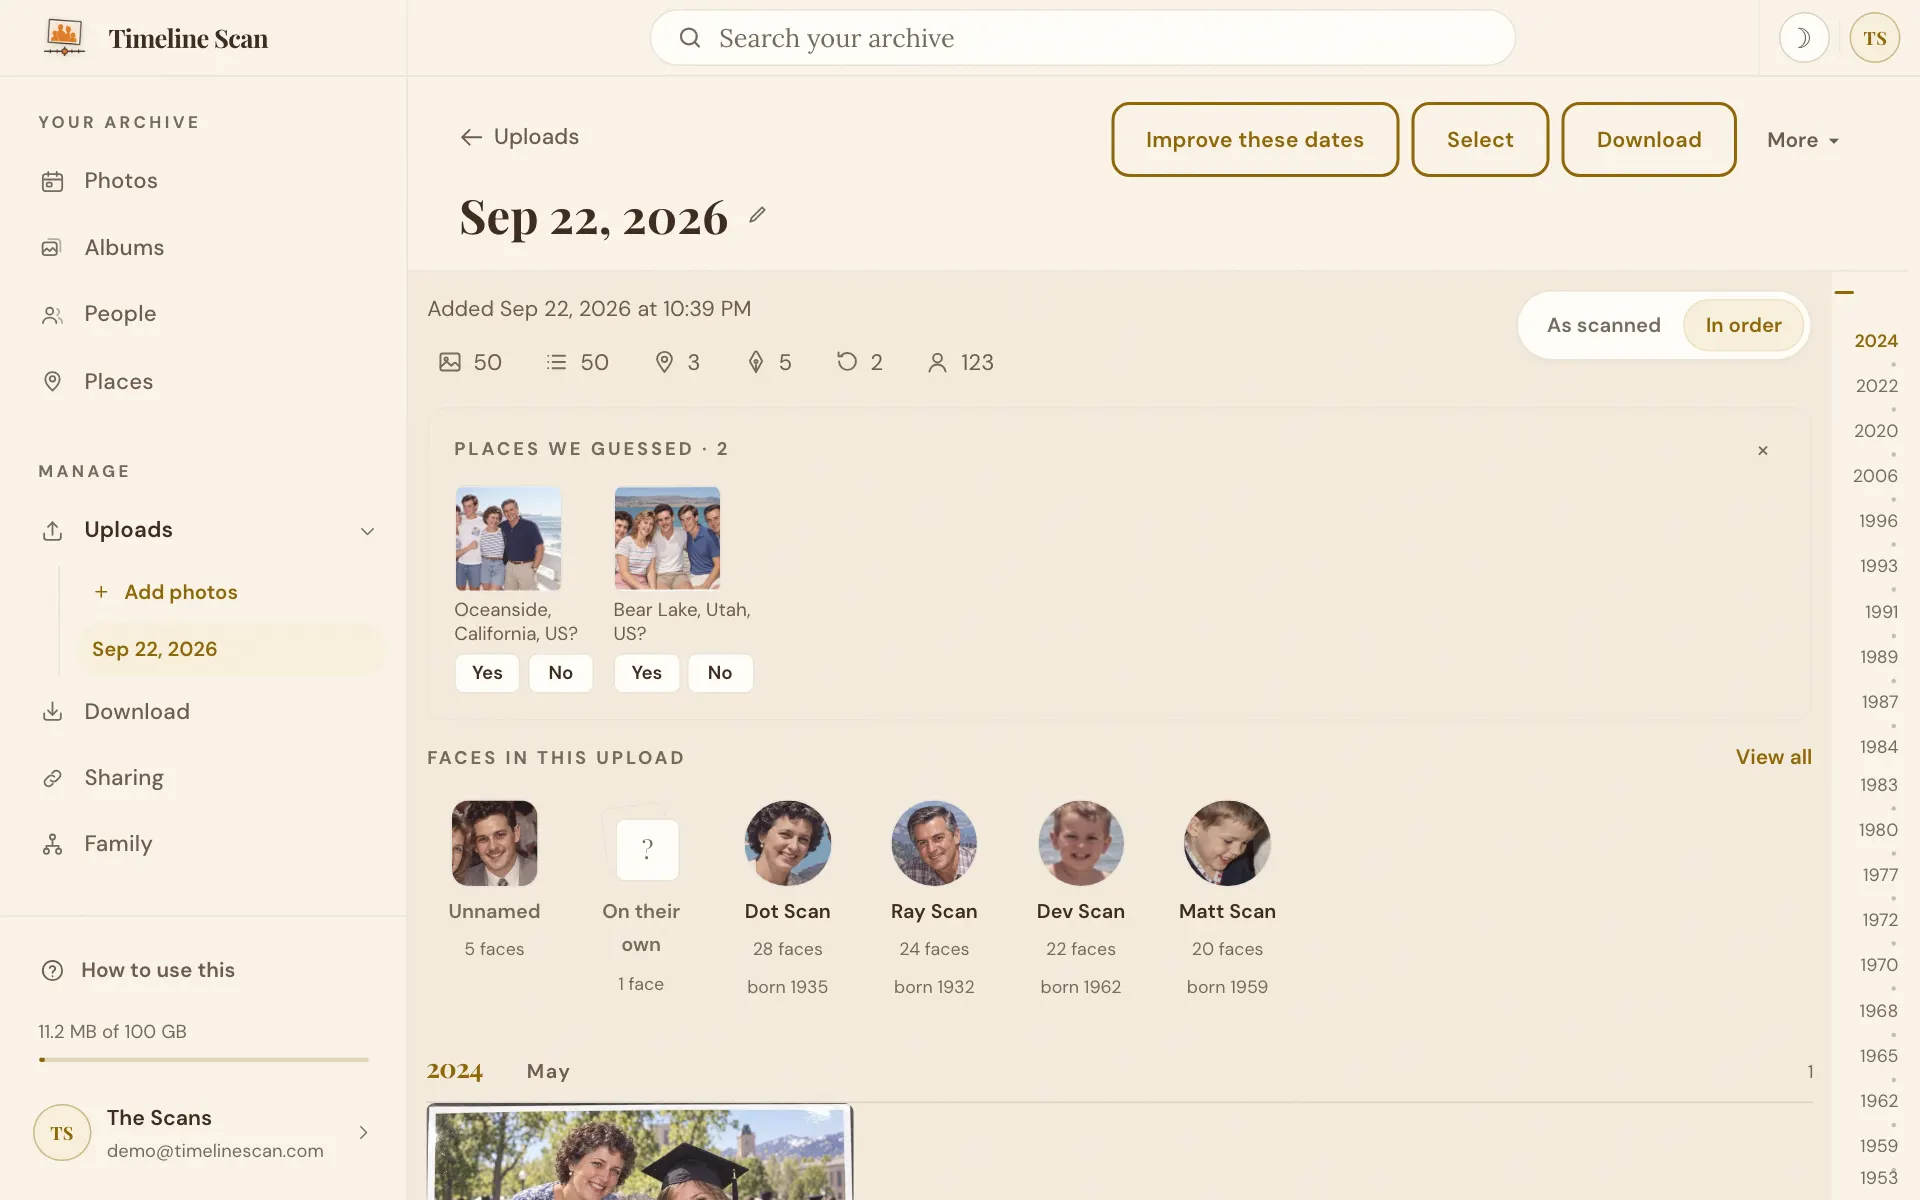
The figures under an upload's name, one of them counting the photos with handwriting found The upload showing only the photos with writing on the back, with Show all beside the line that says so

Download

Take the finished files home.

On the path

Everything, or one upload

Take the whole library or a single box.
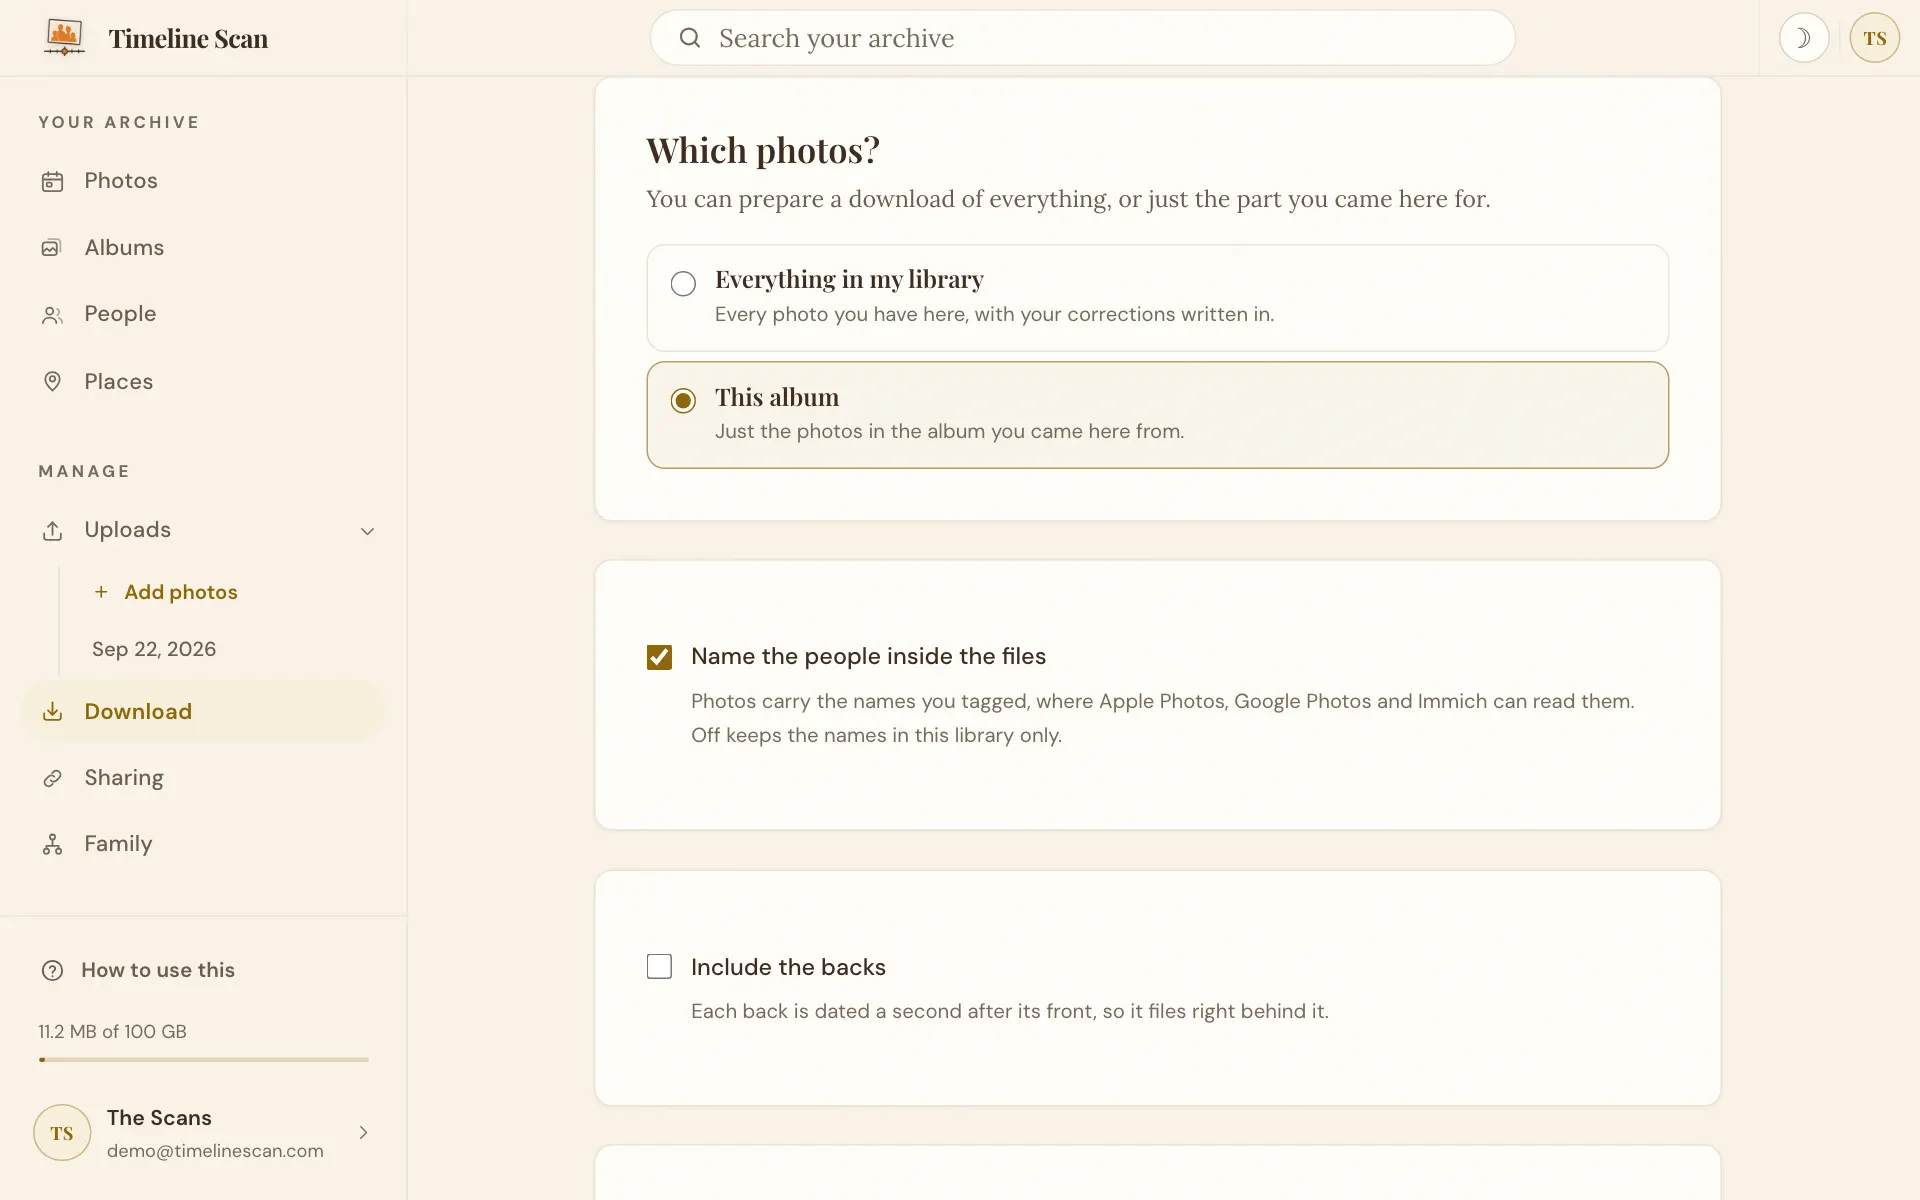
The Download page's picker for everything or a single upload
  1. 1Choose what to take.

Names and backs

Names go inside the files. Backs are your choice.
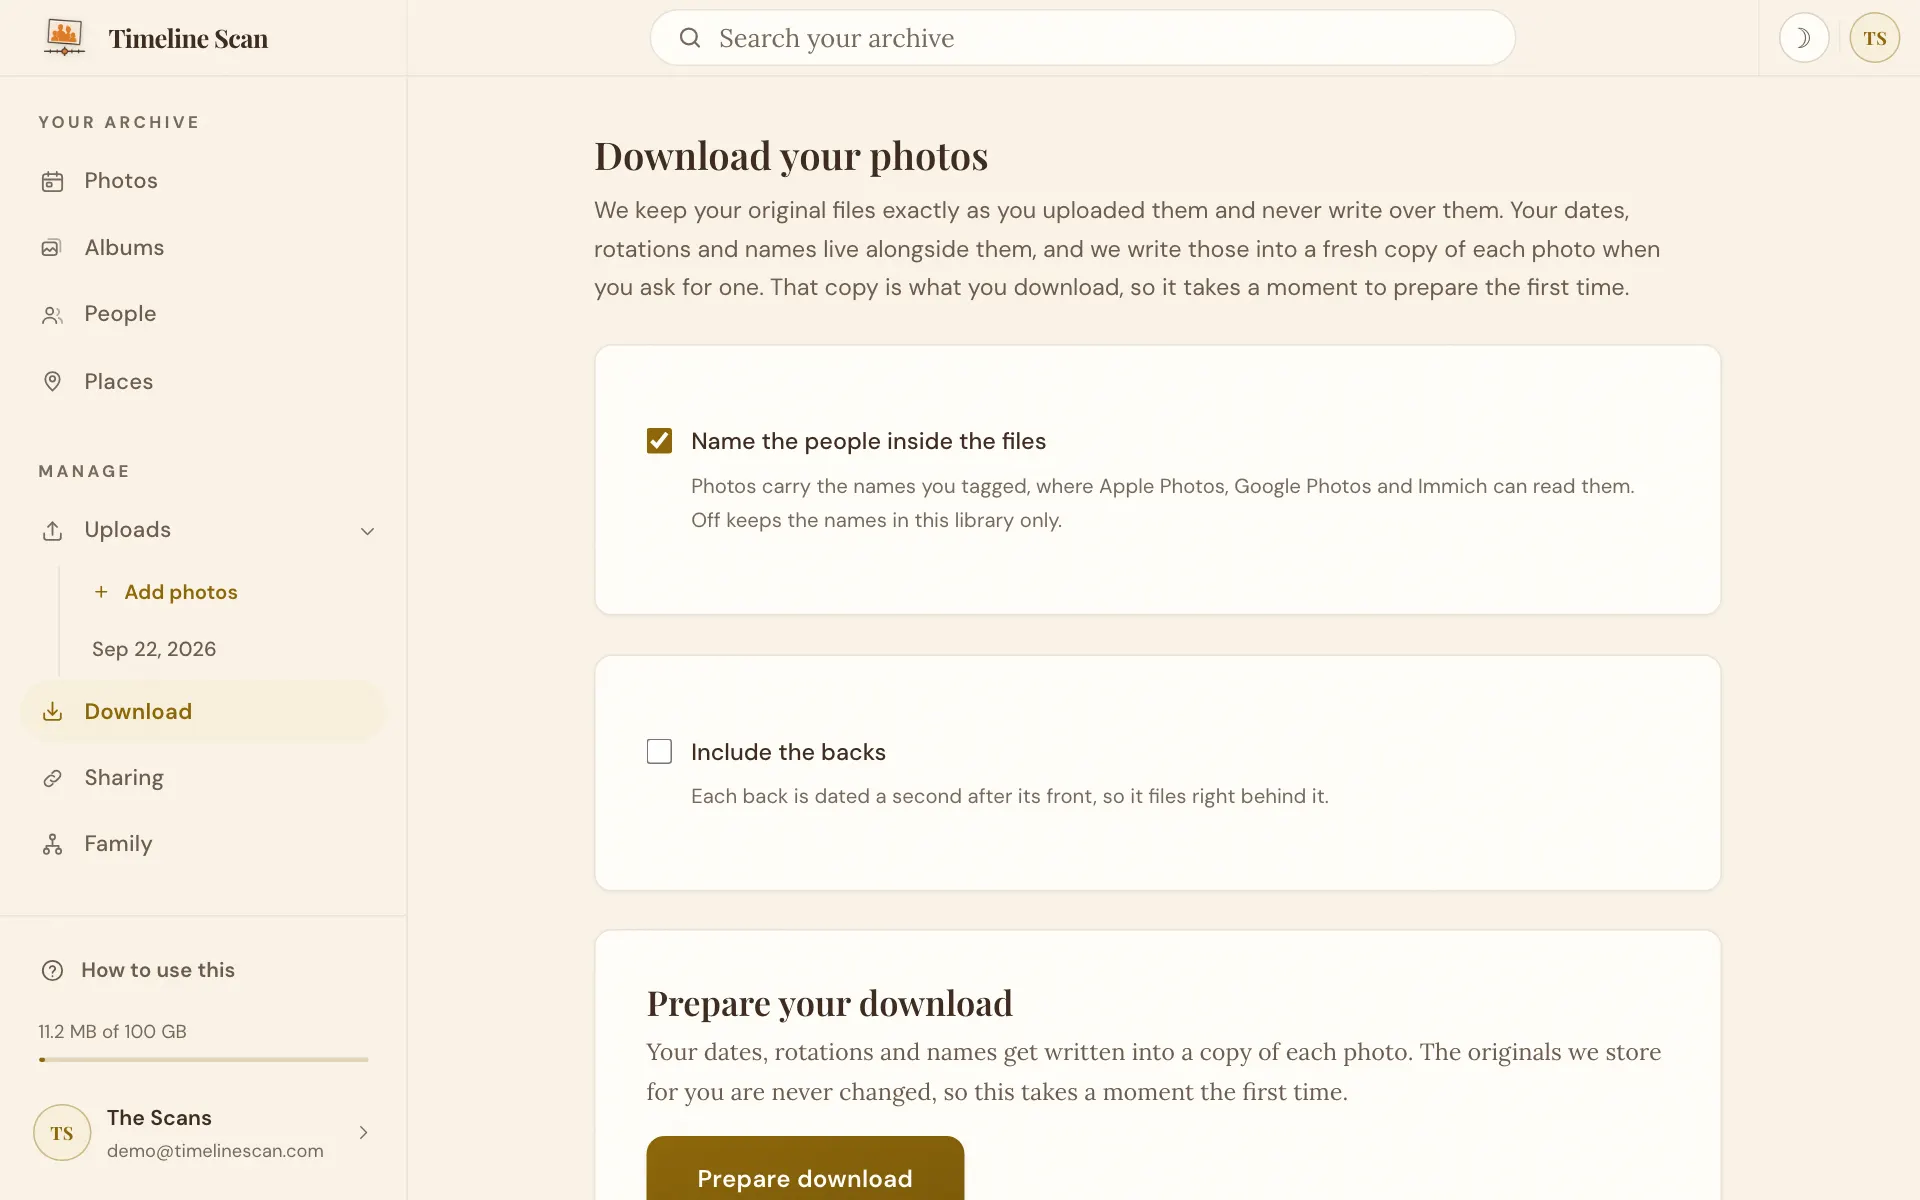
Two download choices: the people's names inside the files, ticked, and Include the backs
  1. 1Want the backs too? Tick the box.

Sharing

A link for people without an account.

Make a link

For people without an account.

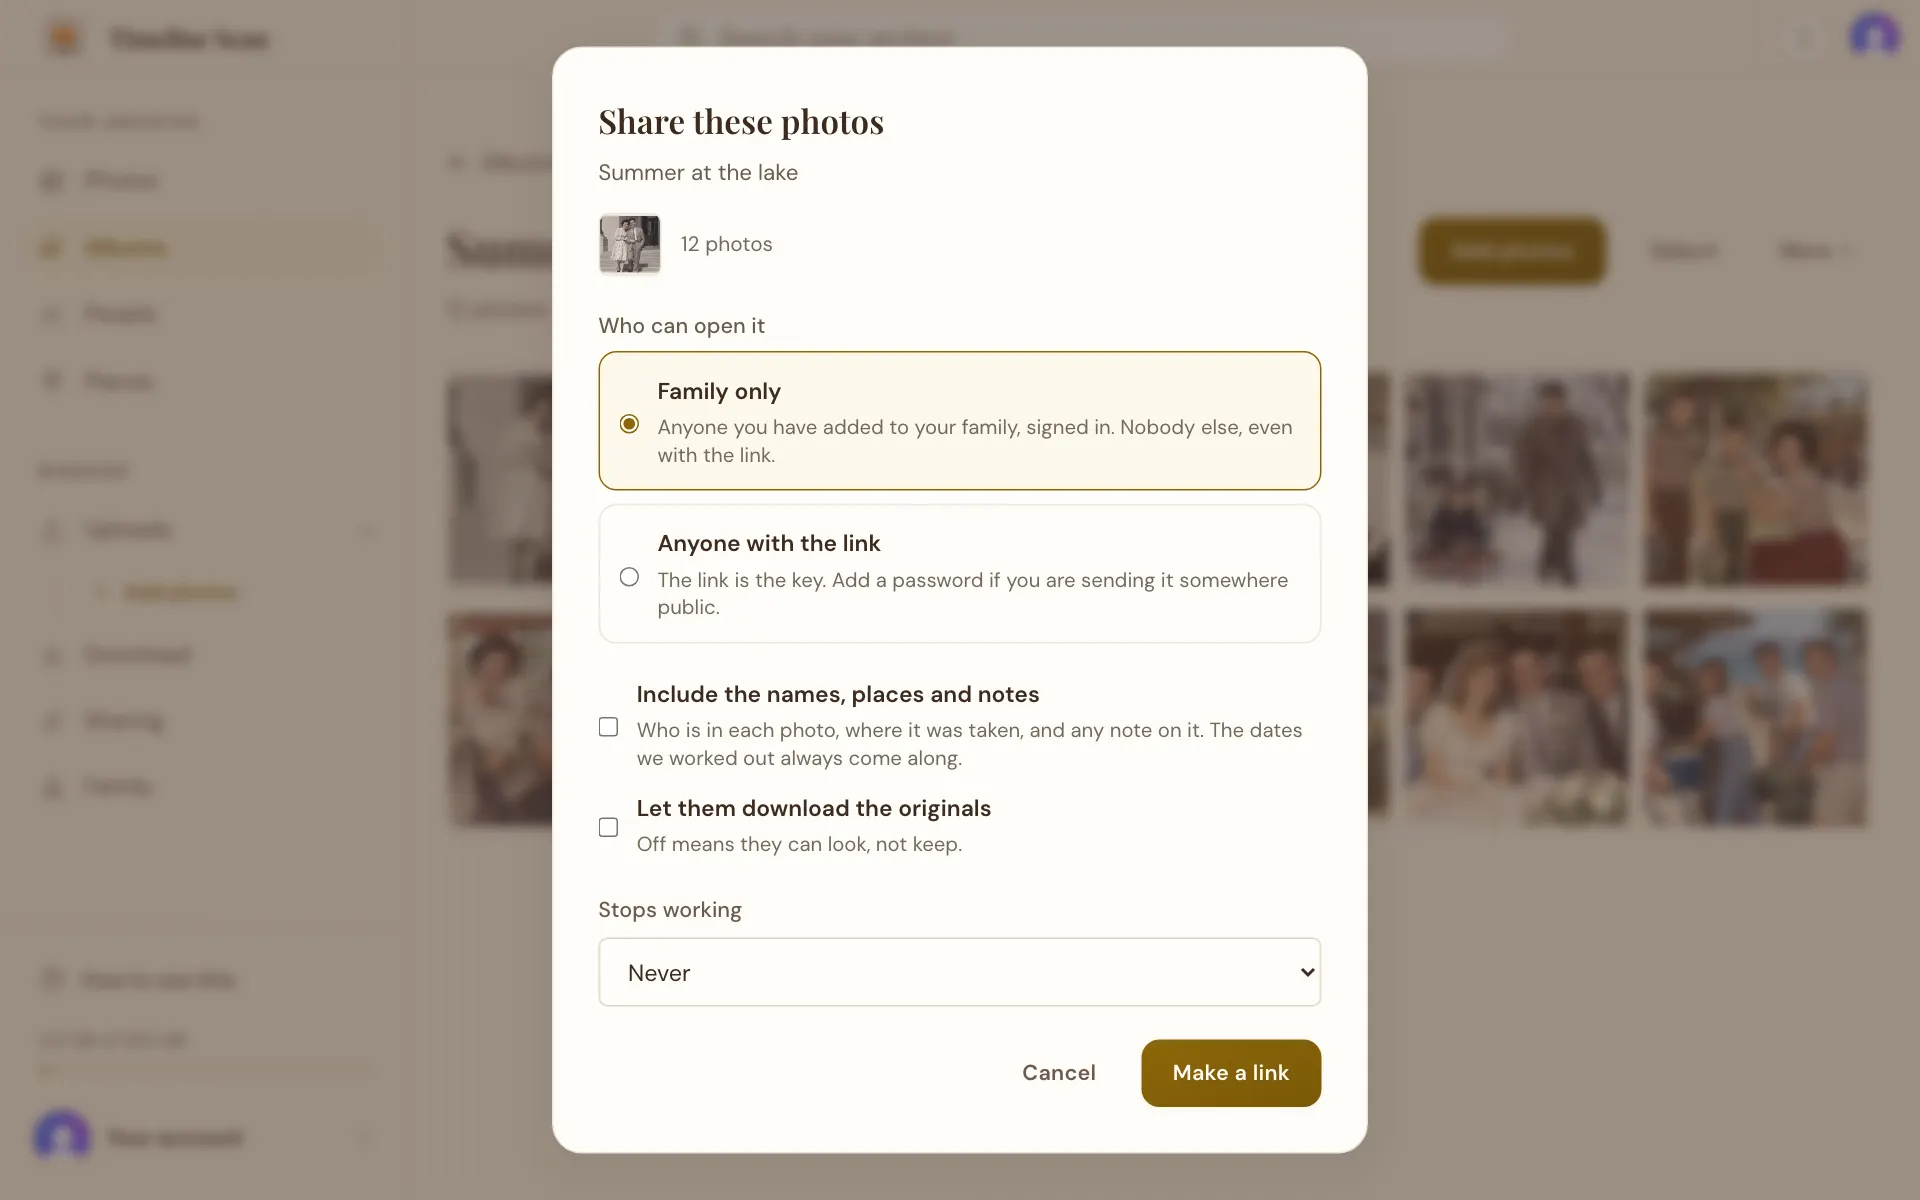
The Share these photos dialog: family only or anyone with the link, and a Make a link button
  1. 1Choose who can open it. Make a link.

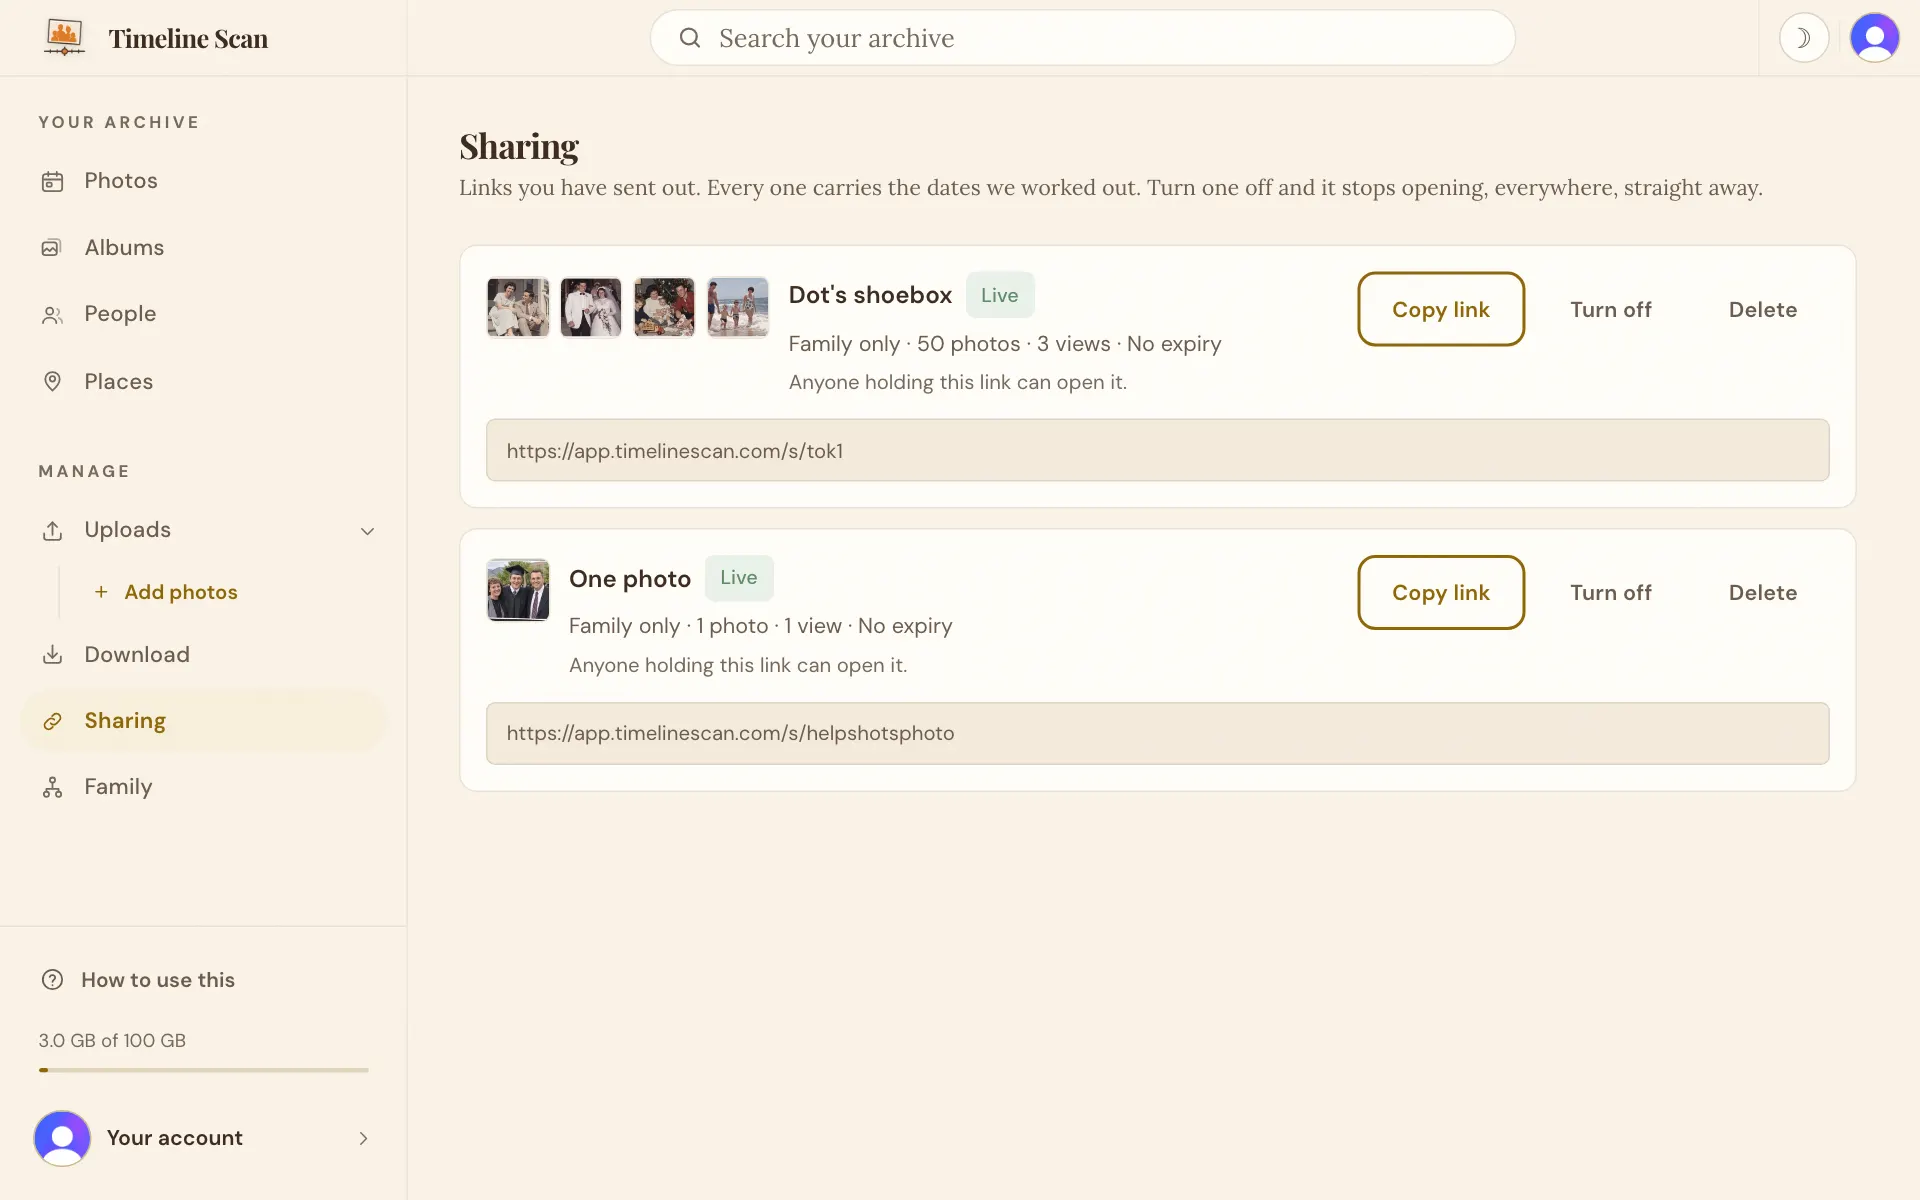
Copy, or turn a link off

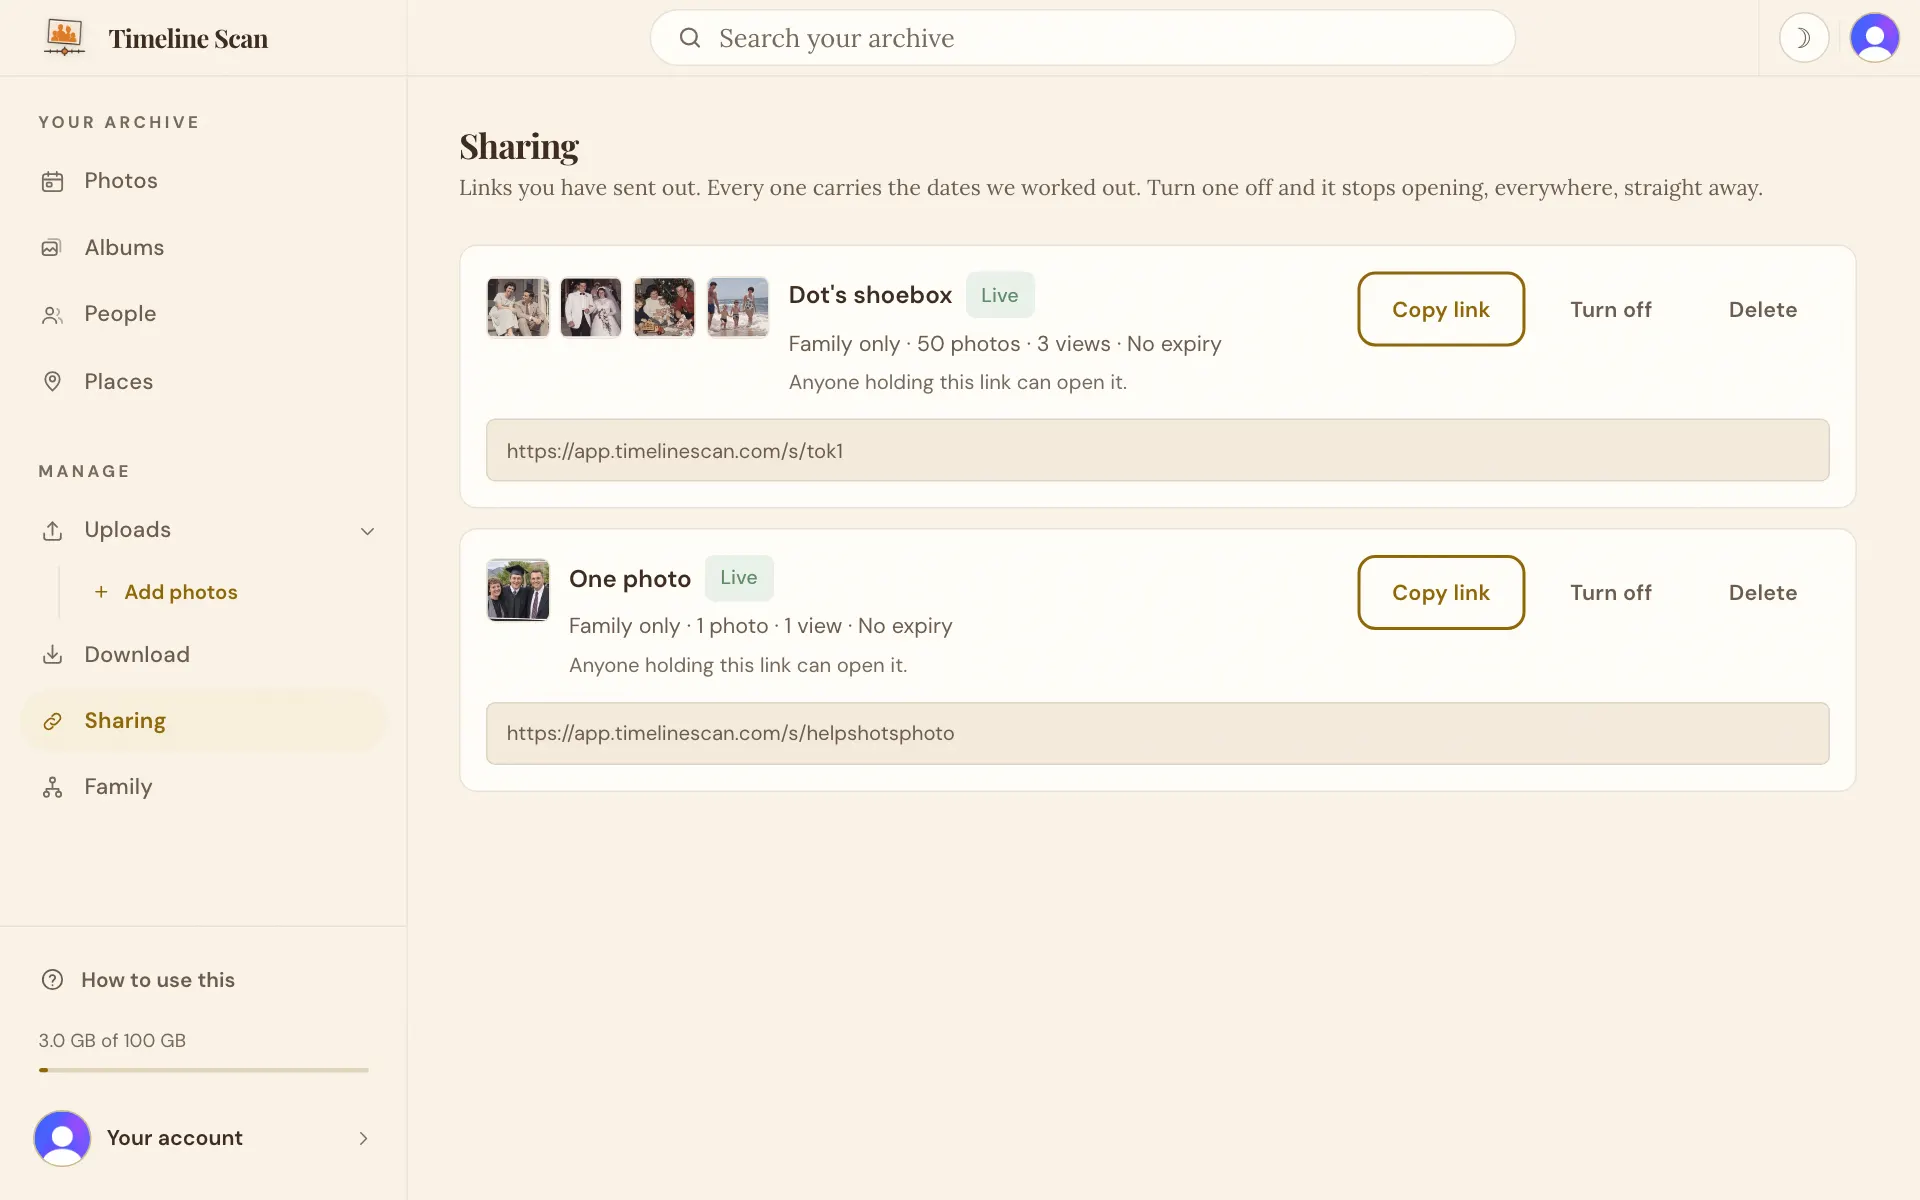
Every link you made, in one list.

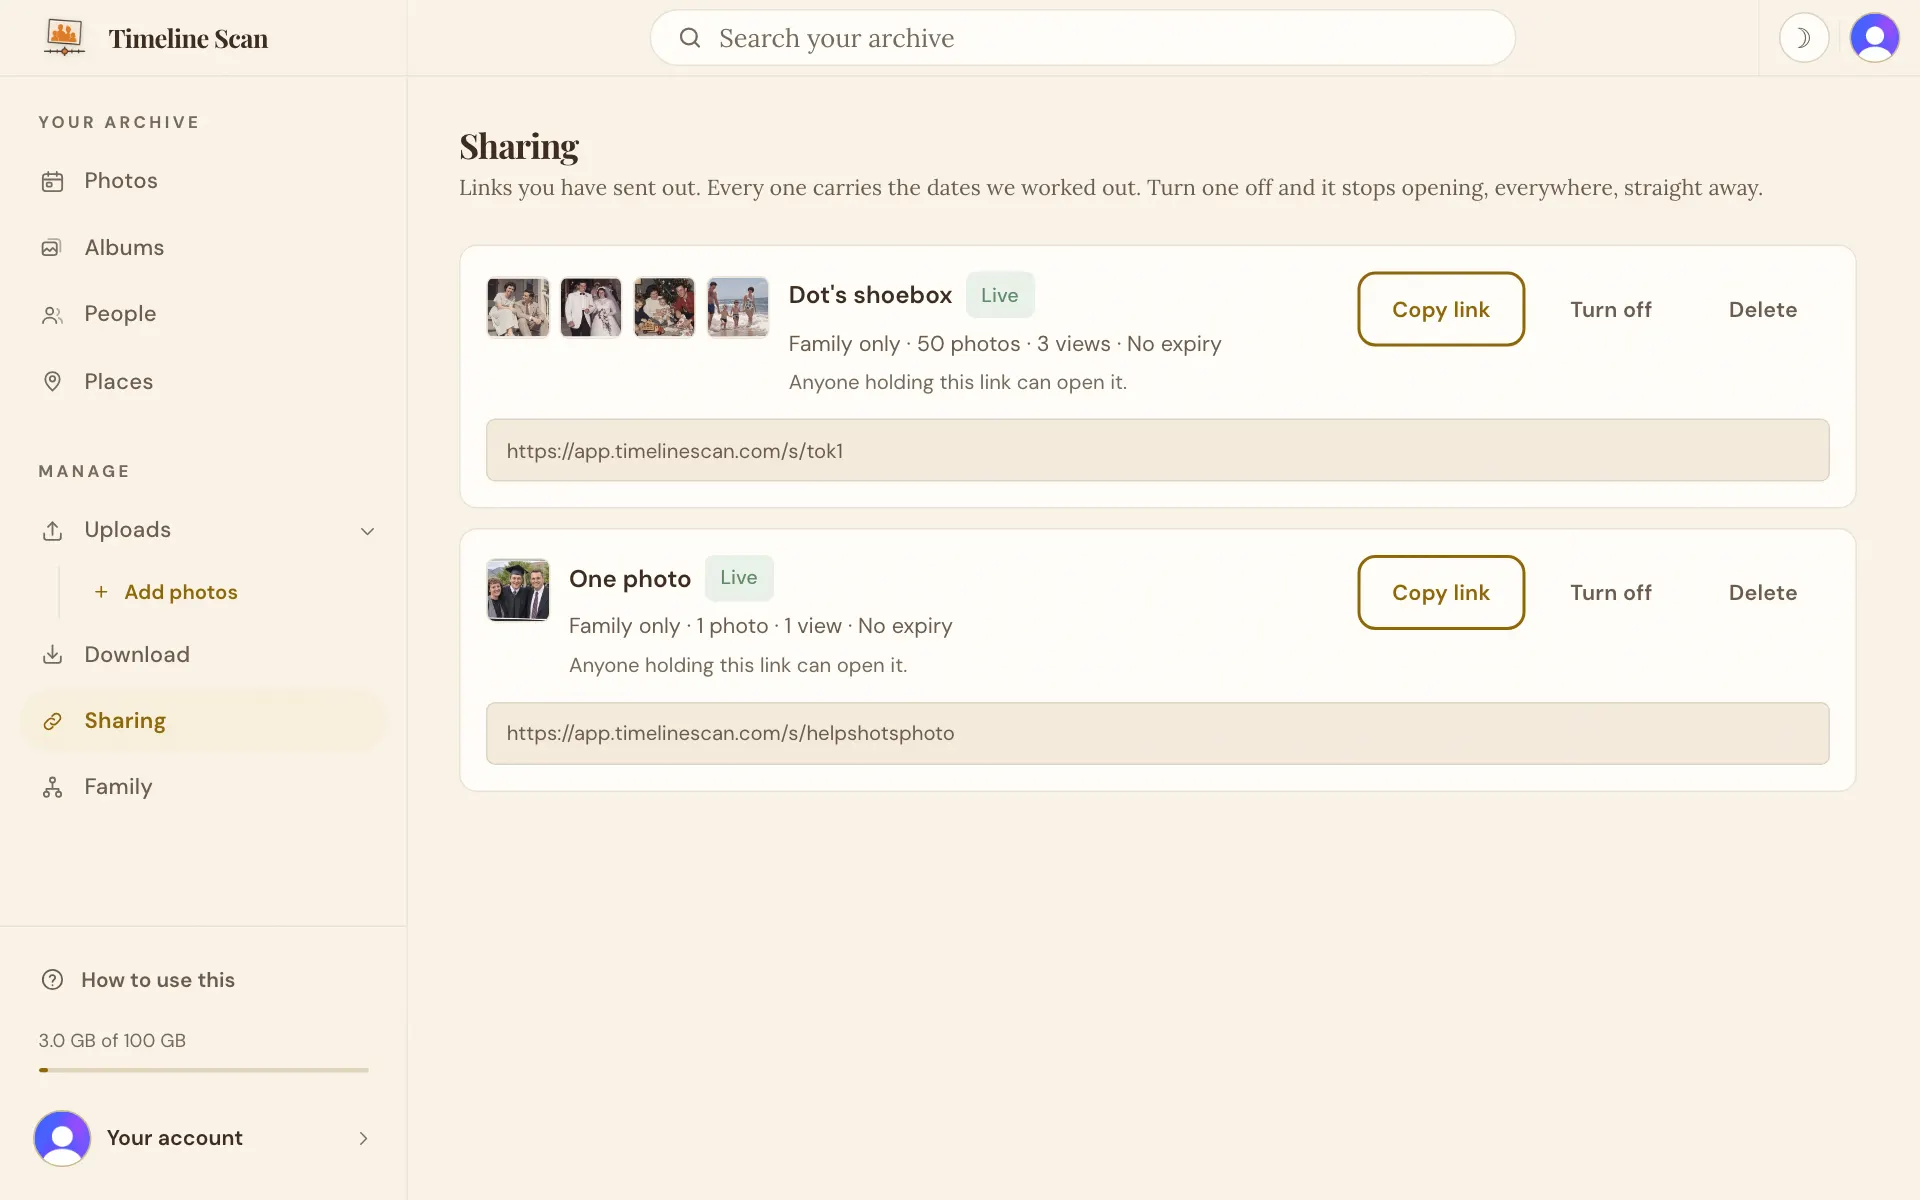
The Sharing page listing two links, each with Copy link, Turn off and Delete The same row with the control that switches the link off

Family

Seats for the people who look and help.

On the path

Who is in

Everyone you invited, and what they can do.
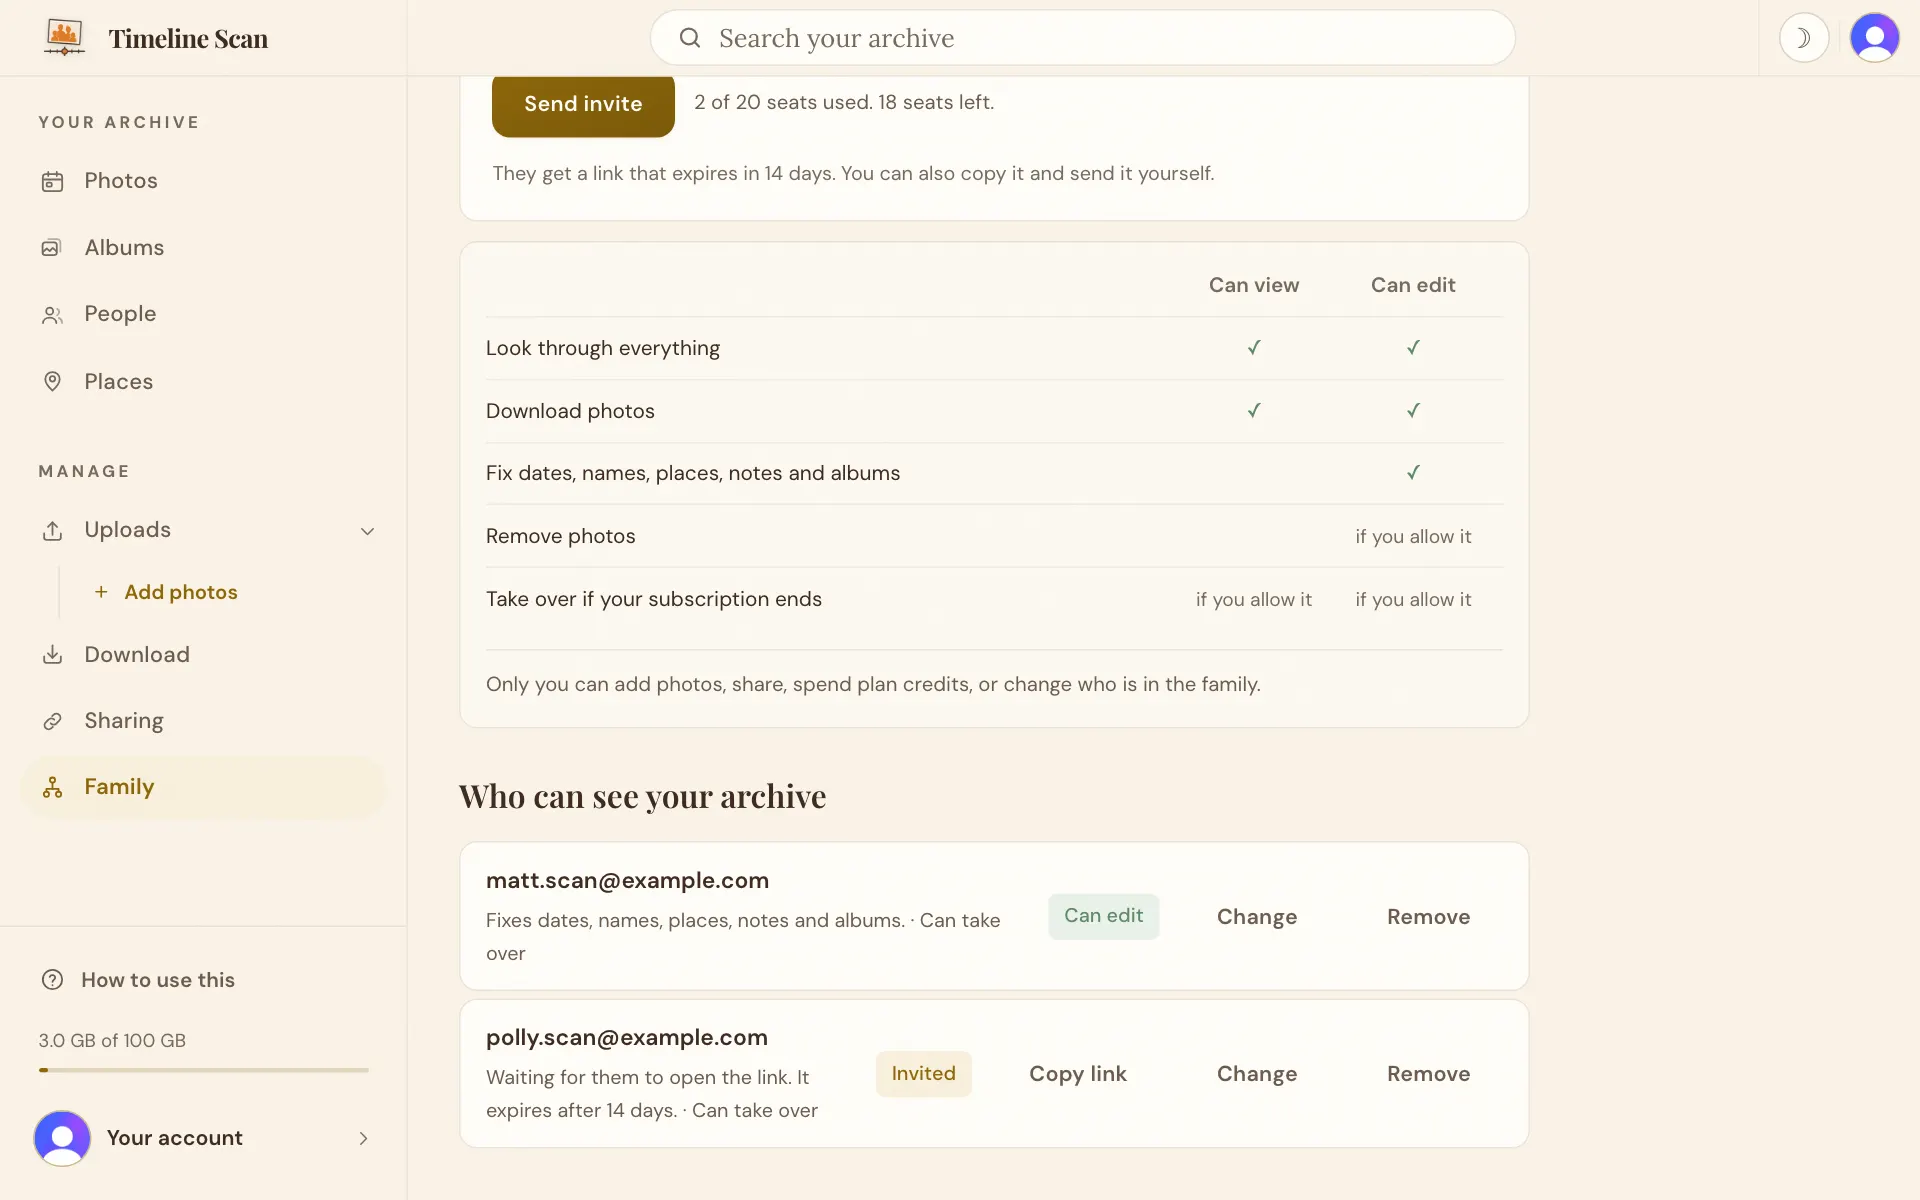
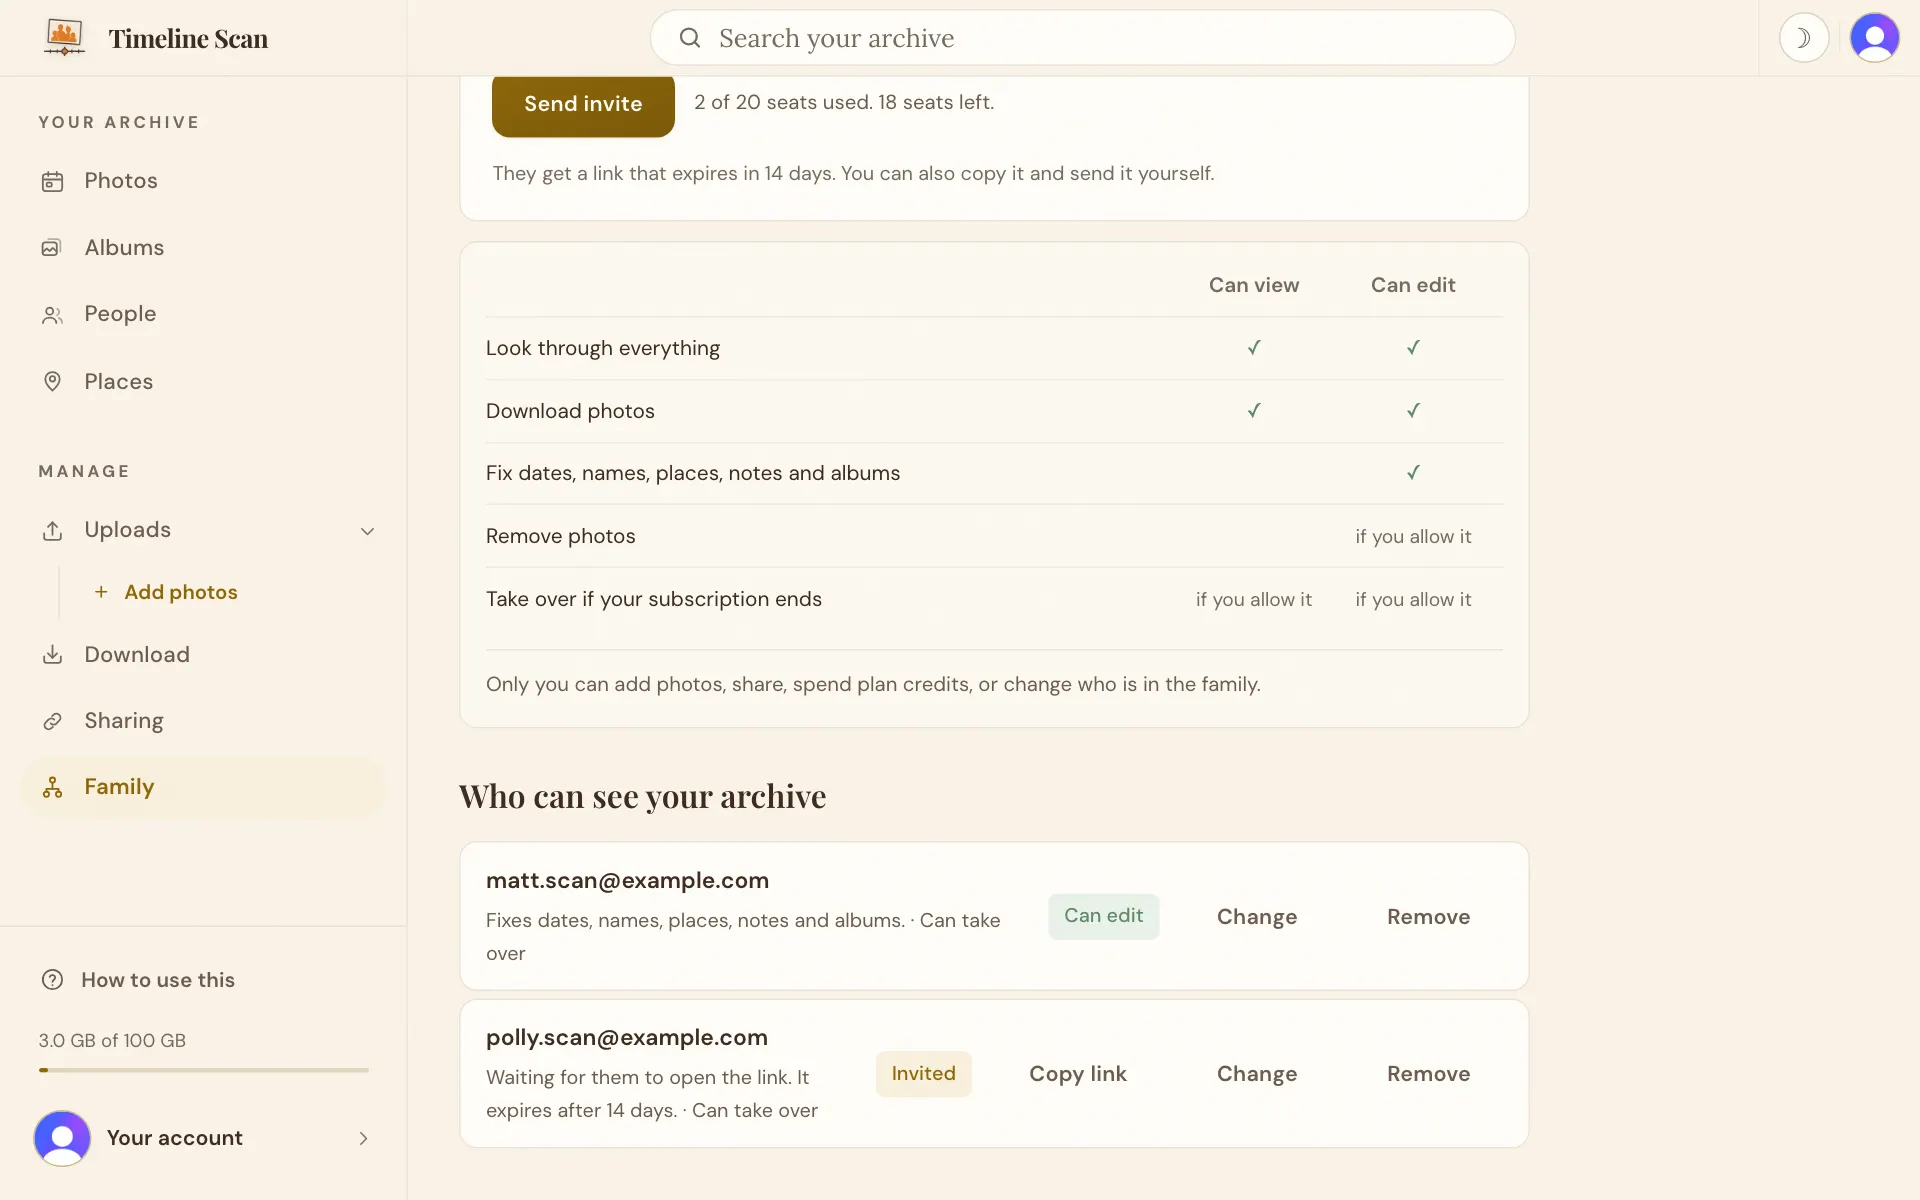
The Family page listing each member beside what they are allowed to do
  1. 1See everyone with a seat.

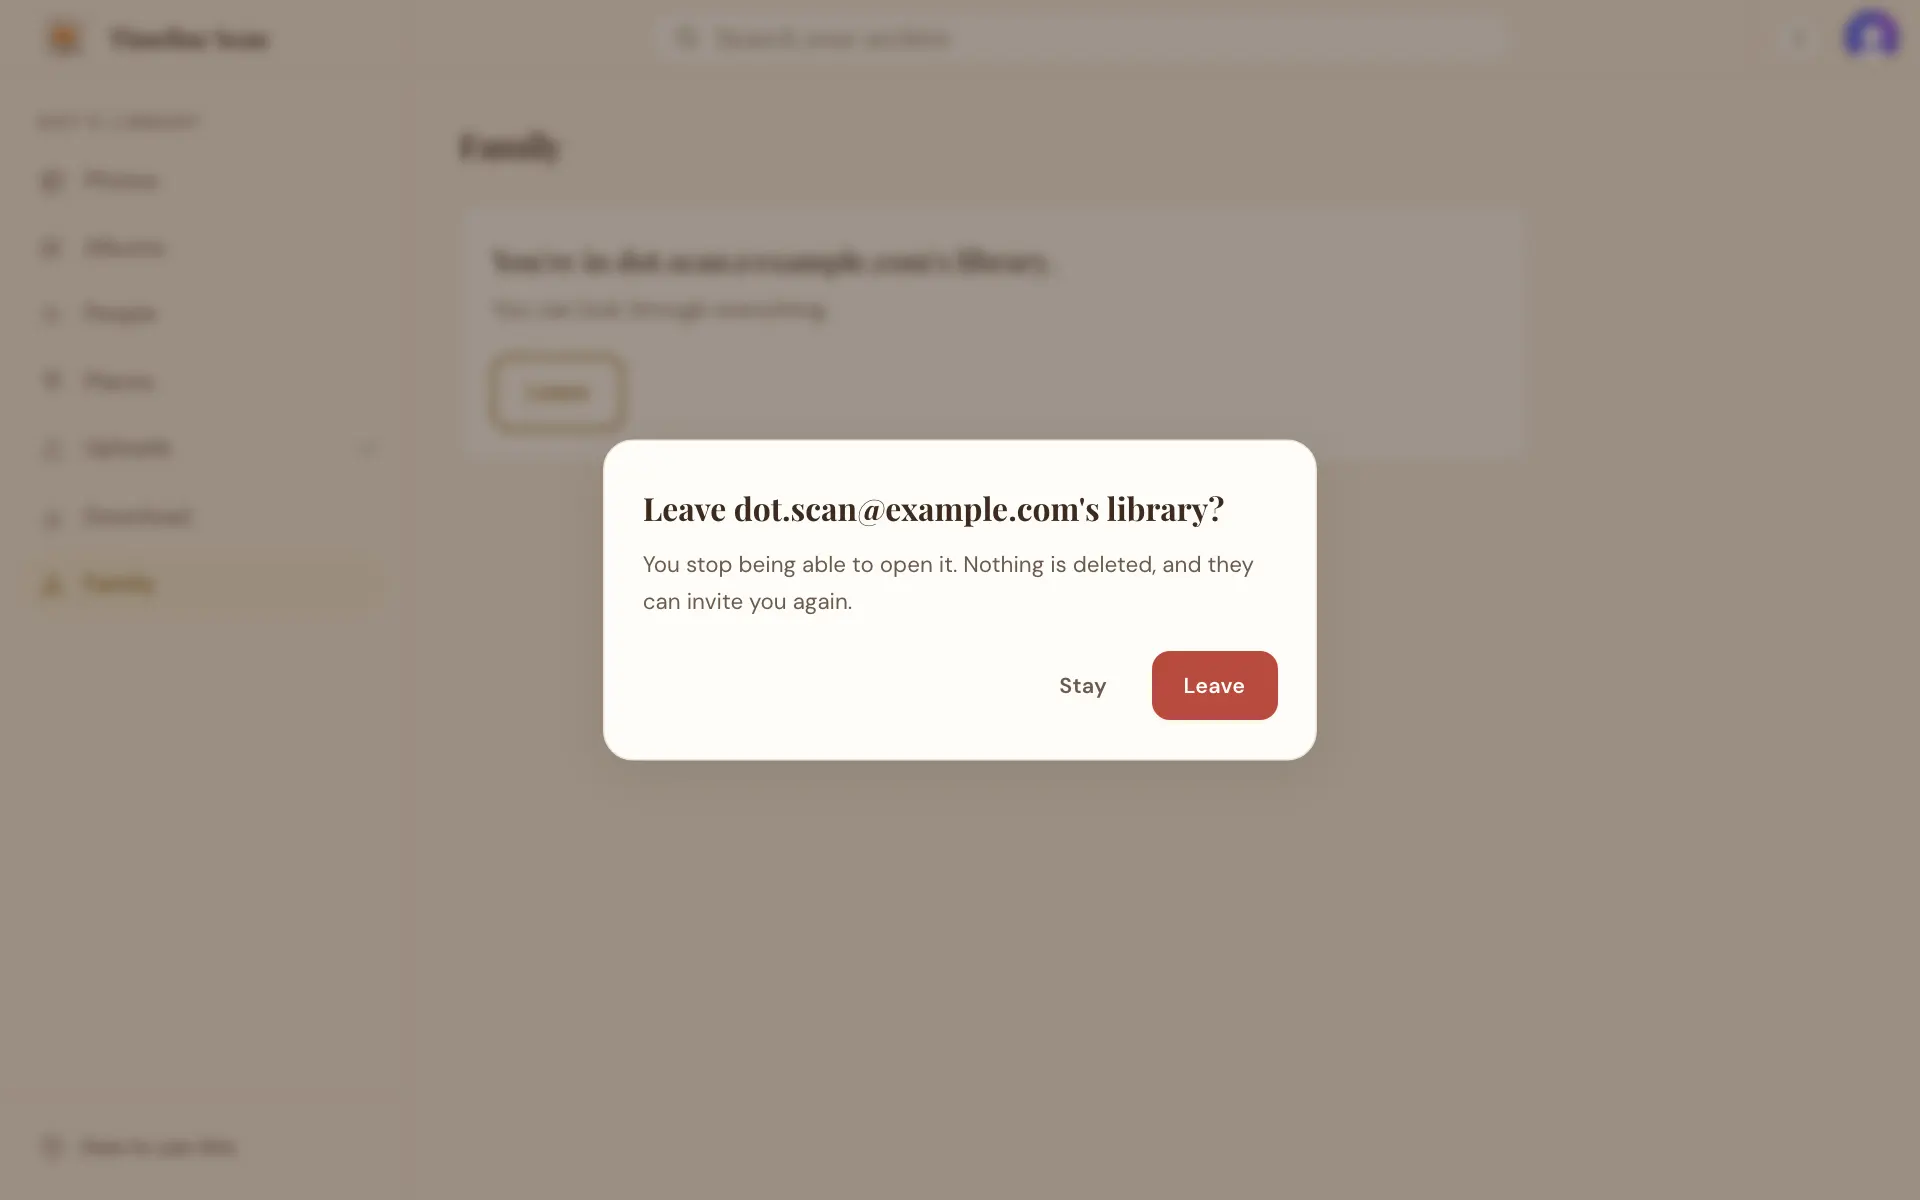
Leave a family library

In someone else's library? Leave any time.
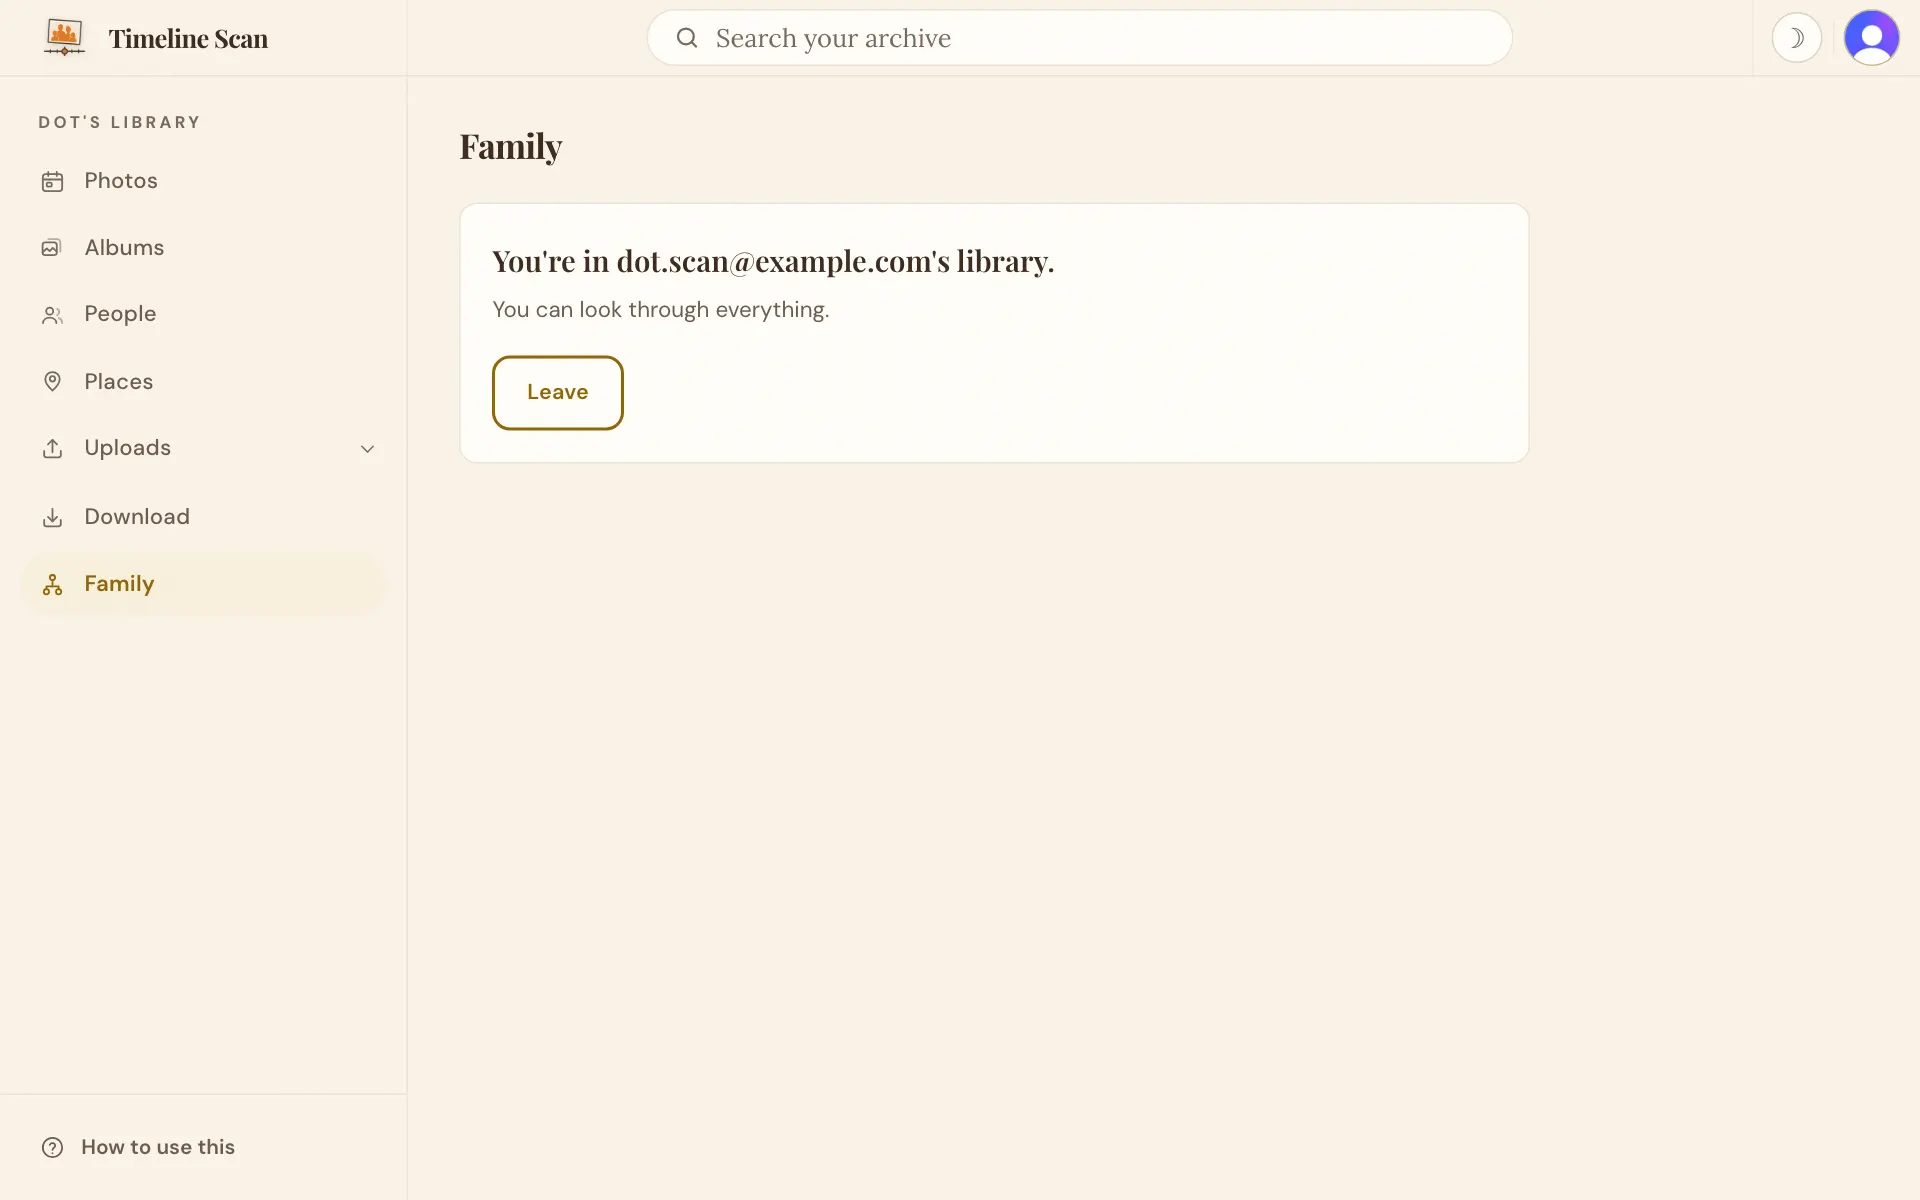
The Family page of a member, saying whose library this is, with a Leave button A box asking to leave the library, saying nothing is deleted, with Leave and Stay

Account

Signing in, your plan, buying photos.

Sign in

The same account on every device.

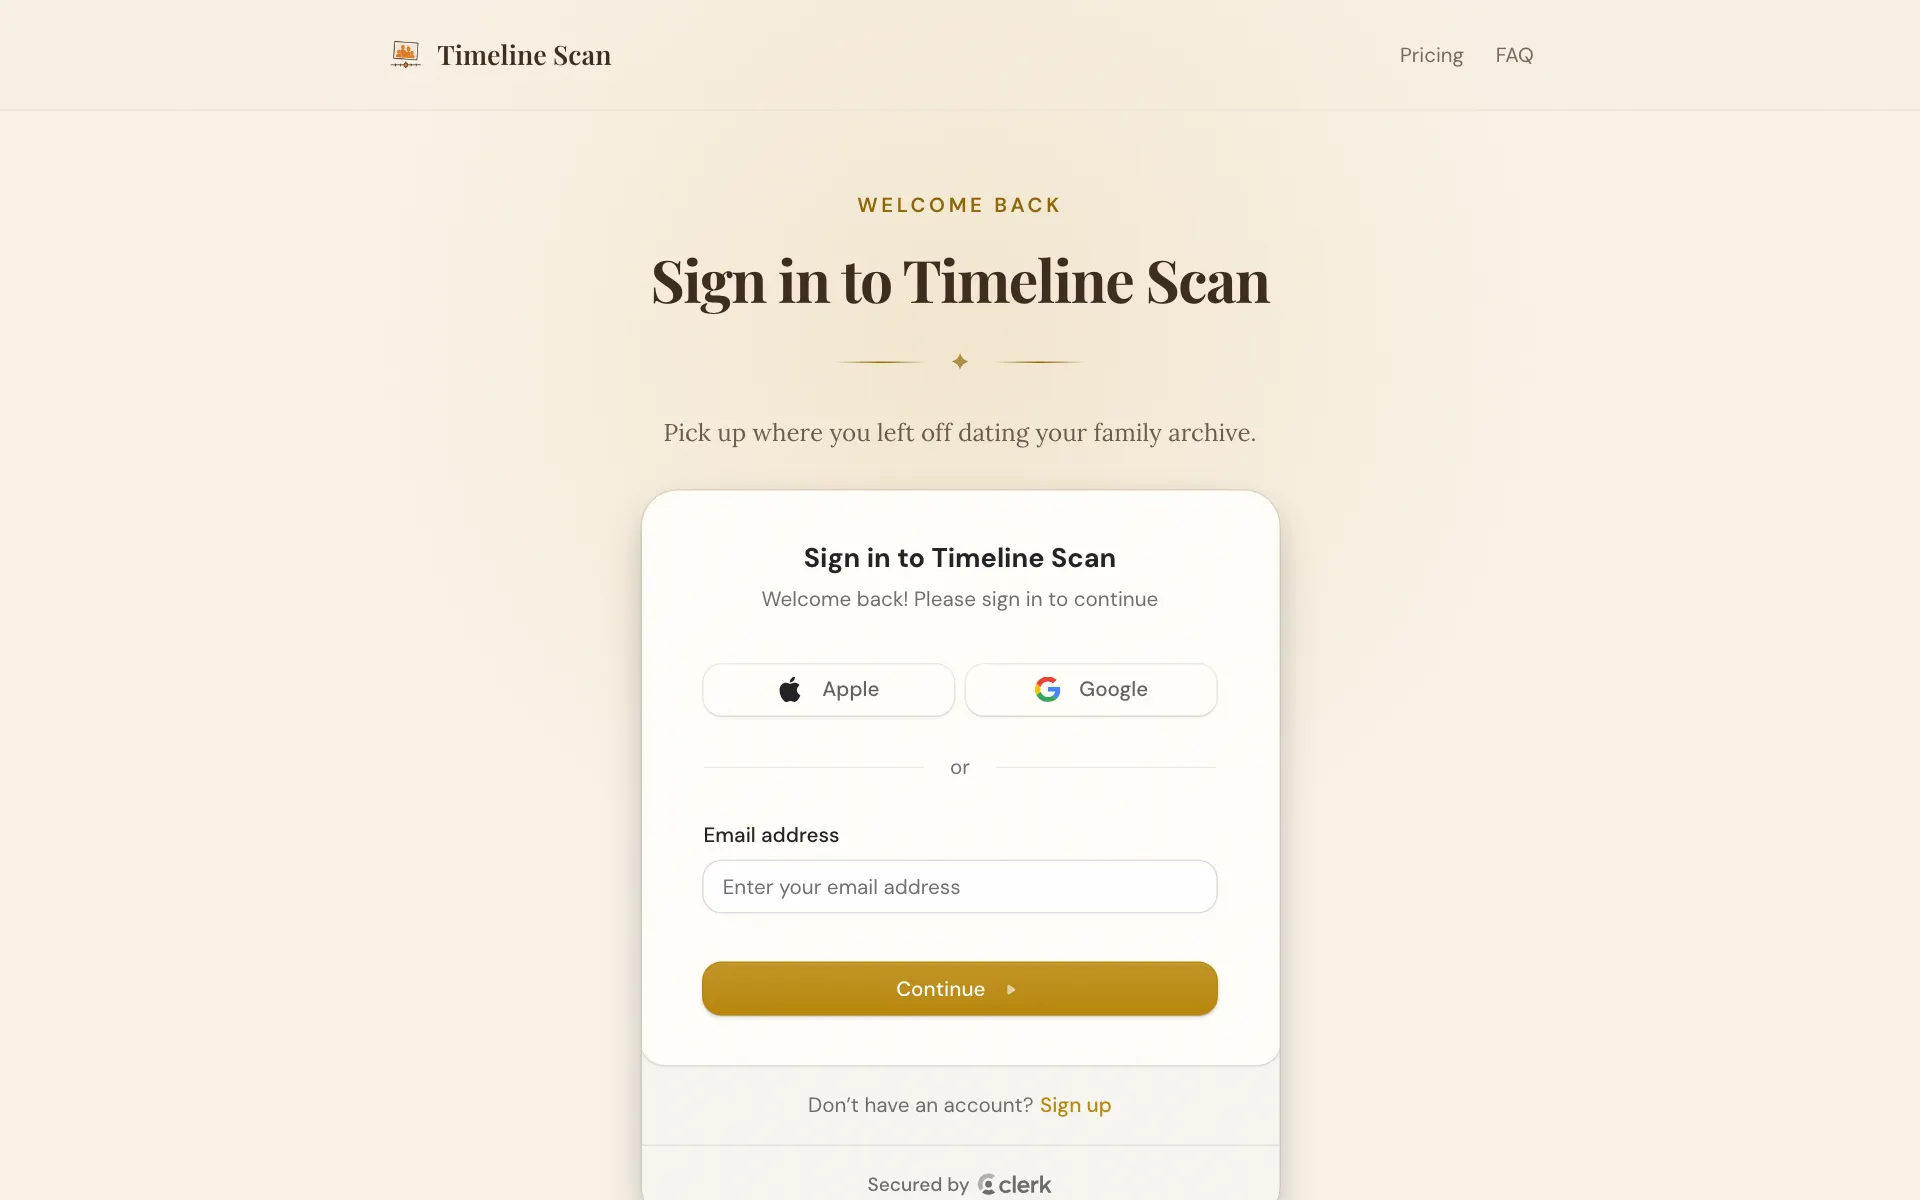
The Timeline Scan sign-in page: Apple, Google, or your email address and Continue
  1. 1Type your email. Press Continue.

Your account

Plan, billing, connections, help.

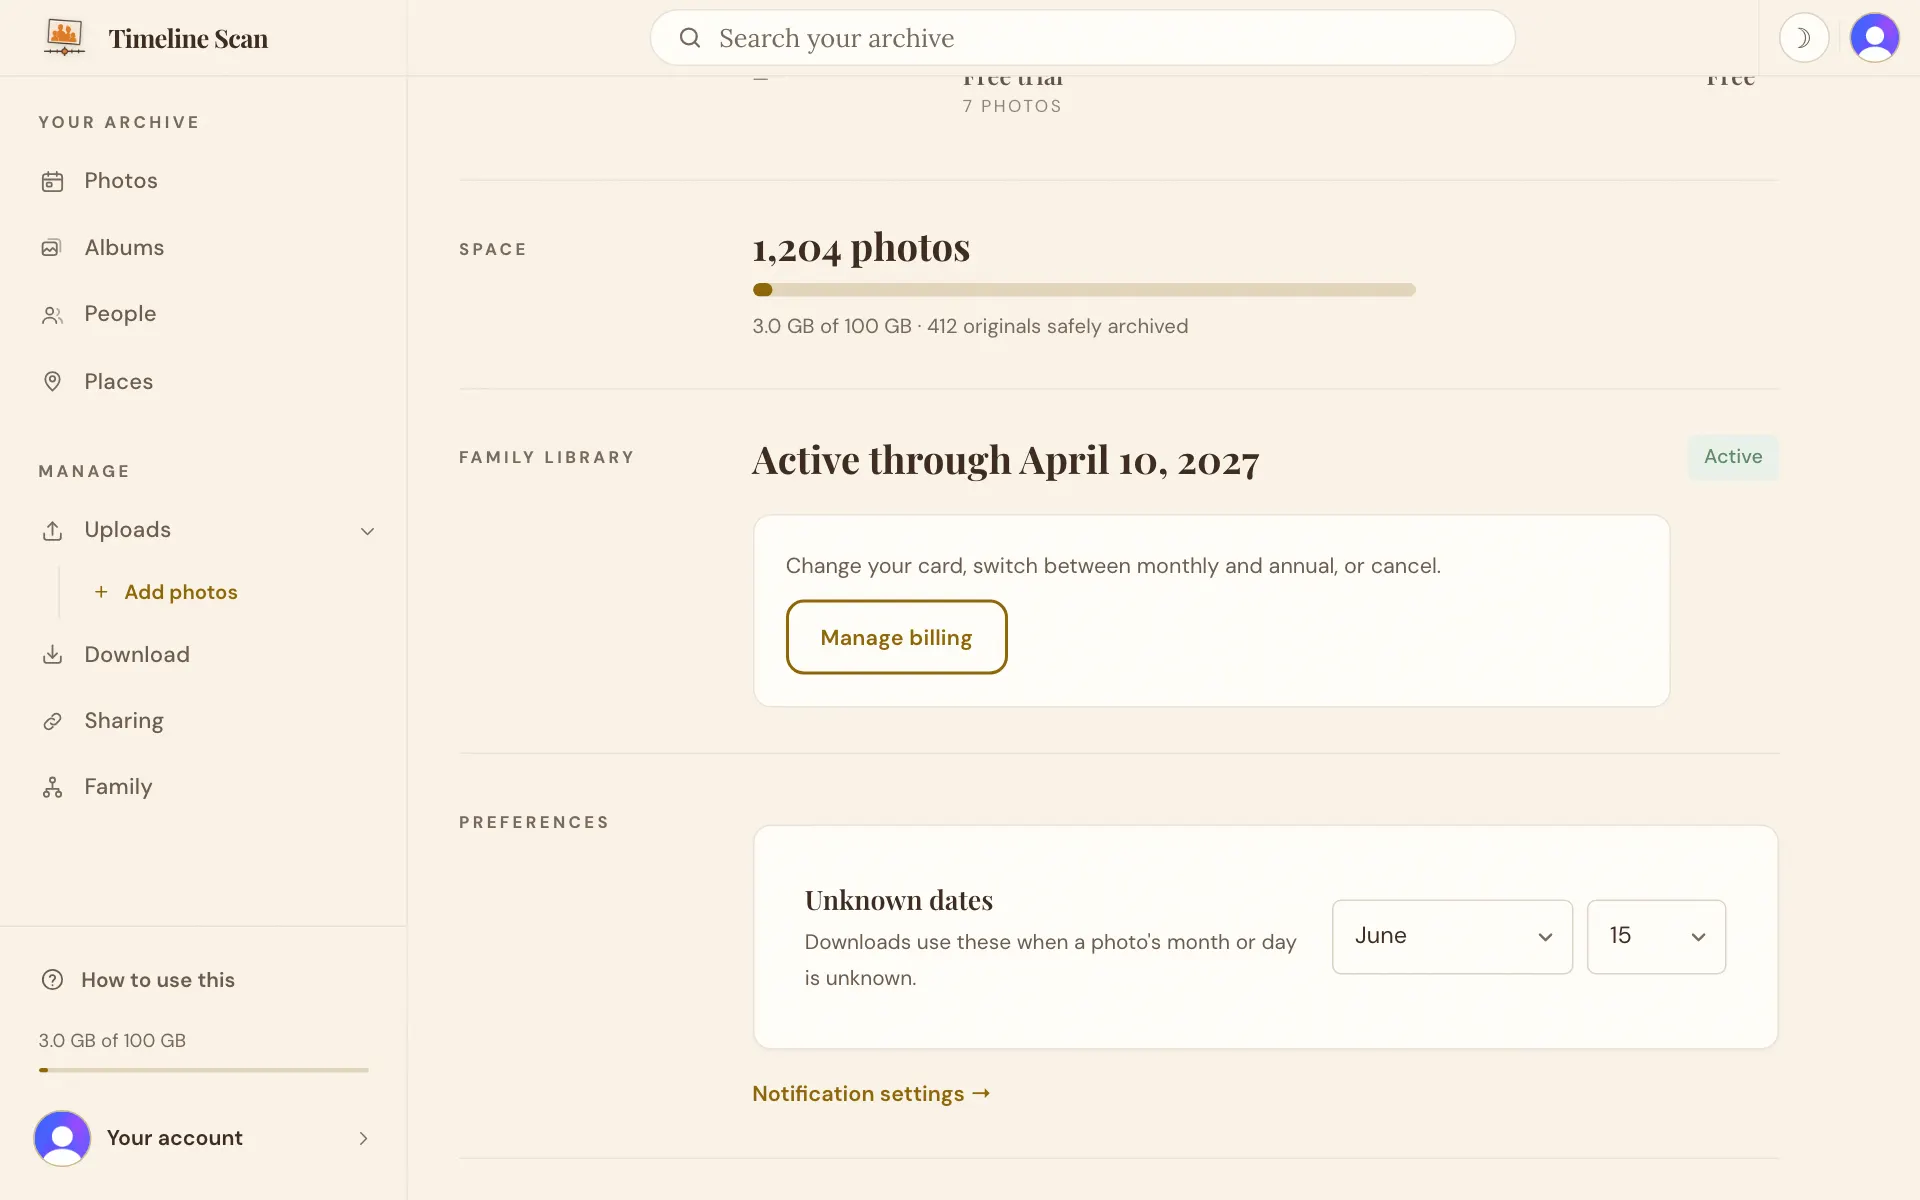
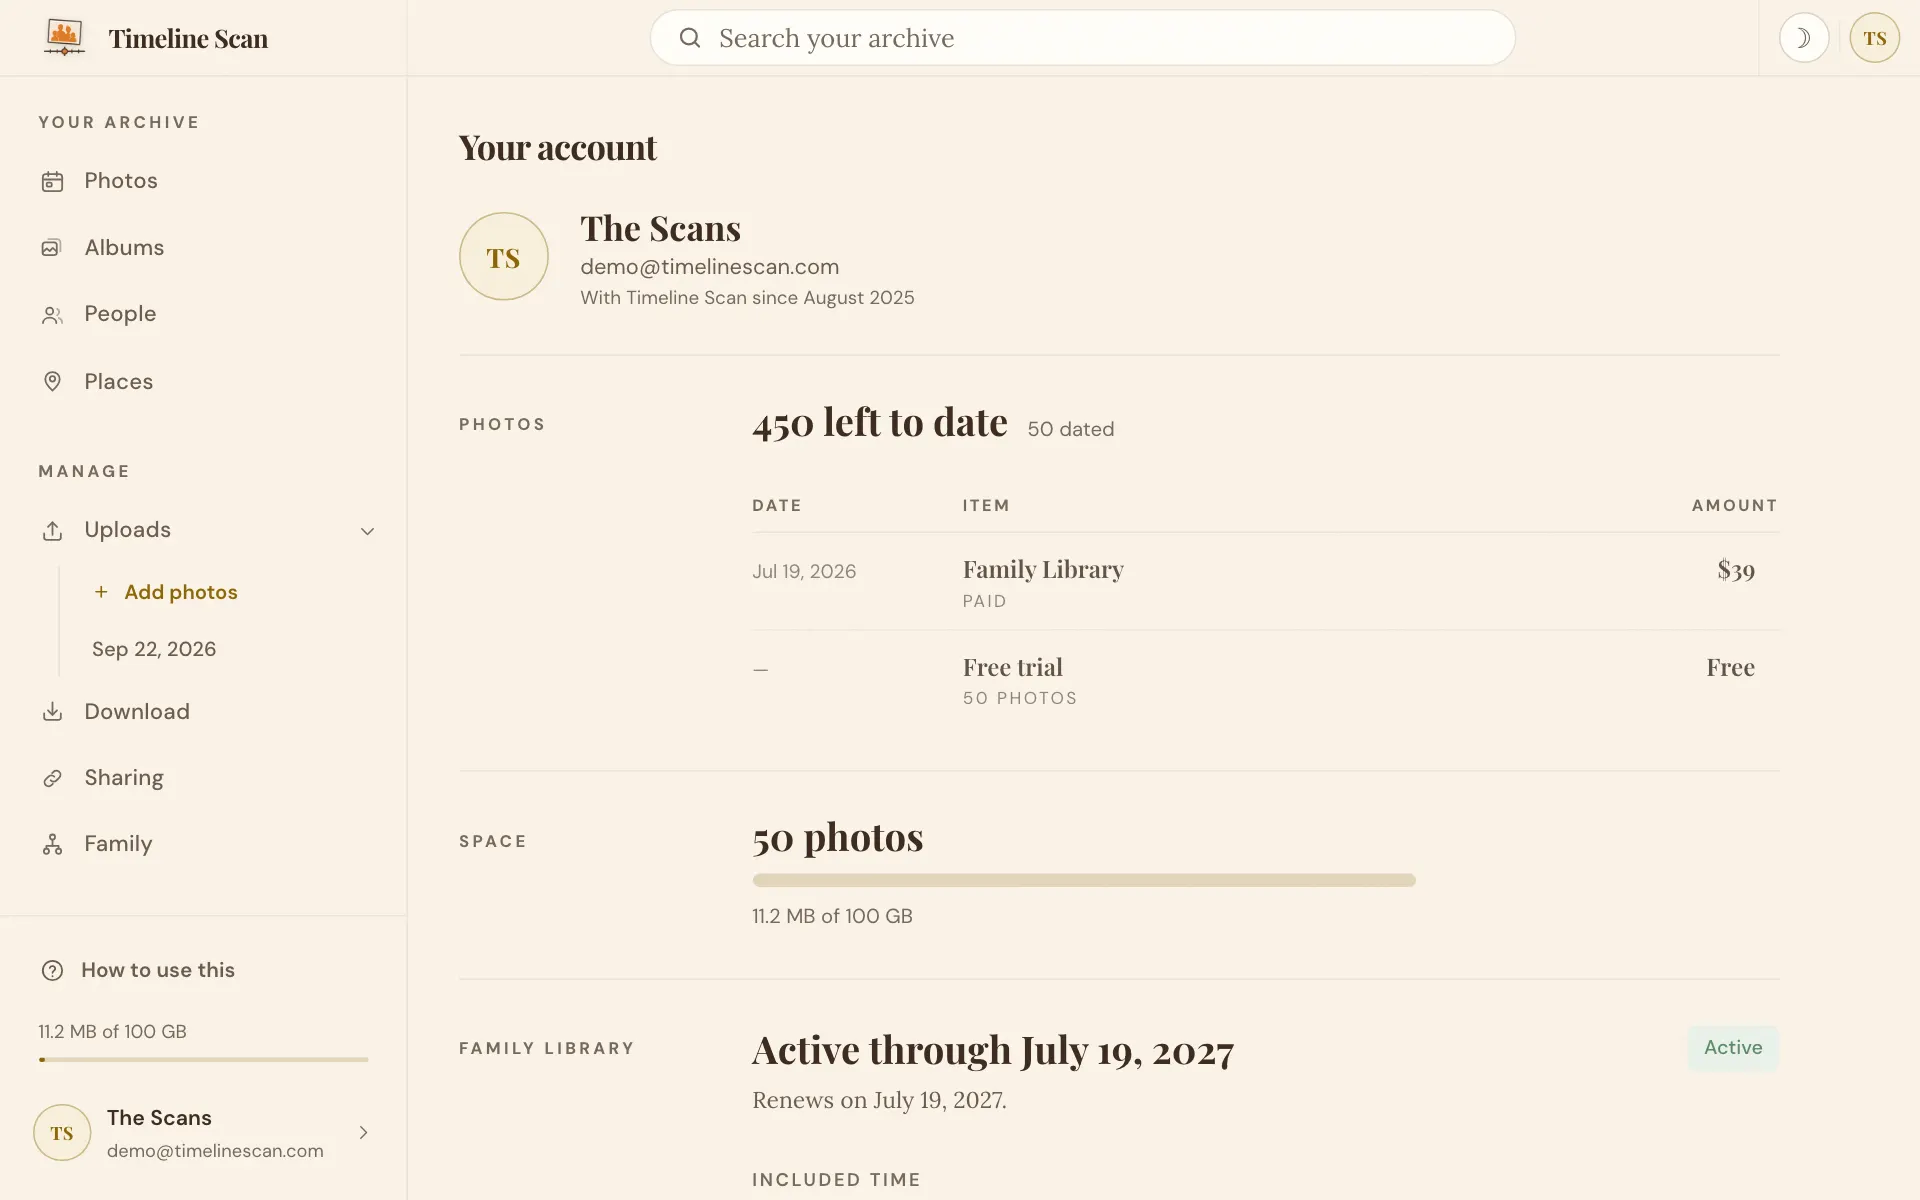
The foot of the sidebar showing your name and picture The account page: photos left to date, what you bought, the space used and the plan

Plan and billing

Change it or stop it, any time.

The plan row with a Manage billing button
  1. 1Manage billing.

Buy more photos

When the number left to date runs low.
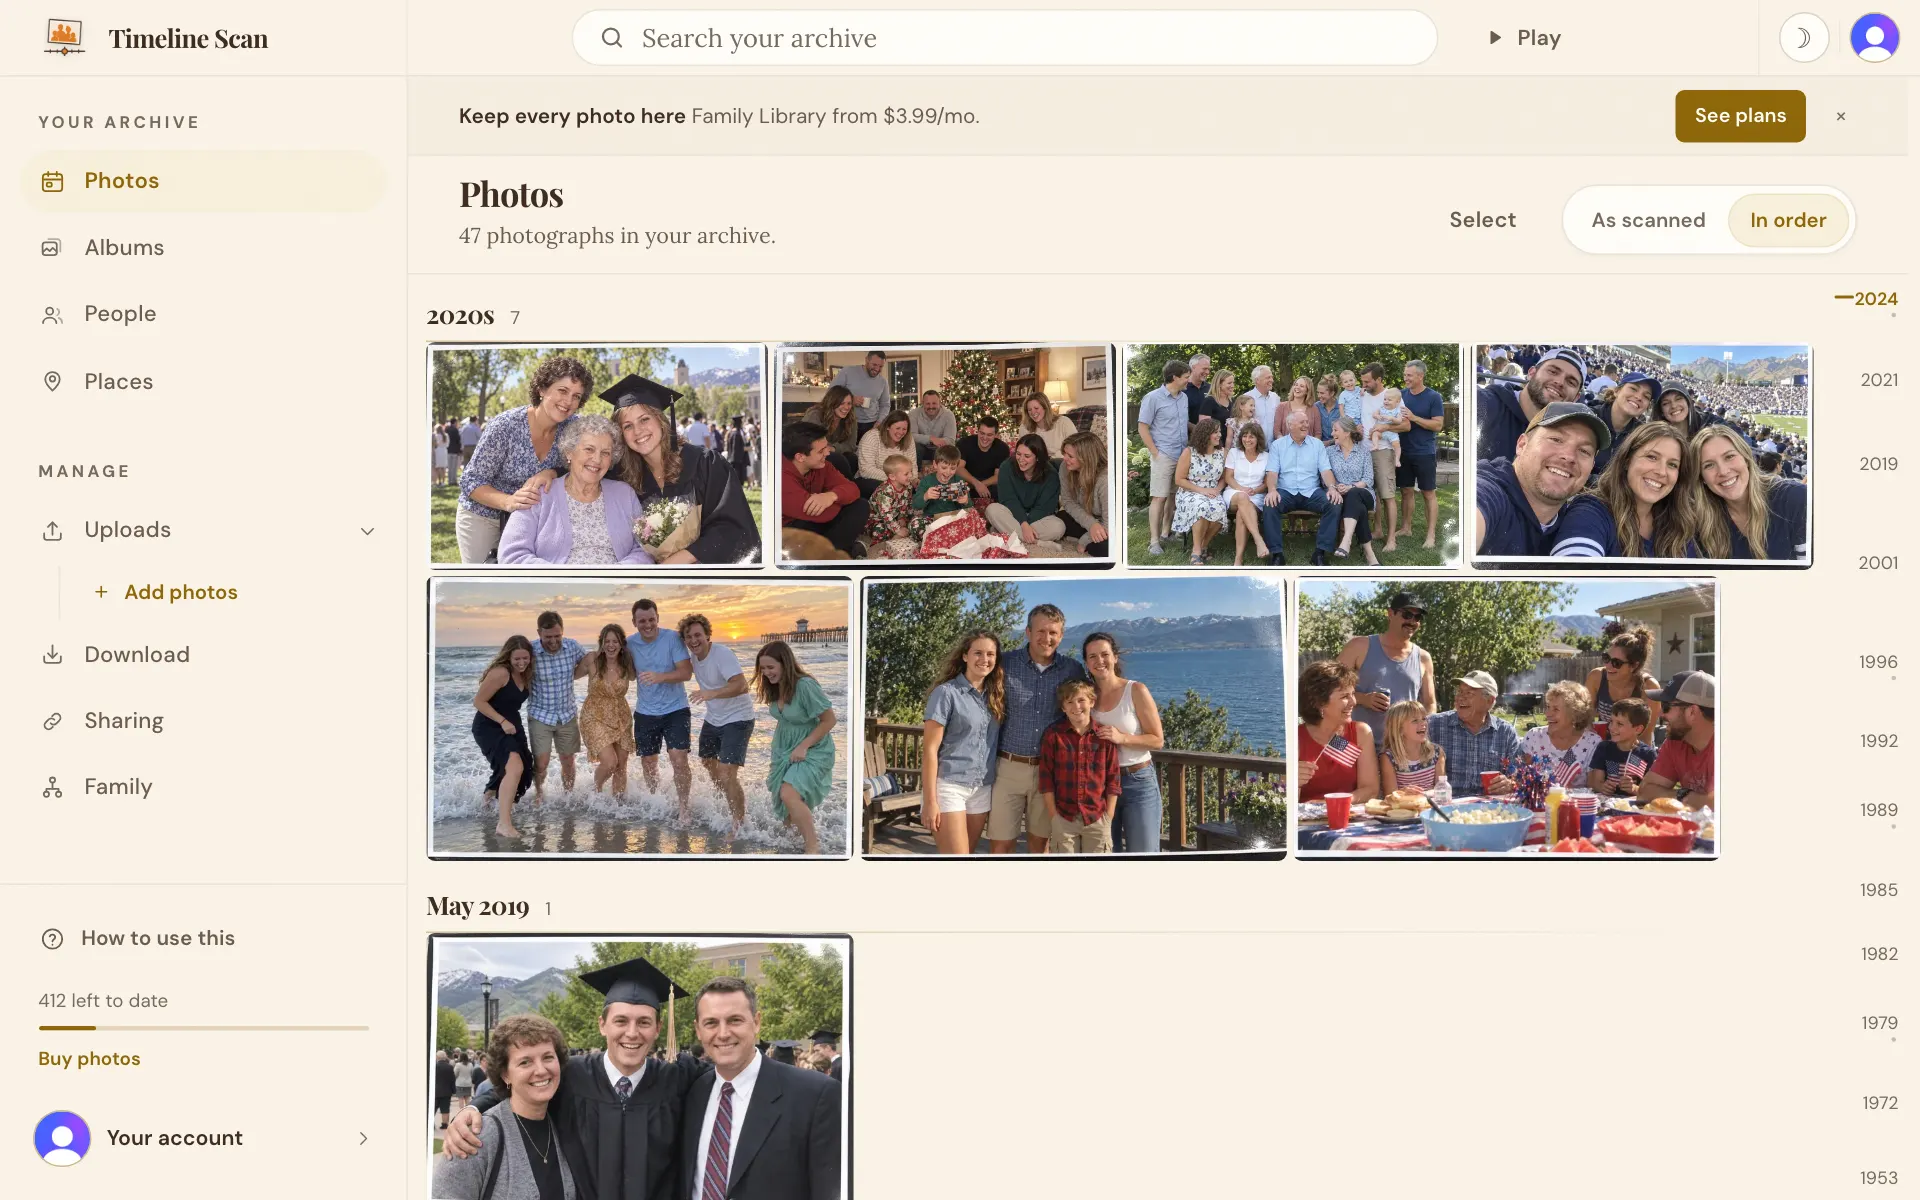
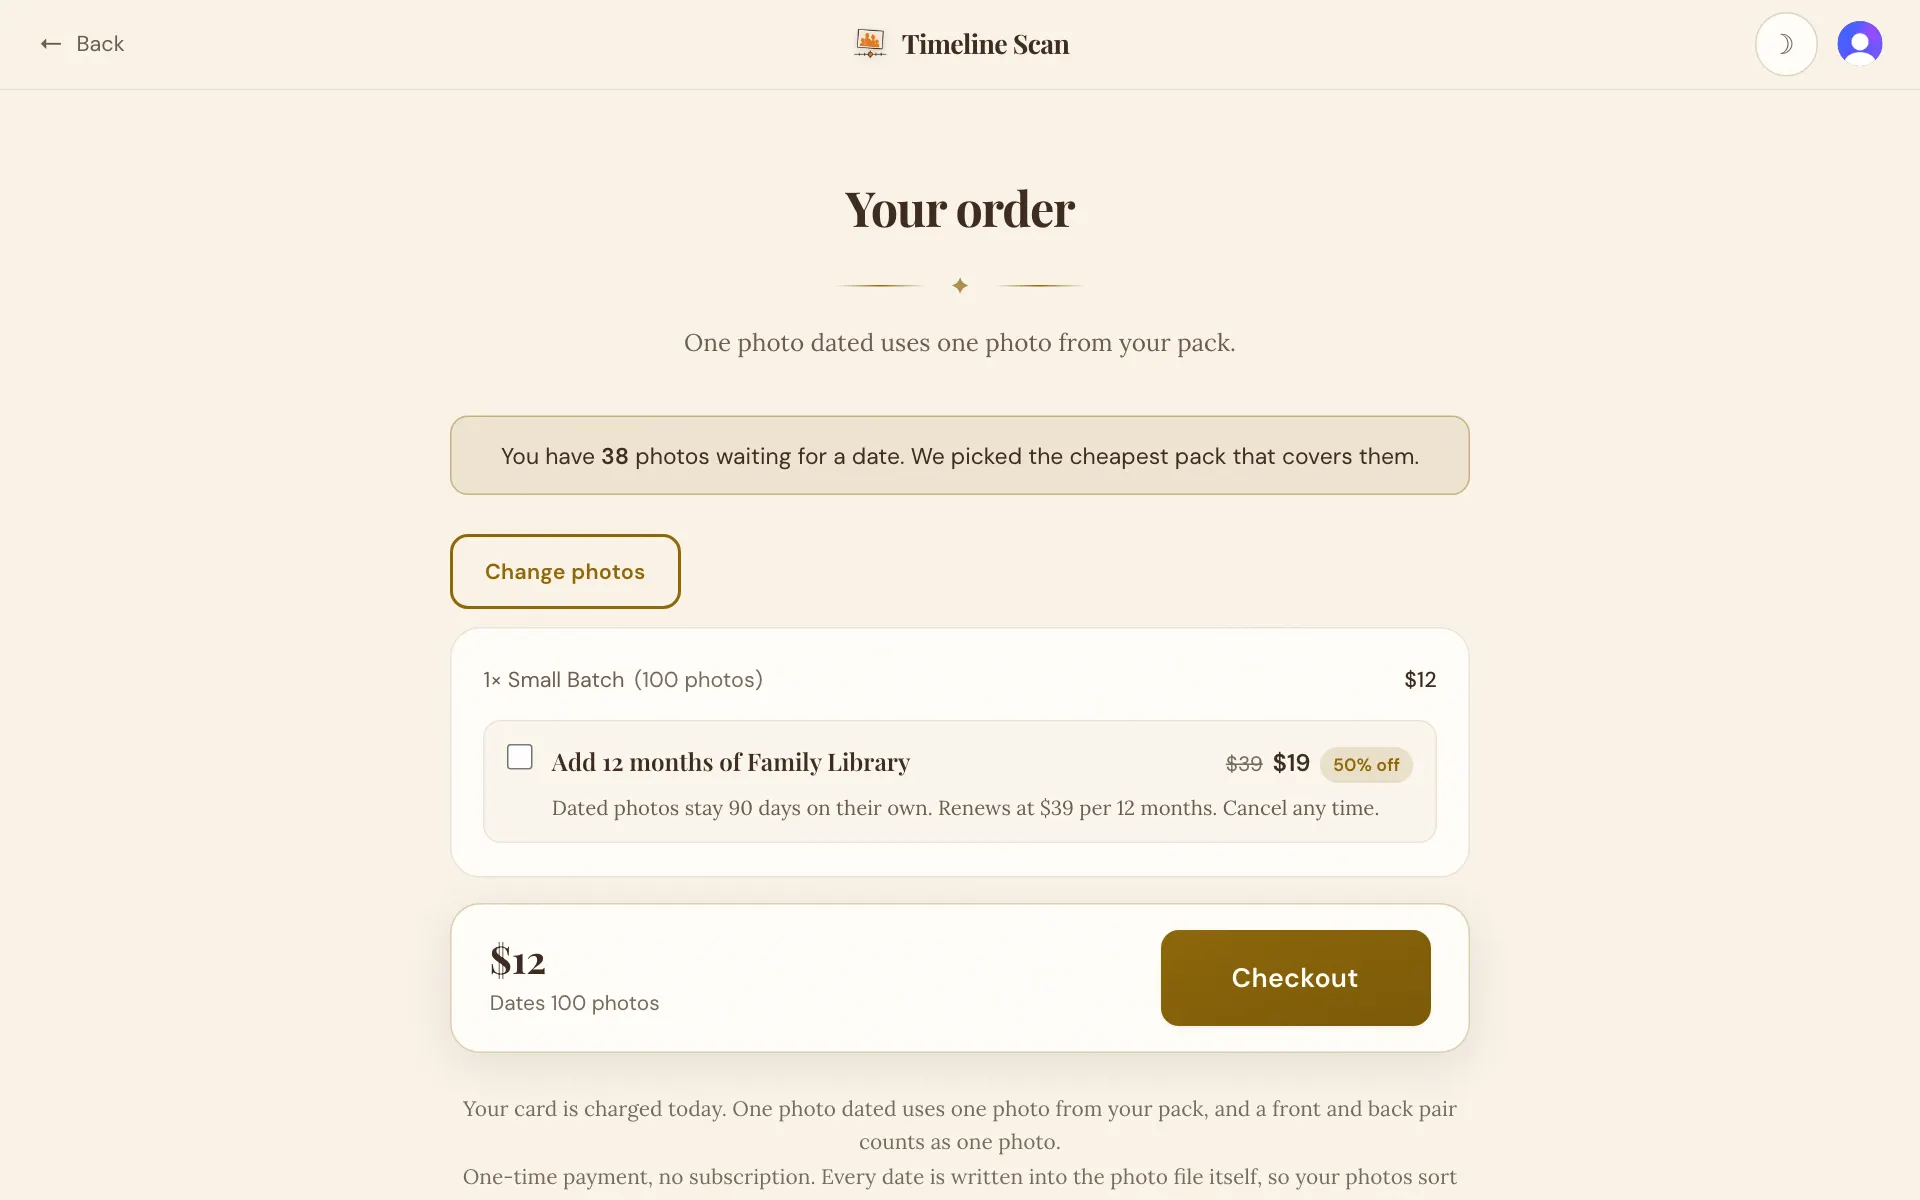
The foot of the sidebar reading the photos left to date, with Buy photos under it An upload's Put them in order button with the photos left to date and Buy photos under it The order to review, with Change photos above it and the Checkout button

iPhone app

The same photos on your phone.
The iPhone app

Your photos, dated, on your phone.

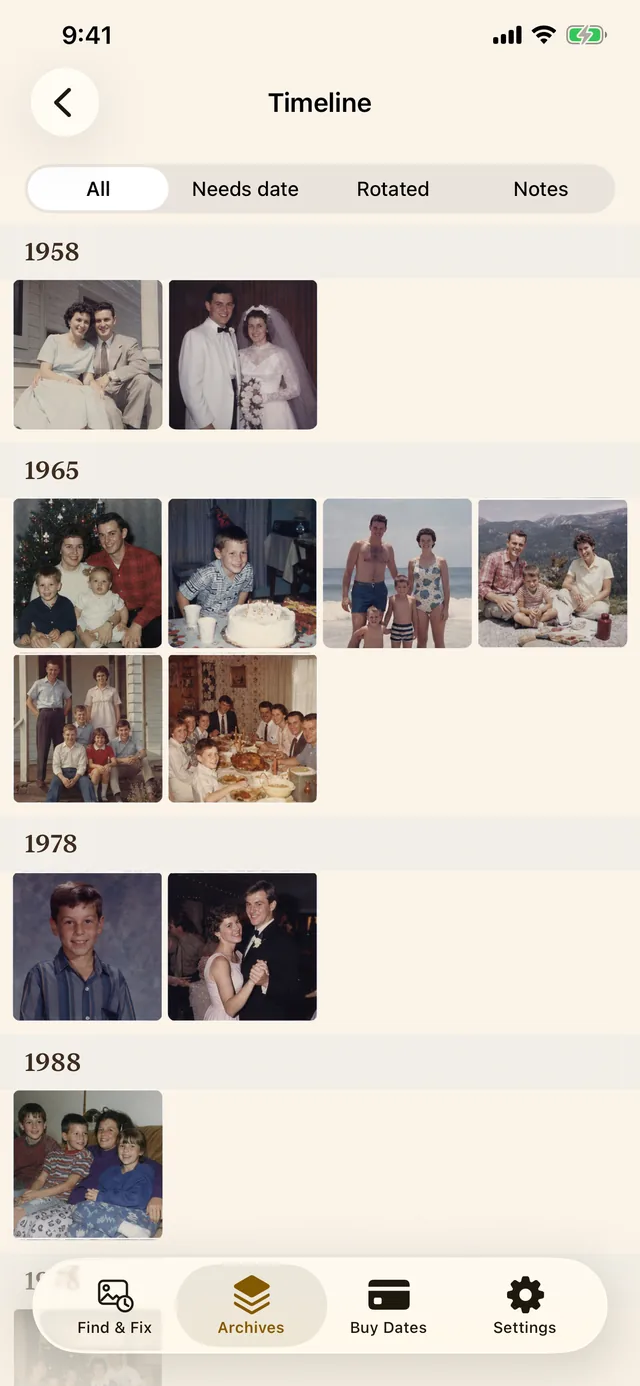
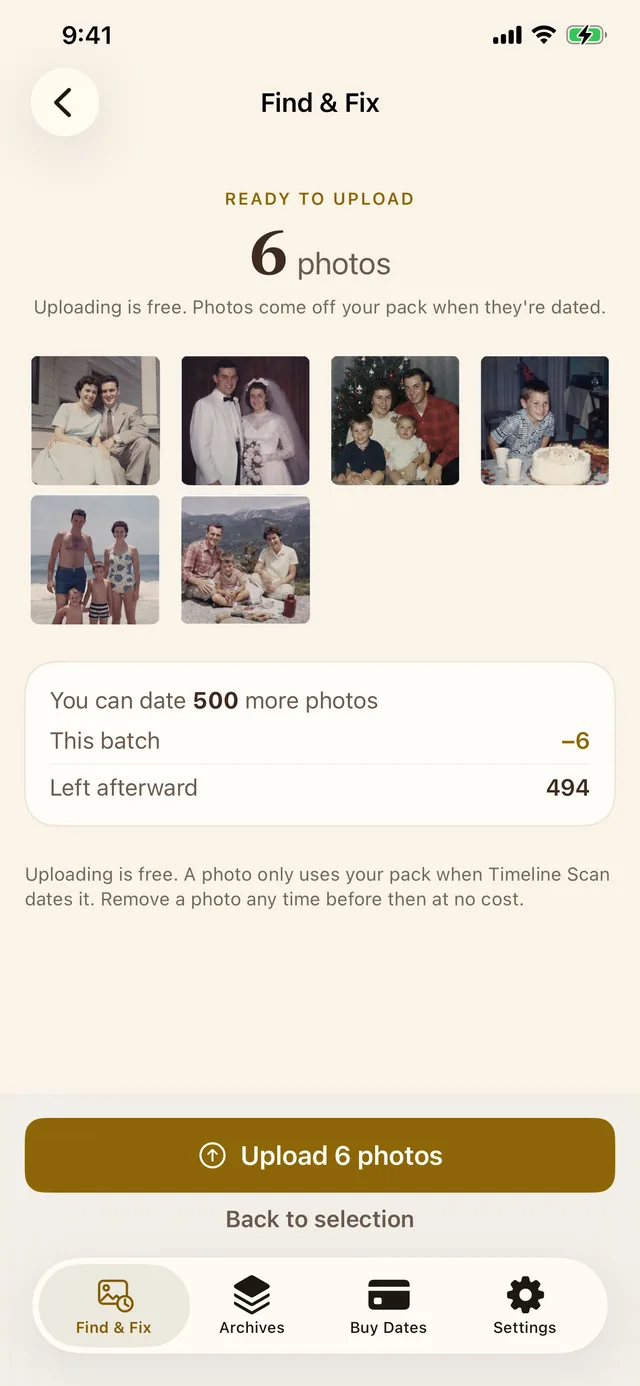
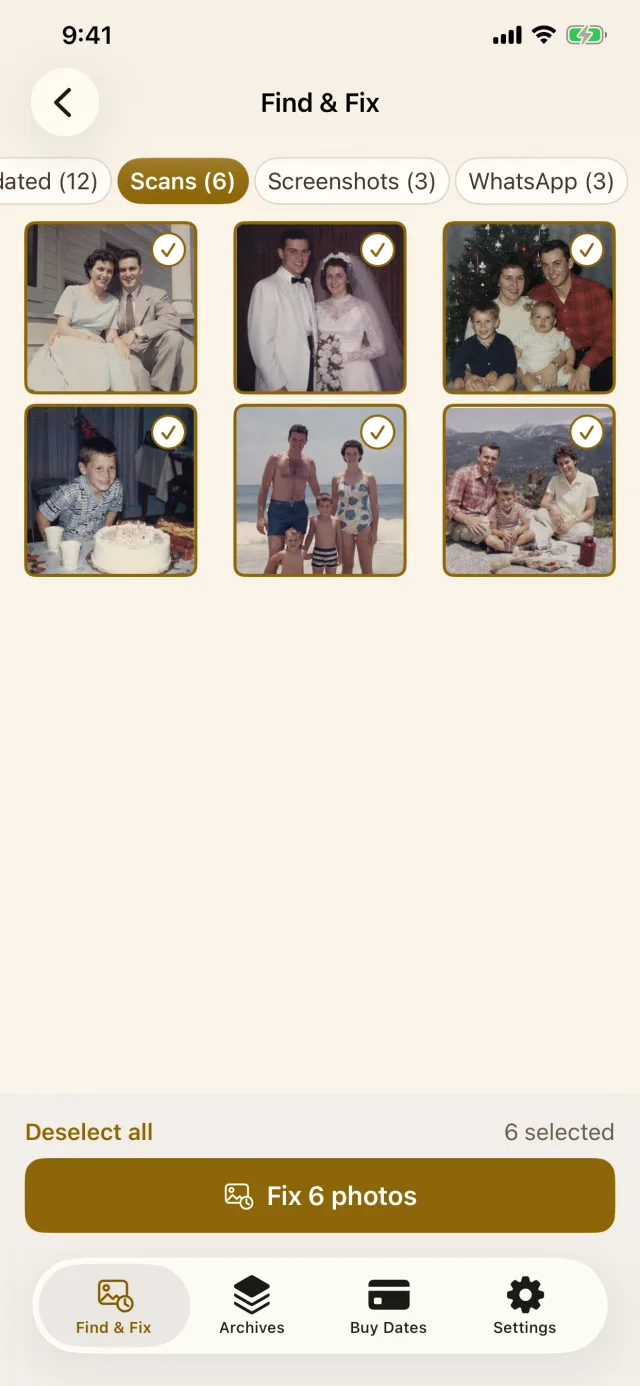
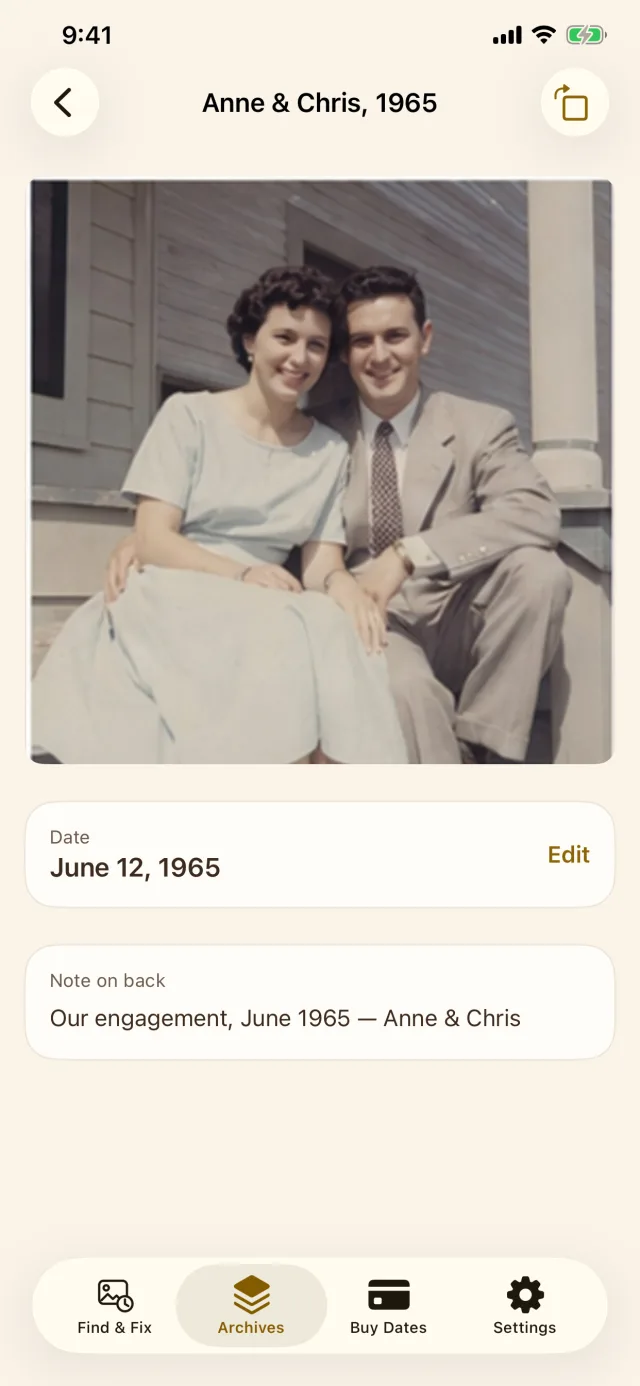
The iPhone app showing a timeline of dated photos The iPhone app confirming which photos to add The iPhone app listing the photos stuck on the day they were scanned The iPhone app showing the handwriting read off the back of a print The iPhone app writing the corrected dates back into the Apple Photos library

Still stuck?

We usually answer within a day.