Blog · Before You Scan
Common Mistakes When Scanning Family Photos
Quick answer
The costly scanning errors are the ones you can't undo: skipping the backs, scanning below 600 DPI and shuffling albums together. Most prints get one-time scans, so set up right before the first batch. Afterwards, fix the date inside each file and never edit or toss the only copy.
Mistakes During Scanning
-
Skipping the back of every photo
Instead: scan both sides, even when the back looks blank.
The back is where the dates and names are.
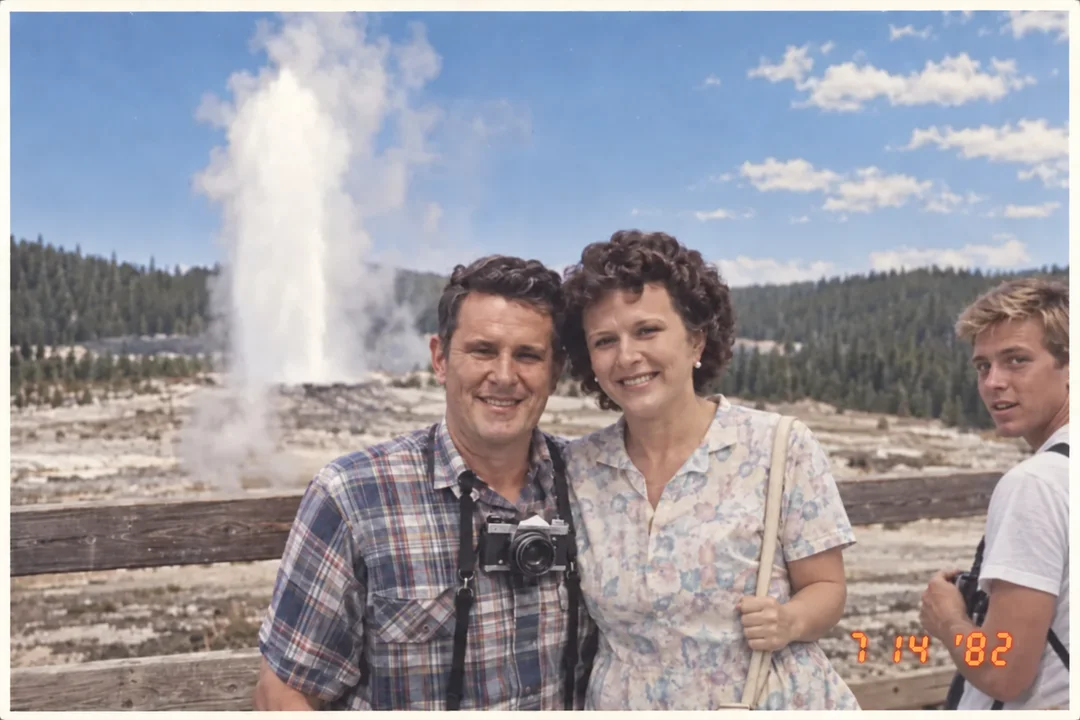 Front
Front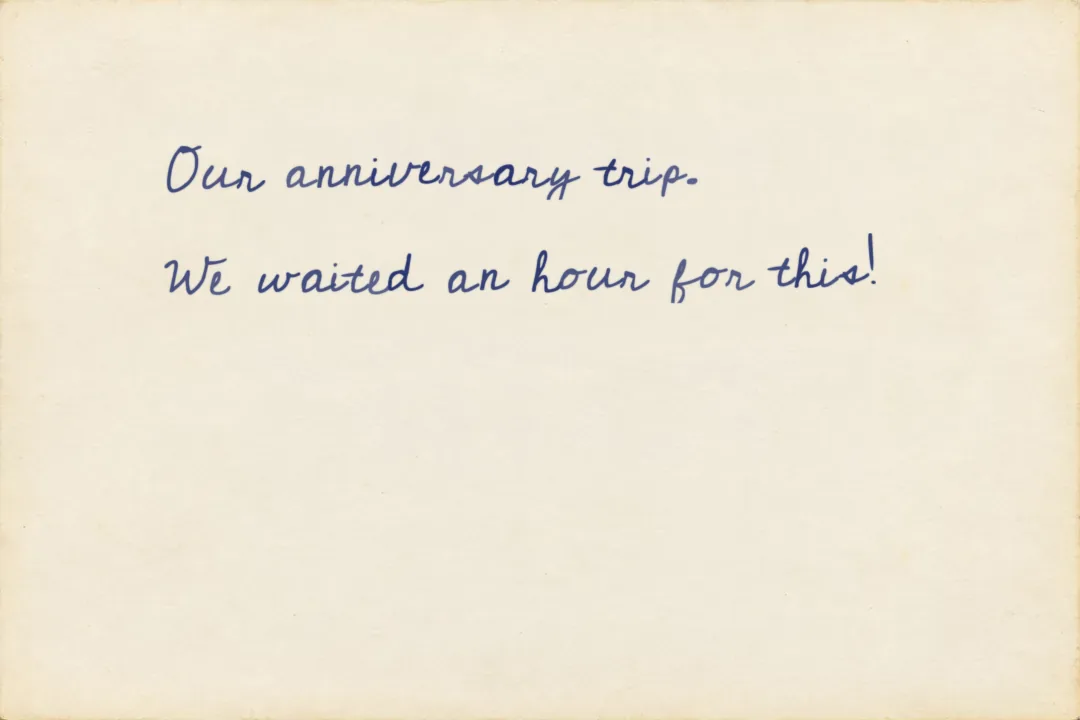 Back
Back
Scanner skips blank backs?
Many feed scanners only save a back when they detect text. Turn that off and save every back: light pencil notes and faint stamps are exactly what the detector misses, and what AI dating tools can still read.
Exact settings for the common feed scanners are in our scanning best practices guide.
-
Scanning at 300 DPI to save space
Instead: prints at 600 DPI; negatives and slides at 1200 to 2400 DPI.
- 300 DPI
- 600 DPI
Why 600 DPI?
The professional archival standard is 600 DPI for prints and 1200 to 2400 DPI for negatives or slides. Storage is cheap, and the prints are not getting any younger.
300 DPI looks fine on screen, but it leaves too little to enlarge a 4×6 for the wall, repair a tear or read a faint date stamp. You get one chance with each print, so scan at the resolution you'll wish you had picked.
-
Dirty scanner glass (or dusty prints)
Instead: wipe the glass between batches and dust each print first.
One speck marks every scan in the batch. My favorite is an electric air duster, like Wolfbox: it’s what I use and love.
- Microfiber cloth
- Electric air duster
Scanning on an Epson FastFoto?
A print that feeds through crooked is just as easy to miss at speed. Our free Timeline Upright app for Mac and Windows watches the scan folder, turns sideways scans upright, and chimes when one needs to go through again.
-
Inconsistent file naming across batches
Instead: one naming pattern, like
boxLabel_0001.jpg, for the whole project.The label dates each batch. No label? Describe the box:
purpleAlbum_0001.jpg.scan_0001.jpgIMG_0001.jpgJul89Sept90_0001.jpg -
Scanning prints out of their original groupings
Instead: scan one album or box at a time, in its stored order.
Neighbors are usually the same event or year.
- Scans
- Jul89Sept90
- purpleAlbum
- flowerBox
Mistakes After Scanning
-
Renaming files instead of fixing the metadata
Instead: fix the date inside the file first; rename second, if you want.
Apps sort by that date, not the name. See how to organize scanned photos.
1978_Christmas.jpgGoogle Photos: yesterday
Fixed: Dec 1978
-
Bulk-stamping a whole batch with one date
Instead: give each photo its own date, even if only the year is right.
Every photo: Jan 1, 1985
- 1982
- 1985
- 1988
-
Editing the only copy you have
Instead: edit copies, and back up first with the 3-2-1 rule.
Leave “overwrite original” off until backups are checked.
- 3 copies
- 2 kinds of storage
- 1 off-site
-
Throwing away the original prints
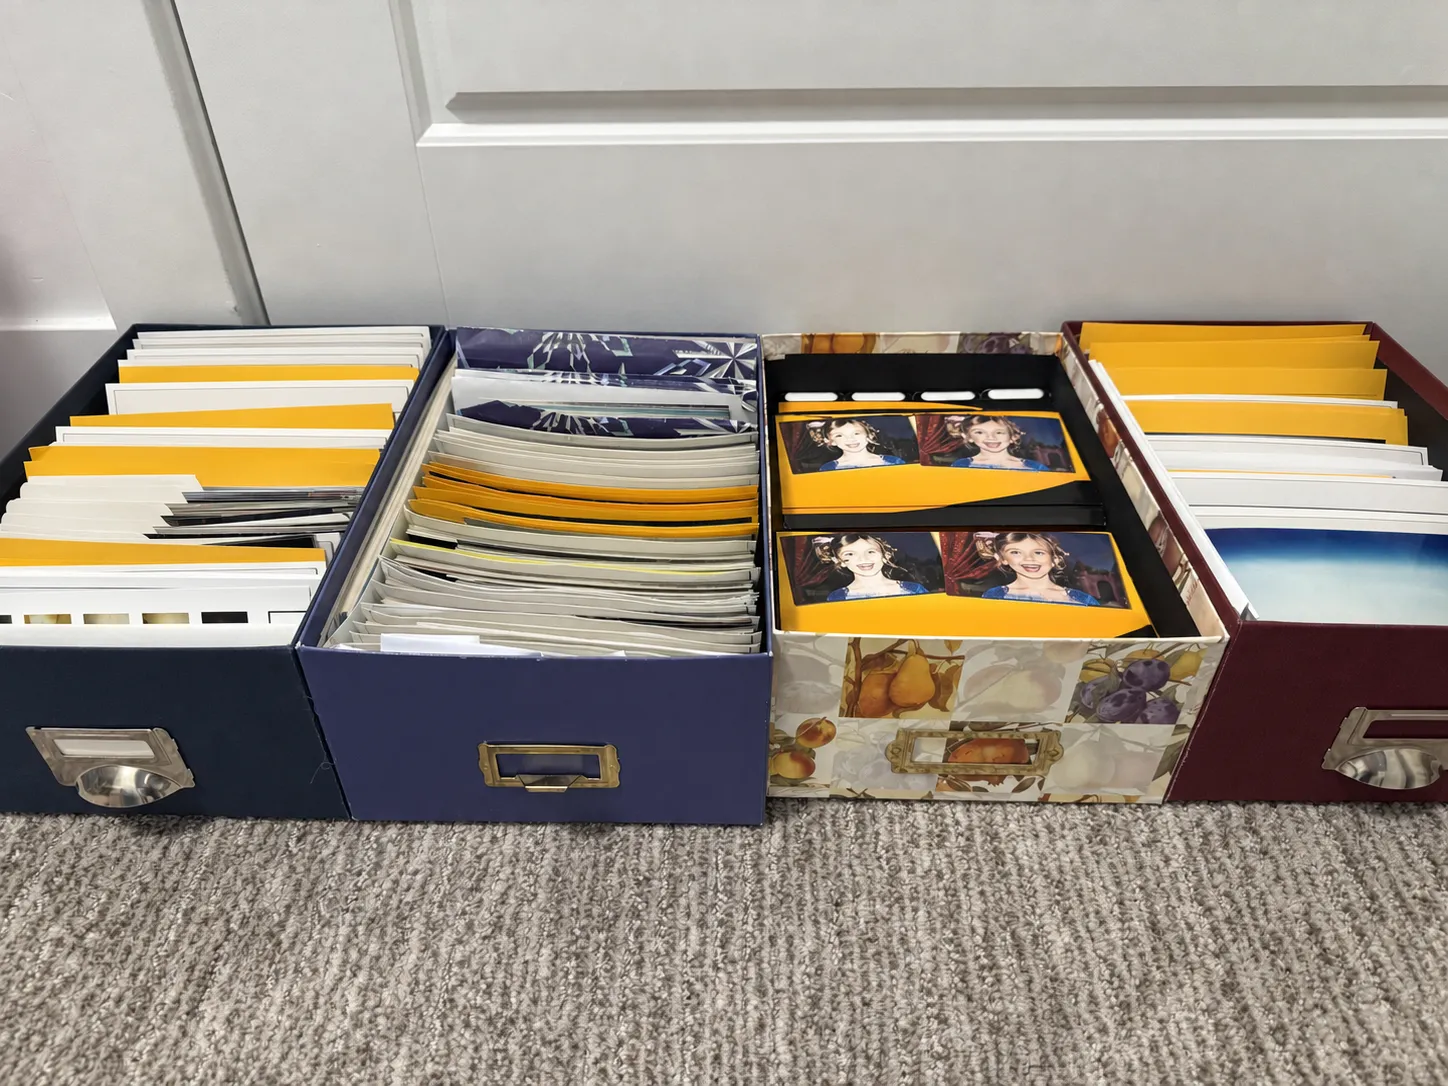
Instead: box them back up somewhere dry, dark and acid-free.
A scan is a copy, not a replacement.
-
Treating the project as one-and-done
Instead: write the workflow down, so next year's shoebox takes an afternoon.
- 1 Gather
- 2 Back up
- 3 Fix dates
- 4 Import
Where should the finished archive live?
If the whole family should see it, Family Library hosts the scans in one timeline for $39 a year or a small monthly fee. Up to 20 invited relatives can browse it and help add names, dates, places and notes, so the work stops resting on one person.
Keep Reading
-
How to Organize Scanned Photos
From boxes of prints to a family timeline.
-
Scanning Best Practices for Family Photos
The four settings that matter most.
-
How to Scan Multiple Photos at Once on a Mac
A bedful per pass, split into photos.
Already Have a Folder of Scans?
Even imperfect scans can go back in order. Timeline Scan reads the back of every print, analyzes the front, and writes each photo’s date into the file.
View Pricing See the Demo